We are supported by our audience. When you purchase through links on our site, we may earn an affiliate commission, at no extra cost for you. Learn more. Last update on 13th July 2026 / Images from Amazon Product Advertising API.
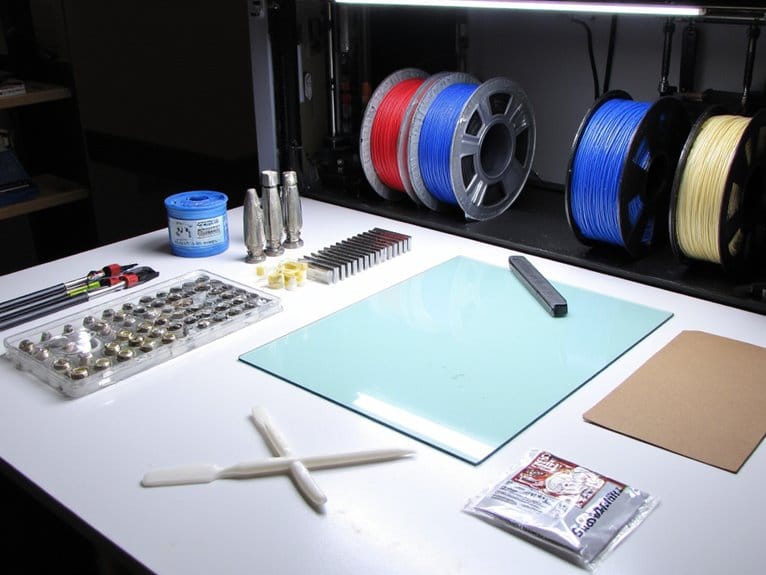
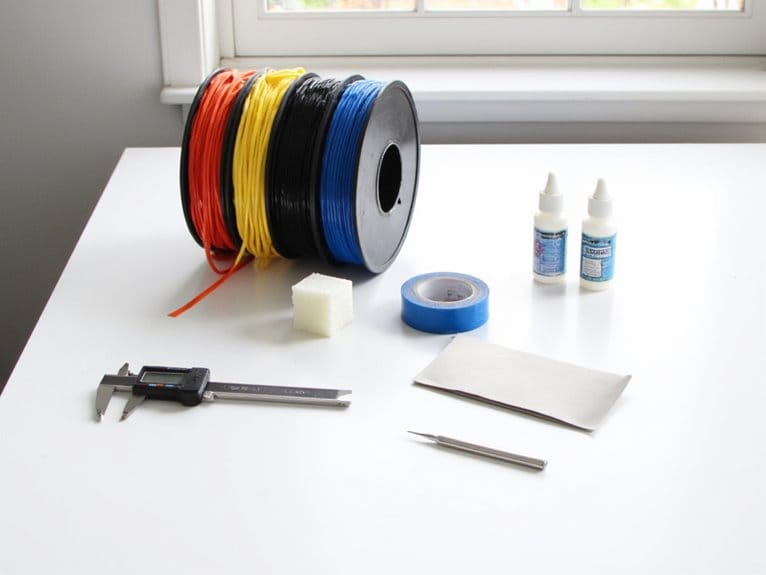
You’ll need a 3D printer with aluminum frame construction, NEMA 17 stepper motors, and heated bed capabilities ranging 50-110°C. Essential software includes CAD programs like Tinkercad or Fusion 360 for design, plus slicing software such as Cura to convert STL files into G-code. Stock up on PLA filament for beginners, along with calibration tools including printer paper for bed leveling and an IR thermometer for temperature verification. Basic post-processing supplies like sandpaper and support removal tools complete your starter toolkit for extensive printing success.
Notable Insights
- A 3D printer with heated bed, stepper motors, and proper power supply (12V or 24V matching specifications).
- CAD software like Tinkercad for creating models and slicing software like Cura for converting files to printer instructions.
- Quality filament with correct temperature settings: PLA at 190-210°C extruder and 60°C heated bed for beginners.
- Essential tools including bed leveling materials, cleaning supplies, and basic post-processing tools like sandpaper for finishing.
- Stable workspace with proper ventilation, solid surface placement, and organized storage for materials and tools.
Essential Hardware Components for Your First 3D Printer Setup
Five core hardware components determine whether your first 3D printer will deliver consistent, high-quality results or cause endless frustration.
Your frame provides the structural foundation. Popular frame designs include Cartesian, CoreXY, and Delta configurations. Aluminum extrusions offer ideal rigidity for build volumes ranging from 100x100x100 mm to 300x300x400 mm. Steel frames provide superior stability but add weight.
Extruder types greatly impact performance. Direct drive extruders excel with flexible filaments but reduce print speeds. Bowden extruders enable faster movement through reduced mass on the print head. Standard 0.4 mm nozzles balance detail and speed effectively.
Your heated bed prevents warping using 180-260°C temperature ranges.
NEMA 17 stepper motors deliver precise motion control. Finally, 12V or 24V power supplies must match your printer’s electrical requirements for safe operation.
Software Requirements and Digital Design Tools
You’ll need two essential software categories to transform your 3D printer hardware into a functional manufacturing system: CAD software for creating digital models and slicing software for converting those models into printer instructions.
CAD programs like Tinkercad or Fusion 360 let you design three-dimensional objects and export them as STL files, which serve as the universal language between design and printing. If your STL files have geometric errors or printing issues, you may also need repair software like Meshmixer to fix these problems before printing.
Alternatively, you can download models from community websites like Thingiverse, Maker World, or Printables instead of creating your own designs from scratch.
Slicing software then processes these STL files into G-code commands that tell your printer exactly how to move, when to extrude filament, and what temperatures to maintain throughout the printing process.
CAD Software Options
Three primary factors determine your success with CAD software for 3D printing: learning curve, file compatibility, and platform requirements.
Tinkercad offers browser-based simplicity, preventing common beginner mistakes through its intuitive interface. However, Fusion 360 provides professional capabilities with free hobbyist licensing. Understanding fundamental design principles becomes vital when selecting between simple and complex tools.
File format compatibility remains essential. Most software exports STL and OBJ files for slicing compatibility.
Platform support varies considerably: Tinkercad runs browser-based, while Fusion 360 requires desktop installation across Windows and Mac systems.
Starting with Tinkercad teaches core 3D modeling concepts without overwhelming complexity.
Advanced users benefit from Fusion 360’s parametric modeling and CAM integration. Blender offers open-source flexibility but demands steeper learning investment. Cloud-based solutions like Onshape provide convenient access from multiple devices without requiring software installation. Your choice depends on project complexity and long-term modeling goals.
Slicing Software Essentials
The bridge between your digital 3D model and physical print requires slicing software that converts complex geometries into precise printer instructions. This software slices your model into horizontal layers, generating G-code that controls printer movements, temperatures, and extrusion paths.
Cura offers the most beginner-friendly interface with over 400 customization settings. You’ll find intuitive controls for layer height, print speed, and infill density.
PrusaSlicer provides advanced features like paint-on supports for selective placement and multi-printer compatibility. Both handle common file formats including STL and OBJ.
Essential slicing best practices include previewing prints before starting and calibrating support structures.
When troubleshooting slicers, check mesh integrity and verify temperature settings match your filament specifications. These free tools include mesh repair features that automatically fix model errors.
Beginner-Friendly Materials and Filament Options
Choosing your first 3D printing filament sets the foundation for successful projects and determines how quickly you’ll master basic techniques. PLA remains the top choice among beginner friendly filaments due to its low printing temperature of 190–220°C and forgiving nature. You don’t need a heated bed, though 60°C improves adhesion.
| Filament Type | Print Temperature | Key Benefits |
|---|---|---|
| PLA | 190–220°C | Easy printing, biodegradable |
| PETG | 230–250°C | Durable, chemical resistant |
| TPU | 190–220°C | Flexible, impact resistant |
PETG offers increased durability for functional parts but requires higher temperatures. TPU enables flexible prints like phone cases. Eco friendly options include recycled PLA and rPET, maintaining ease while reducing environmental impact. PLA filaments also provide strong layer adhesion which ensures durable prints suitable for both prototypes and detailed models. Store all filaments in sealed containers with desiccants to prevent moisture absorption. Quality brands like OVERTURE and SUNLU offer vacuum-sealed packaging with moisture protection and exceptional dimensional accuracy of ±0.02mm for consistent printing results.
Pre-Print Calibration and Setup Steps
You’ll need to complete three essential calibration steps before starting your first print to guarantee consistent, high-quality results.
Proper bed leveling creates the foundation for successful layer adhesion, while accurate temperature settings prevent common issues like warping, stringing, and poor surface finish.
Your print environment must also be prepared with stable conditions-including consistent ambient temperature, minimal air drafts, and a clean workspace-to avoid mid-print failures that waste time and filament.
Bed Leveling Fundamentals
Before you can achieve successful 3D prints, bed leveling stands as the most critical calibration step that determines whether your print succeeds or fails. This process aligns your build plate parallel to the nozzle’s movement plane, ensuring consistent distance across the entire surface.
Discussion techniques involve using standard printer paper as a feeler gauge. Move your nozzle to each corner approximately 1-2 mm above the bed. Slide the paper underneath while adjusting corner thumbscrews until you feel slight resistance. Repeat this procedure on all corners, then check the center point.
Common leveling misconceptions include believing “level” means parallel to the floor rather than the nozzle plane. Even printers with automatic features require manual mechanical adjustments first.
Proper leveling prevents adhesion failures, nozzle clogs, and scratched beds.
Temperature Setting Guidelines
Once your bed sits perfectly level, temperature calibration becomes your next critical step for achieving consistent, high-quality prints.
Start by performing PID tuning to stabilize both hot end and heated bed temperatures, minimizing fluctuations that cause print defects. Use your printer’s firmware commands to automate this 5-minute process at your intended printing temperature.
Next, create a temperature tower test to optimize settings for each filament type. Print segments at 5°C increments within your filament’s recommended range-typically 190°C to 210°C for PLA.
Set your heated bed to 60°C for PLA, 80°C for PETG, or 100°C for ABS. Always preheat both components before printing and verify actual temperatures with an IR thermometer to guarantee sensor accuracy.
Print Environment Preparation
While temperature settings form the foundation of successful prints, establishing the proper physical environment and mechanical calibration creates the framework for consistent results.
Your print workspace requires a stable, vibration-free location to prevent print defects caused by external movement. Position your printer on a solid surface away from foot traffic and machinery.
Implement vibration control by placing the printer on a concrete floor or heavy desk. Maintain room temperature within your filament’s specified range to prevent warping.
Ascertain adequate ventilation for safety and clear visibility during printing. Organize tools, cleaning materials, and filament spools within arm’s reach for efficient workflow.
Clean the print area regularly, removing dust and debris that could affect electronics or print quality. These environmental factors directly impact your printer’s performance and output consistency.
Understanding the 3D Printing Workflow Process
The 3D printing workflow consists of five distinct stages that transform digital concepts into physical objects.
First, you’ll create or obtain a 3D model using CAD software or downloading from repositories like Thingiverse. This model gets exported as STL or 3MF files containing surface geometry data.
Next, slicing techniques convert your model into printer-specific G-code instructions that define layer paths and temperatures. Proper printer calibration guarantees dimensional accuracy by aligning extruders and build plates. Different filament types require specific temperature and speed settings during this stage.
Precise slicing and calibration transform your 3D model into accurate printer instructions, ensuring each layer deposits correctly for dimensional accuracy.
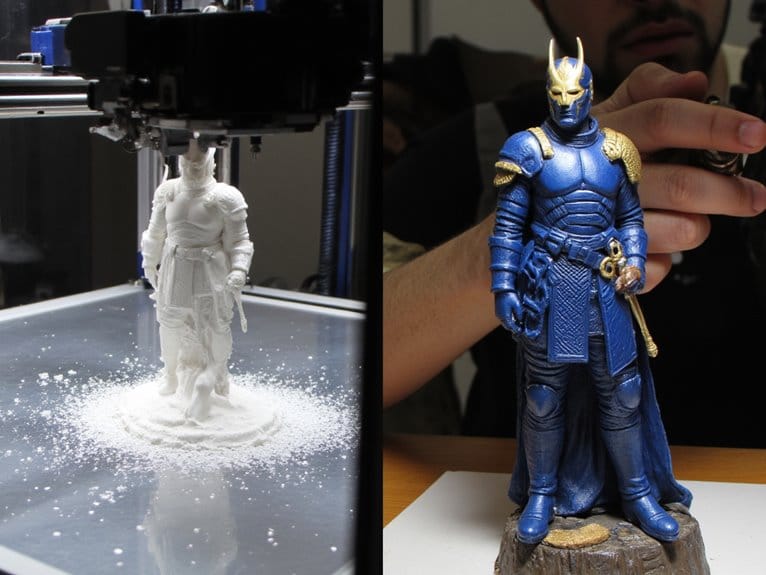
The printing execution phase deposits material layer-by-layer according to your sliced instructions. Print monitoring helps you track progress and catch potential failures early.
Finally, post-processing steps like support removal and surface finishing complete your physical object, transforming your digital design into a functional printed part.
Print Settings and Parameter Configuration
After understanding the complete 3D printing workflow, configuring your printer’s settings becomes the determining factor between successful prints and failed attempts.
Temperature calibration requires precise extruder settings: PLA needs 190–220°C, while ABS demands 220–250°C.
Bed adhesion prevents warping through proper heating-PLA requires 50–60°C, ABS needs 90–110°C.
Layer height controls print resolution. You’ll achieve fine detail at 0.1mm but sacrifice speed. The standard 0.2mm balances quality and efficiency.
Print speed affects surface finish-slower speeds reduce defects. Flow rate determines extrusion volume; incorrect settings cause under-extrusion or blob formation.
Support structures enable complex geometries with overhangs. Set infill percentage around 20% for beginners-higher values increase strength but extend print time.
Print optimization requires balancing these parameters based on your specific project requirements and material properties.
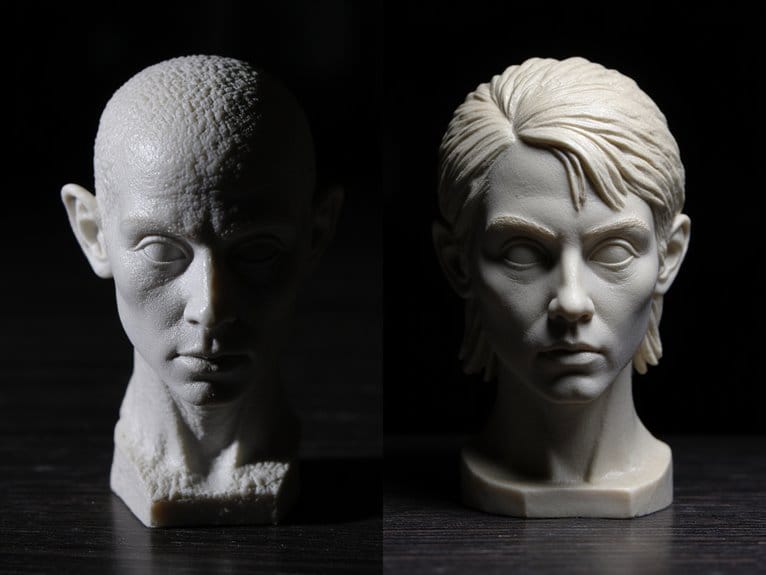
Post-Processing Techniques and Finishing Methods
Once your printer completes its final movement, your work has only just begun. Support removal starts the post-processing journey-snap or cut mechanical supports carefully to avoid damaging your print. Surface smoothing eliminates layer lines through progressive sanding from coarse to fine grit. Chemical enhancement like acetone vapor smoothing creates glossy finishes on ABS parts.
| Process | Application | Result |
|---|---|---|
| Thermal Treatment | Annealing PLA/PETG | Stress relief, improved strength |
| Painting Techniques | Primer + spray paint | Professional aesthetics |
| Assembly Methods | Mechanical fasteners/adhesives | Multi-part integration |
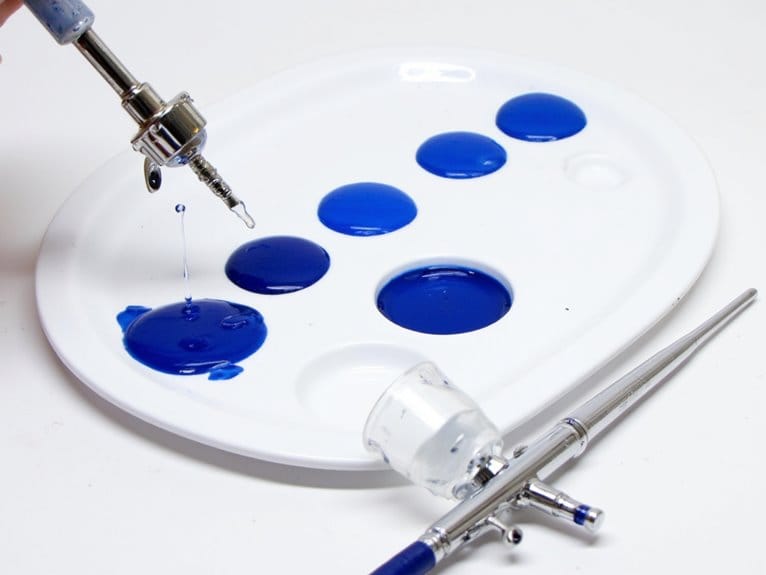
Aesthetic coatings protect your work while adding visual appeal. Acrylic paints offer excellent chemical compatibility with PLA, ABS, and resin prints while providing vibrant colors that stick well to plastic surfaces. Finishing touches like clear sealants or specialty coatings enhance durability and functionality. For multi-part assemblies, CA glues provide instant bonding within 2-5 seconds to permanently join printed components. For detailed painting work, consider airbrush systems that deliver professional-grade coverage with minimal layer buildup and smooth application. Specialized finishing tools like deburring tools, needle files, and precision scrapers are essential for transforming rough prints into polished models with enhanced overall quality and aesthetics. These techniques transform raw prints into professional-quality objects.
Maintenance Tips and Troubleshooting Common Issues
Every 3D printer requires systematic maintenance to deliver consistent results and extend its operational lifespan. Regular maintenance practices prevent costly repairs and print failures.
Clean filament nozzles with brass wire brushes every 100 print hours to prevent clogs. Lubricate bearings and linear rails every 1000 operating hours using appropriate grease. Check belt tension weekly-loose belts cause layer shifts while over-tight belts stress motors.
Essential troubleshooting techniques address common problems:
- Nozzle Clogs: Heat nozzle to operating temperature and clear debris using needles or filament purge
- Layer Shifts: Inspect V-slot wheels and belt alignment for damage or misalignment issues
- Poor Adhesion: Clean build surface thoroughly and verify bed leveling calibration
Always power off your printer before mechanical maintenance. Use strain reliefs on cables to prevent fire hazards from repeated bending.
On a final note
You’ve now got the complete foundation for successful 3D printing. Your hardware setup, software configuration, and material selection form the core requirements. Proper calibration guarantees quality prints. Following the workflow process prevents common mistakes. Correct parameter settings determine print success. Post-processing techniques improve finished results. Regular maintenance extends printer lifespan while troubleshooting skills solve inevitable issues. You’re equipped with essential knowledge to start creating reliable, high-quality 3D prints consistently.