We are supported by our audience. When you purchase through links on our site, we may earn an affiliate commission, at no extra cost for you. Learn more. Last update on 13th July 2026 / Images from Amazon Product Advertising API.
You’ll create compelling miniature bases by starting with proper surface preparation using isopropyl alcohol cleaning and light sanding for adhesion. Apply PVA glue mixed 2:1 with acrylic paint to bind materials like sand, gravel, or soil directly to your base. Use texture paints for instant surfaces, then layer natural materials from largest rocks to smallest details. Dry brush highlights over dark base colors, add strategic grass tufts, and seal with matte varnish for protection. Advanced techniques below reveal professional-quality environmental storytelling methods.
Notable Insights
- Clean base surfaces with isopropyl alcohol and remove mold lines before applying primers or adhesives for better material adhesion.
- Use PVA glue mixed with acrylic paint in 2:1 ratios to simultaneously bond materials and add base colors to your miniature bases.
- Apply sand, gravel, or soil directly onto wet adhesive to create realistic ground textures for different terrain environments.
- Start with dark base colors, then use dry brushing to highlight raised areas and washes to enhance shadows and depth.
- Layer materials strategically from largest elements first, progressing to ground textures, then finishing with small vegetation details for realistic depth.
Choosing the Right Materials for Your Base
The foundation of any convincing miniature base starts with selecting materials that’ll match your intended terrain and environment. Your material selection directly impacts the final aesthetic and durability of your base.
Sand delivers fine textures perfect for dry earth or desert environments. Pre-sieved sand from DIY stores offers controlled grain sizes for uniform results. Gravel creates rocky, uneven terrain effects ideal for rubble or stone surfaces.
Soil contributes richer textures with natural variations that enhance realism. These natural textures work best when sourced strategically. Garden centers provide horticultural grit with consistent sizing. Craft stores stock specialty textured sands for specific effects. Consider incorporating static grass tufts which provide pre-adhesive solutions that simplify application for various landscaping projects.
Local materials from gardens or parks offer cost-effective options while reducing environmental impact. These basic materials serve as foundational elements to anchor your miniatures authentically within their display scene. Urban bases feature battlefield rocks while sci-fi environments may require different material considerations. For more detailed terrain effects, consider acrylic formulations that provide permanent pigments and realistic ground textures. Waterproof results ensure your miniature bases maintain their appearance and durability even in challenging display conditions. Combining different materials creates customized textures that enhance environmental storytelling in your miniature displays. Once your base materials are prepared, applying contrast paints can quickly achieve base color, shading, and highlighting in a single application for efficient finishing.
Essential Adhesives and Binding Techniques
When building miniature bases, you’ll primarily choose between PVA glue and super glue, each offering distinct advantages for different applications.
PVA provides flexible bonds with longer working time, making it ideal for spreading sand and lightweight materials, while super glue delivers instant adhesion for securing small details and non-porous components. Proper surface preparation significantly enhances adhesive performance and bond longevity for all materials used in your basing project.
You can also mix acrylic paint directly into PVA glue to create colored adhesive that bonds and tints materials simultaneously, eliminating separate painting steps. For the heaviest basing materials and larger models, two-part epoxy provides the strongest possible bond once the components are properly mixed and cured.
PVA Vs Super Glue
Application techniques differ substantially.
PVA requires hours to cure but cleans easily with water.
Super glue sets within seconds, demanding precise placement and protective measures to prevent skin contact.
Mixing Paint With Adhesives
Something remarkable happens when you combine paint with adhesives – you create a dual-purpose medium that colors and bonds simultaneously. This technique eliminates multiple application steps while ensuring superior texture integration.
PVA glue mixed with acrylic paint creates an excellent binding medium for sand and flock. The adhesion properties remain strong while achieving consistent color mixing throughout your base materials. Mix ratios of 2:1 paint to PVA for ideal results.
Epoxy putties like Milliput accept paint integration during the working phase. This allows sculptural base details with embedded color. Liquid green stuff offers similar capabilities for smaller texture work.
Test your mixtures first.
Paint-to-adhesive ratios directly affect bonding strength and color intensity. Acrylic paints like Vallejo Model Color provide exceptional adherence to multiple surfaces while maintaining high pigmentation levels. When working with resin-printed miniature bases, applying a surface primer ensures the paint-adhesive mixture bonds effectively to the photopolymer surface. Acrylic paints provide the best compatibility across most adhesive types, ensuring reliable adhesion properties without compromising workability. For precision work on smaller components, cyanoacrylate adhesives like Starbond Medium CA Glue offer controlled flow and quick curing times when color consistency is secondary to strong bonding. Precision applicator tips are essential for controlled placement when working with paint-adhesive mixtures in intricate detail areas.
Applying Texture and Base Colors
After you’ve prepared your miniature base structure, applying texture becomes the foundation for creating convincing terrain effects. Texture paint offers the most straightforward approach-apply directly from the pot and let dry for instant textured surfaces. Natural materials like sand and gravel create highly realistic terrain at minimal cost. Modeling pastes provide dimensional control for shaping terrain features.
| Material Type | Application Method | Drying Time | Best Use |
|---|---|---|---|
| Texture Paint | Direct application | 30-60 minutes | Quick terrain simulation |
| Natural Sand | Glue then scatter | 2-4 hours | Realistic ground texture |
| Modeling Paste | Shape with tools | 1-3 hours | Dimensional features |
| Combined Materials | Layer application | 4-6 hours | Complex terrain |
Base colors require careful layering over textured surfaces. Applied washes settle into recesses while dry brushing highlights raised areas. This realism enhancement creates essential color variation that makes terrain convincing. Before applying any texture materials or base colors, ensure your miniature base has been properly prepared with a quality primer application to guarantee optimal adhesion and paint durability. Using a quality painting handle during the base texturing process provides superior stability and control, especially when working with detailed terrain features. Professional brush sets with dedicated dry brushes enhance the highlighting process and allow for superior texture work on base surfaces. For enhanced depth and weathering effects, specialized miniature washes like Vallejo’s offerings can add professional-quality shading to your base terrain.
Tools and Supplies You’ll Need
Before you can achieve professional-looking textured bases, you’ll need the right tools for cutting, adhering, and shaping your materials.
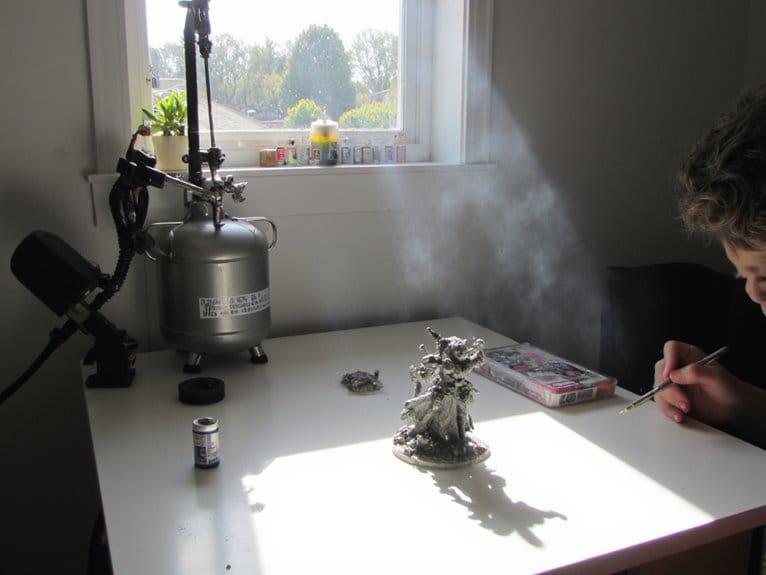
Start with snips or sprue cutters for clean miniature removal, plus fixed blade X-acto knives for trimming flash and mold lines. You’ll require super glue for fast bonding and PVA glue for applying loose materials like sand.
Epoxy putties such as Milliput enable custom sculpting work. For detailed base modifications and gap filling, consider Green Stuff Putty which offers 1.5-2 hours of working time and excellent detail retention for miniature projects.
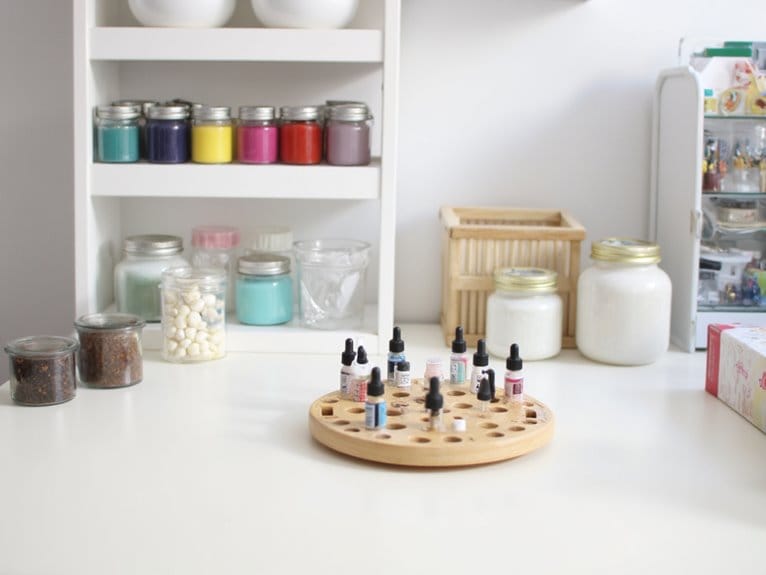
Wide synthetic brushes handle basecoating while size 1 Kolinsky sable brushes manage detail work. Primer sprays guarantee proper paint adhesion. A wet palette will keep your acrylic paints workable for extended periods, reducing waste and maintaining consistency during lengthy basing sessions.
Effective workspace setup demands hobby mats for surface protection and cutting mats with measurement grids. For small metal components like miniature weapons or accessories that require thorough cleaning before assembly, an ultrasonic cleaner can remove manufacturing residues and oils without damaging delicate details.
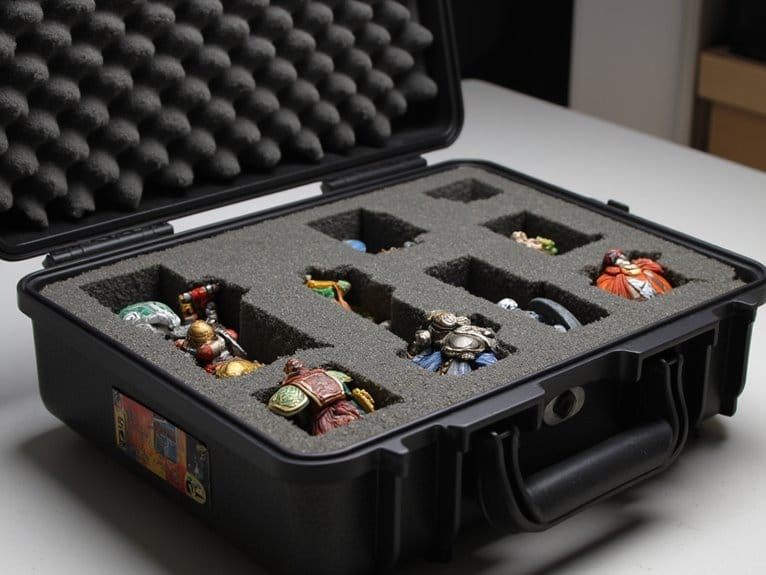
Magnifying glasses improve precision on small details. Tweezers place materials accurately. Proper tool organization using storage containers keeps supplies accessible and prevents workflow interruptions during complex assemblies. Consider investing in quality metal dice sets to complement your miniatures and enhance your overall gaming experience.
Sourcing Materials From Natural Environments
While commercial basing materials offer consistency, natural environments provide an abundant supply of authentic textures that’ll transform your miniatures with realistic detail.
Natural gathering begins with sand, gravel, and soil from gardens, park pathways, and public sandpits. These foundational materials simulate diverse terrains effectively. Small rocks add dimensional weight while dried moss provides rich textural variation for vegetation effects.
Twigs, pinecones, and seed pods create authentic forest debris at miniature scale. Birch pods replicate delicate autumn leaves perfectly. Collect these lightweight materials from snow-free areas for ideal preservation.
Ethical collecting requires responsible harvesting from public spaces and personal gardens. Take only fallen debris, avoiding live plants and sensitive habitats.
Clean and dry all materials thoroughly before storage in sealed containers to prevent mold and maintain longevity.
Creative Effects and Advanced Techniques
You can transform your miniature bases into narrative elements by mastering environmental storytelling techniques that communicate setting, atmosphere, and character backstory through visual details.
Multi-level terrain building adds dimensional complexity by incorporating elevation changes, stepped platforms, and layered surfaces that create depth and visual interest beyond flat surface treatments.
These advanced approaches require combining multiple materials, textures, and painting techniques to achieve professional-quality results that enhance your miniature’s overall presentation.
Environmental Storytelling Techniques
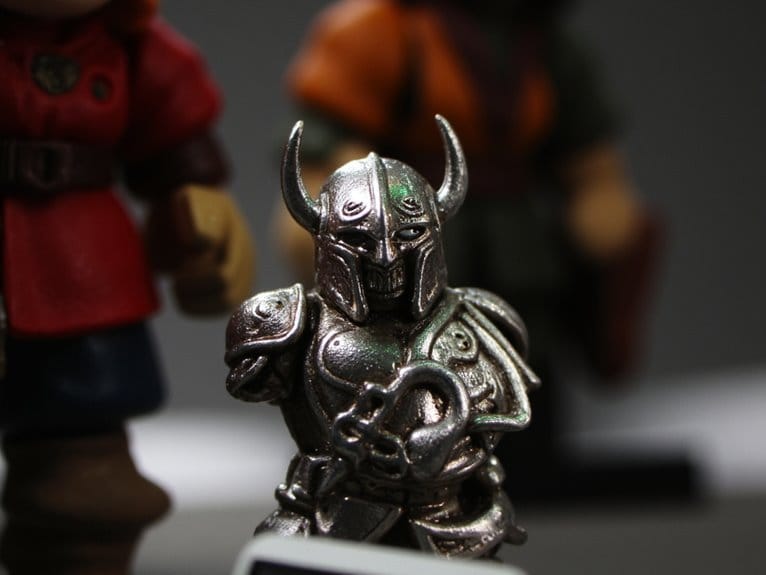
The most compelling miniature bases transcend simple terrain representation to become powerful narrative devices that communicate complex stories through carefully orchestrated visual elements. Environmental cues establish context through weathered debris, scattered equipment, and terrain conditions that suggest specific events or locations.
Layer multiple storytelling elements using contrasting materials-rusty metal fragments indicate past battles while vibrant moss suggests nature’s reclamation over time.
Achieve narrative depth by embedding subtle details that reward close inspection. Position broken weapons at specific angles to imply combat direction. Use translucent resins for water effects that suggest flooding or recent rain. Apply weathering techniques strategically-fresh damage tells different stories than ancient wear patterns.
Balance symbolic elements with clarity to avoid visual clutter. Each environmental detail should contribute to a cohesive narrative that enhances your miniature’s character and backstory. Consider incorporating battlefield trophies as miniature base elements to add faction-specific details that enrich your army’s narrative and create connections between individual models and larger campaign stories.
Multi-Level Terrain Building
Creating multi-level terrain transforms flat battlefields into dynamic three-dimensional environments that enhance tactical gameplay and visual impact. Hot-wire foam cutters slice materials into varying thicknesses to simulate natural rock strata.
Carve textures using kitchen knives at different angles to create realistic cracks and cliff faces. Snap foam chunks strategically to form jagged edges and natural-looking ledges.
Modular design guarantees terrain interoperability across gaming sessions. Use sturdy plastic plates as floor tiles that align dimensionally with wall sections. Secure components with pegs, magnets, or plastic cement for adjustable attachment.
Integrate notches and slots to connect terrain elements seamlessly. Construct buildings with removable walls revealing playable interiors. Cut stairwells into floors for vertical shifts. For enhanced detail precision on terrain features, consider using resin printers which excel at capturing fine surface textures and architectural elements.
Apply quick painting techniques emphasizing depth through washes and dry brushing for realistic shadows and highlights. Water-based formulations excel in adhesion on plastic, metal, and resin terrain surfaces, ensuring durable finishes that withstand regular handling. When working with plastic terrain pieces, apply spray primers designed for plastic surfaces to ensure proper paint adhesion and long-lasting coverage. For larger terrain projects, consider printers with 400x400x400mm build volume to create expansive pieces without requiring multiple parts.
Preparing Your Base Surface
Before applying any texture materials or primers, proper surface preparation guarantees your basing materials will adhere securely and create professional-looking results.
Begin base cleaning by removing mold lines and flash with a hobby knife or fine file. Use pliers to detach miniatures from casting frames cleanly. Wipe the base surface with isopropyl alcohol or warm soapy water to eliminate oils that hinder paint adhesion.
Dry the base thoroughly before applying adhesives or primers to prevent bubbling. Lightly sand base edges if necessary to create better adhesion points for texture materials.
Surface preparation includes checking for defects or rough areas that could interfere with material placement. For detailed smoothing work, consider using sanding sticks with appropriate grit levels to reach intricate areas and create perfectly prepared surfaces. This foundational step determines the quality of your finished base and prevents materials from lifting during handling.
Layering Methods for Realistic Terrain
Building realistic terrain requires strategic layering that mimics nature’s own accumulation processes. Start with your base texture using thinned PVA glue and sand. Press carved foam pieces into wet glue for elevation changes. Add texture variety through multiple materials applied in succession.
Your layering techniques should progress from largest to smallest elements. Begin with rocks and terrain features, then apply ground textures, followed by vegetation details. Each layer builds upon the previous one, creating natural depth.
| Layer Order | Materials | Application Method |
|---|---|---|
| Foundation | Foam, rocks, modeling paste | Hot glue attachment |
| Ground Texture | Sand, gravel, small stones | PVA glue adhesion |
| Vegetation | Grass tufts, flock, debris | Strategic placement |
Paint using dark base colors first, then highlight raised areas with dry brushing. Washes blend layers naturally while maintaining realistic shadowing effects. Use clear-drying adhesives specifically designed for miniature work to ensure your layered elements maintain their visual appeal without compromising the finished diorama’s aesthetic quality. Apply thin layers of protective coating if your terrain base will see frequent handling during gaming sessions. Maintain your collection in organized paint holders to ensure consistent access to the colors needed for each layering stage. Consider using an adjustable height desk to maintain proper ergonomics during detailed painting sessions and prevent back strain during extended hobby work.
Finishing Touches and Detail Work
Once your layered terrain structure is complete, the finishing work transforms a functional base into a professional-quality display piece.
Detail accents require strategic placement to enhance composition without overwhelming your miniature. Apply finishing layers methodically to achieve realistic terrain effects.
Essential detail work includes:
- Strategic tuft placement using PVA glue for synthetic grass elements in muted browns or greens
- Rim painting with consistent muted shades like dust bowl or black for clean visual framing
- Final texture highlights through careful dry brushing with reduced paint loads on raised surfaces
Paint your base rim last to provide clean borders that frame the miniature effectively.
Add tiny rocks or debris as accent details using precision placement. For metal miniature bases requiring permanent attachment, super glue provides professional-grade bonding with set times of 10-15 seconds and waterproof durability. Document your finishing process with a 4K camcorder to create detailed tutorials for fellow hobbyists and showcase your miniature painting techniques. Seal completed bases with matte varnish to protect textures and unify the finish for gaming durability. Choose between matte or gloss finishes depending on your desired aesthetic, as matte reduces glare while gloss enhances vibrancy and offers superior scratch resistance.
On a final note
You’ve now mastered the fundamental techniques for creating professional miniature bases. Your bases will enhance your miniatures’ visual impact and storytelling potential when you apply these methods consistently. Practice these layering techniques regularly to develop muscle memory and improve your results. Remember that quality materials and proper preparation determine your final outcome’s durability. Start with simple textures, then progress to complex terrain features as your skills develop.