We are supported by our audience. When you purchase through links on our site, we may earn an affiliate commission, at no extra cost for you. Learn more. Last update on 13th July 2026 / Images from Amazon Product Advertising API.
You can smooth 3D prints using mechanical sanding, chemical methods, or heat application depending on your filament material. Start with 80-120 grit sandpaper for layer lines, progressing to 2,000 grit for refined surfaces. For ABS and ASA prints, acetone vapor smoothing creates glossy finishes in minutes. Heat guns work on PLA when maintained 15-22 cm away with sweeping motions. PETG requires dichloromethane with proper ventilation. Each technique offers specific advantages for achieving professional results.
Notable Insights
- Start with coarse 80-120 grit sandpaper, then progress through finer grits up to 2,000 for ultimate surface refinement.
- Use acetone vapor smoothing for ABS, ASA, and HIPS materials in enclosed containers with proper ventilation and safety equipment.
- Apply heat guns at 15-22 cm distance with sweeping motions, using low temperatures to soften surface layers without warping.
- Sand support marks before applying multiple thin primer coats, then build color with thin paint layers for professional finishes.
- Match smoothing method to filament type: mechanical sanding for PLA, acetone vapor for ABS, dichloromethane for PETG.
Mechanical Sanding Techniques for Surface Smoothing
Sand away those unsightly layer lines and surface imperfections with mechanical sanding techniques that transform rough 3D prints into smooth, professional-looking parts.
Proper grit progression is essential for ideal results. Start with coarse 80-120 grit sandpaper to remove support marks and prominent layer lines from FDM prints. Progress to medium 150-400 grit for continued smoothing without excessive abrasion. For the finest results, advance to high-grit sandpaper up to 2,000 grit for ultimate surface refinement.
Start with 80-120 grit to remove layer lines, then progress to 150-400 grit for smooth finishing without over-abrading your print.
Choose appropriate sanding tools based on your print geometry. Manual sanding with sheets or blocks provides detailed control for small parts. Sanding sticks reach tight spaces effectively. Use circular motions to preserve surface detail while avoiding scratches parallel to layer lines.
Wet sanding with water prevents heat damage to PLA prints. Apply light pressure and keep the sander moving to prevent concentrated wear that could round fine details. After completing the sanding process, polishing produces even smoother surfaces using finer abrasive tools.
Chemical Smoothing With Acetone Vapor
While mechanical sanding works well for many prints, chemical smoothing with acetone vapor offers a faster alternative that reaches every surface detail without manual effort. This method works exclusively on acetone-soluble materials like ABS, ASA, HIPS, PMMA, and PC.
You’ll need proper vapor containment using a partially enclosed container with ventilation holes.
Essential equipment for acetone handling includes:
- Glass jars or polypropylene containers for vapor containment
- Raised metal platform to elevate parts above liquid acetone
- Dampened paper towels for consistent vapor distribution
- Protective gloves and eye protection during setup
- Well-ventilated workspace away from ignition sources
Exposure time ranges from minutes to thirty minutes depending on desired finish. Remove parts immediately when layer lines disappear to prevent over-smoothing.
This process creates glossy surfaces while maintaining structural integrity across complex geometries. The acetone dissolves ABS and forms a slurry that aids in eliminating surface imperfections throughout the smoothing process.
Heat Gun Method for Layer Line Reduction
Heat guns provide another effective approach for smoothing 3D prints by applying controlled thermal energy to soften surface layers. This technique offers excellent heat gun efficiency when you maintain proper distance and movement patterns. Temperature control remains critical-set your heat gun to low or medium settings to prevent warping.
| Material | Distance | Temperature Setting | Technique |
|---|---|---|---|
| PLA | 15-20 cm | Low-Medium | Continuous sweeping motion |
| ABS | 15-20 cm | Low | Quick passes to prevent warping |
| PETG | 18-22 cm | Low | Minimal exposure time |
Keep the gun moving constantly across layer lines to guarantee even heating. This method works best on flat surfaces and gentle curves. You’ll achieve ideal results by targeting specific problem areas rather than heating entire prints uniformly.
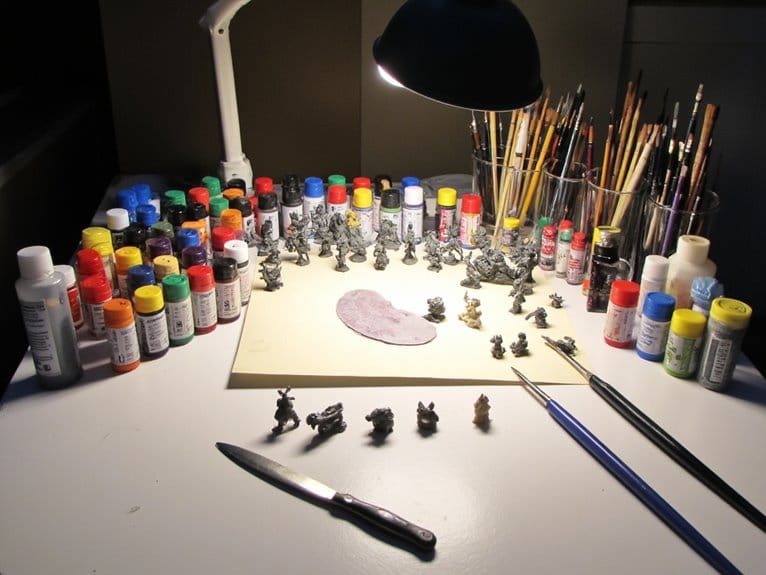
Primer and Paint Application Process
Although heat gun methods can effectively reduce layer lines, primer and paint application offers the most thorough solution for achieving professional-grade surface finishes on 3D prints.
You’ll need to select primer types based on your filament material and intended paint compatibility. PLA requires different primers than ABS or TPU. Neutral gray primers reveal surface flaws for correction.
Follow this systematic approach:
- Sand support marks and layer lines with fine-grit sandpaper before priming
- Apply 1-5 thin primer coats, allowing complete drying between layers
- Perform light post-primer sanding to remove dust nibs and roughness
- Select appropriate paint techniques-spray for even coverage, brush for details
- Build color with multiple thin paint layers rather than single heavy coats
Apply primers in temperatures of 55-75°F and below 60% humidity to ensure proper adhesion quality and optimal curing results. This process creates consistent adhesion while preserving surface details that aggressive smoothing methods often eliminate. Acrylic-based primers work effectively on plastic materials for superior adhesion and provide durability under various conditions. For optimal results, choose high-quality acrylic paints that provide excellent pigmentation and smooth application properties essential for achieving professional finishes. Select paints with ASTM D-4236 compliance to ensure safety and professional-grade results for your 3D printing projects.
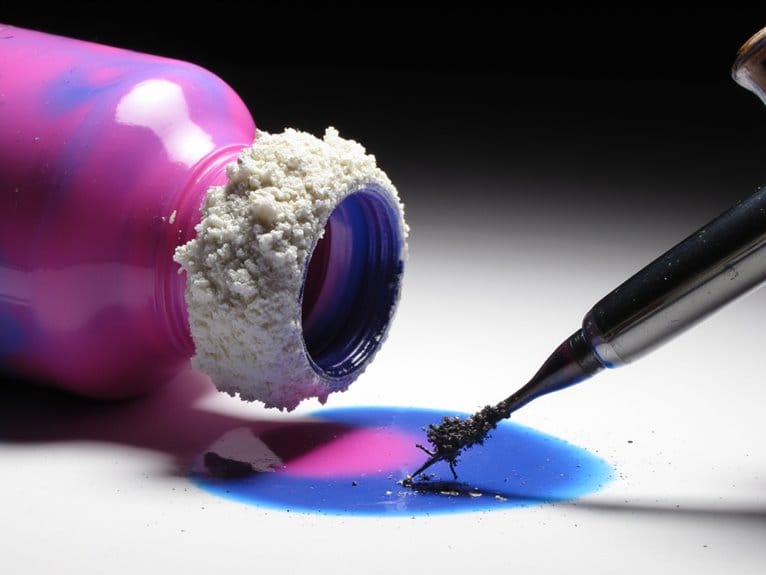
Epoxy and UV-Curable Resin Coating
Chemical coatings represent the most thorough approach to eliminating layer lines while adding substantial durability to your prints.
Epoxy resin requires mixing two components in precise manufacturer-specified ratios. You’ll apply the mixture using brushes or foam applicators after light sanding preparation.
Epoxy benefits include waterproof protection, enhanced mechanical strength, and a glass-like finish that conceals layer imperfections. Curing takes 24-48 hours in dust-free environments with proper ventilation.
UV-curable resins offer faster processing alternatives. You can brush these coatings onto prints and cure them rapidly using UV light sources.
UV curable advantages include controlled curing times and reduced wait periods compared to traditional epoxies.
Both coating types provide superior surface smoothness through gap-filling properties and chemical bonding with print materials.
Alternative Coating Materials and Finishes
Beyond epoxy and resin systems, numerous coating alternatives can effectively smooth your 3D prints while offering distinct advantages in cost, application ease, or specialized properties. These alternative coating techniques range from traditional automotive primers to specialized waxes and powder filler treatments.
From automotive primers to microcrystalline waxes, alternative coating methods provide cost-effective solutions for achieving professional-quality 3D print finishes.
Consider these versatile finishing options:
- Automotive spray primers – Fill minor layer lines while providing excellent adhesion for topcoats
- Microcrystalline waxes – Buff to glossy finishes with minimal equipment requirements
- High-build primers – Add substantial thickness for thorough sanding and smoothing
- Talcum powder mixtures – Create brush-on pastes when combined with resin bases
- Polyurethane paints – Deliver durable finishes that mask imperfections while increasing structural strength
Each method balances different priorities: cost efficiency, application simplicity, or specialized performance characteristics for your specific project requirements. When mistakes occur during the coating process, water-based solutions can safely remove problematic layers without damaging the underlying plastic print material. Specialized brushes like brass, nylon, and stainless steel varieties prove essential for applying these coatings effectively and achieving professional finishing results.
On a final note
You’ve now learned multiple methods to achieve smooth 3D prints. Choose mechanical sanding for PLA and PETG parts. Select acetone vapor for ABS components requiring high precision. Apply heat guns when you need controlled layer melting. Use primers and paints for cosmetic finishes. Consider epoxy coatings for structural applications. Always prioritize safety with ventilation and protective equipment. Match your smoothing technique to your material type and intended use for best results.