We are supported by our audience. When you purchase through links on our site, we may earn an affiliate commission, at no extra cost for you. Learn more. Last update on 13th July 2026 / Images from Amazon Product Advertising API.
You’ll need chemical-resistant nitrile gloves, safety goggles, and proper ventilation before starting paint removal. Choose Simple Green for gentle 24-48 hour soaking or isopropyl alcohol for faster results on plastic miniatures. Limit plastic exposure to 30 minutes and resin figures to 10-15 minutes to prevent damage. Use hard-bristled toothbrushes for scrubbing and rinse thoroughly with warm water afterward. Air-dry completely before inspection. The complete process involves specific techniques for different materials and stubborn paint situations.
Notable Insights
- Wear fit-tested respirators, chemical-resistant nitrile gloves, safety goggles, and protective clothing when handling stripping agents.
- Choose gentle options like Simple Green for safer stripping or use aggressive solvents like acetone with proper ventilation.
- Limit soaking times based on material: plastic miniatures 30 minutes, resin figures 10-15 minutes, metal miniatures longer exposure.
- Work in well-ventilated areas with organized tools, disposable barriers, and keep food and electronics away from contamination zones.
- Rinse thoroughly with warm soapy water after stripping, then air-dry completely before inspecting for remaining paint residue.
Essential Safety Gear and Workspace Setup
Before you begin stripping paint from miniatures, establishing proper safety protocols isn’t just recommended-it’s essential for protecting your health and guaranteeing successful results.
Conduct thorough safety assessments by reviewing the Safety Data Sheet (SDS) for each stripping agent you’ll use. These documents specify required protection levels and potential hazards.
Your PPE arsenal must include fit-tested respirators, chemical-resistant nitrile gloves, and safety goggles or full-face shields. Don high-quality disposable protective clothing to prevent skin contamination.
Essential PPE includes fit-tested respirators, chemical-resistant nitrile gloves, safety goggles, and disposable protective clothing to prevent contamination.
Workspace organization determines both safety and efficiency. Position tools within easy reach to minimize spills.
Install proper ventilation or fume extraction systems to reduce toxic vapor exposure. Lay disposable barriers like plastic sheets to catch drips. Assure adequate lighting for detail work while keeping food, drinks, and electronics away from potential contamination zones. Many paint strippers require good ventilation during application to prevent the accumulation of harmful vapors in your workspace. Quality protective equipment not only safeguards against immediate chemical exposure but also preserves your long-term health when working with paint stripping agents regularly. Remember that repeated exposure to chemical strippers can lead to throat irritation and difficulty breathing over time.
Selecting the Right Stripping Agent for Your Project
When choosing a stripping agent, you’ll face a direct trade-off between safety and speed of paint removal.
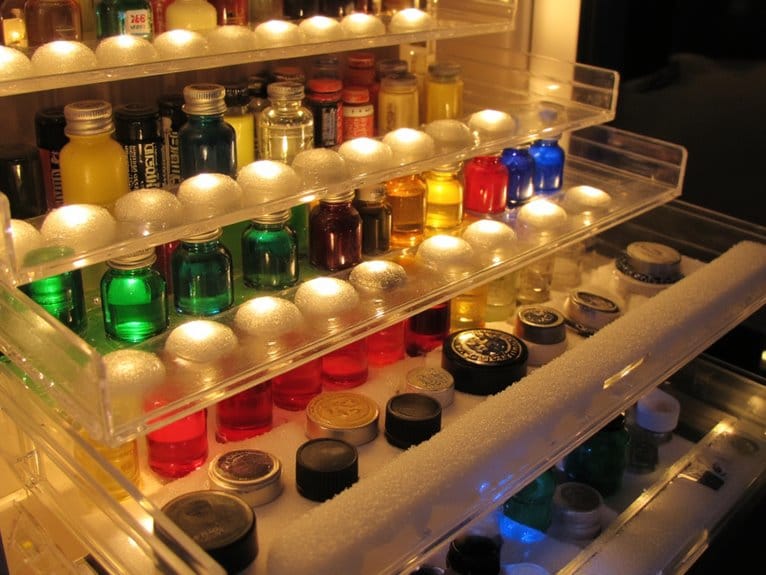
Gentle, environmentally friendly options like Simple Green take 24-48 hours to complete the job but produce no toxic fumes, while aggressive solvents like acetone work in minutes but require ventilation and protective equipment. Isopropyl Alcohol stands out as a widely regarded universal stripping agent that balances effectiveness with reliability across different geographic regions.
Your miniature’s material composition-whether plastic, resin, or metal-determines which agents you can safely use without causing structural damage or surface deterioration. Always conduct a test on sprue or spare miniature first to verify the chosen method’s effectiveness before committing to your entire project.
Safety Vs Effectiveness
Although effective paint removal remains your primary goal, you’ll face an inevitable trade-off between stripping power and personal safety when selecting the right agent for your miniatures.
Aggressive strippers like DOT3 brake fluid and acetone-based removers deliver rapid results but pose significant health risks through skin irritation, respiratory issues, and toxic fume exposure. These chemicals require extensive protective equipment and ventilation systems to guarantee safe operation.
Balancing effectiveness with safety considerations leads many hobbyists toward environmentally friendly alternatives like Simple Green or Super Clean.
While these products work slower than harsh industrial chemicals, they dramatically reduce health hazards and eliminate toxic vapor concerns. Modern alternatives like AK Interactive paint stripper offer quick-reacting formulas that can complete the stripping process in as little as half an hour while maintaining safer handling characteristics. Minimizing exposure becomes achievable without sacrificing paint removal quality, though you’ll need longer soaking times to achieve complete stripping results.
Isopropyl alcohol at 90% concentration provides the safest option for beginners who prioritize minimizing chemical exposure over speed of paint removal.
Material Compatibility Considerations
Your miniature’s material composition determines which stripping agents you can safely use without causing permanent damage.
Plastic miniatures tolerate isopropyl alcohol and denatured alcohol well, but avoid prolonged soaking beyond 30 minutes to prevent warping.
Resin figures require shorter exposure times-typically 10-15 minutes maximum-as extended contact can cause surface softening or bubbling.
Metal miniatures offer the greatest durability, withstanding longer chemical exposure without structural compromise.
Understanding material properties helps you select appropriate solvents. Solvent interactions vary greatly between materials; what works safely on metal may destroy resin details. Test compatibility on hidden areas first.
Citadel paints respond effectively to denatured alcohol on plastic and metal surfaces.
Avoid methylene chloride-based strippers on delicate materials, as they can cause irreversible corrosion or structural damage. Always wear safety gloves when handling any stripping agent to prevent chemical exposure to your skin.
Preparing Your Miniature for Paint Removal
Before you begin stripping paint from your miniature, you’ll need proper safety equipment and should consider protecting any areas you want to keep painted.
Essential safety gear includes nitrile or latex gloves to prevent skin contact with chemical strippers, and you should work in a well-ventilated area to avoid inhaling fumes from solvents like isopropyl alcohol or commercial paint removers.
If your miniature has mixed painted and unpainted sections, use painter’s tape or liquid masking products to cover areas where you want the original paint to remain intact.
Safety Equipment and Precautions
Paint stripping chemicals pose several health and safety risks that require proper protective measures before you begin the removal process.
Wear rubber or latex gloves to prevent skin contact with caustic substances. Safety goggles shield your eyes from chemical splashes and debris during scrubbing. Use a respirator mask when working with acetone or isopropyl alcohol, as these emit harmful fumes.
Work in a well-ventilated area or outdoors to minimize inhalation risks. Lay protective coverings beneath your workspace to catch drips and prevent surface damage. User experiences consistently emphasize the importance of proper ventilation when following stripper recommendations for commercial removers.
Keep chemicals away from children and pets. Never eat or drink in your workspace to prevent accidental ingestion.
Wash hands thoroughly after handling any stripping solution, even when wearing gloves.
Protecting Unpainted Areas
Why would you strip an entire miniature when only specific sections need paint removal? Smart painters protect unpainted areas before applying strippers. Masking techniques preserve your existing work while targeting problem zones.
| Protection Method | Best For | Application Tool | Removal Method |
|---|---|---|---|
| Painter’s Tape | Flat surfaces | Direct application | Slow peeling |
| Liquid Frisket | Fine details | Fine-tip brush | Warm water |
| Plastic Wrap | Large areas | Hand placement | Direct removal |
| Modeling Putty | Irregular shapes | Micro spatula | Gentle lifting |
Protective materials must match your miniature’s composition. Test masking agents on hidden areas first. Clean surfaces thoroughly before applying protection-dirt compromises adhesion. Allow protective layers to cure completely before stripping begins. Remove protection slowly using appropriate solvents to avoid damaging preserved surfaces.
Complete Miniature Stripping Techniques
Anyone can successfully strip paint from miniatures using the right combination of safe chemicals, proper workspace preparation, and methodical techniques. Complete stripping methods require full immersion in compatible chemical solutions. Select environmentally friendly strippers like Simple Green for safer chemical interactions with miniature materials.
Submerge your miniature completely in a sealed container, ensuring uniform coverage for consistent paint breakdown. Soaking times vary by chemical strength-mild solutions need several hours while stronger formulations work faster. Gently agitate miniatures periodically to improve stripping efficiency.
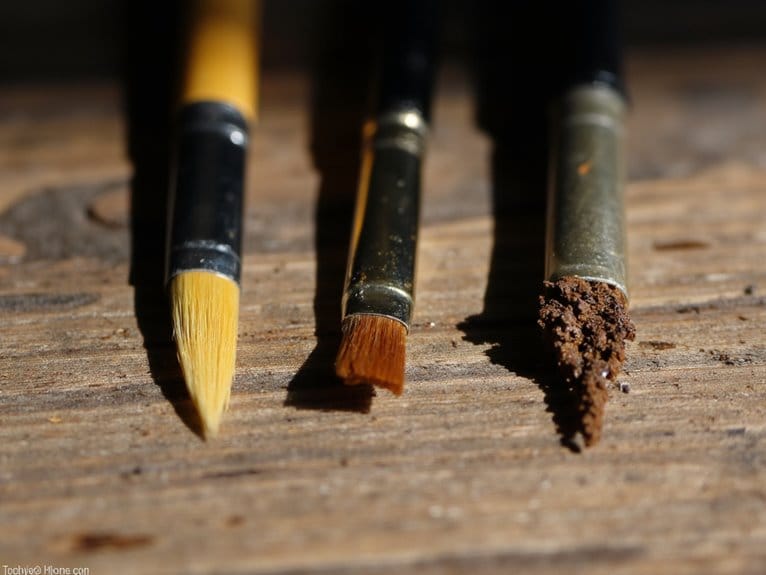
After soaking, use hard-bristled toothbrushes to scrub loosened paint and toothpicks for detailed crevices. Rinse thoroughly with water to neutralize remaining chemicals. Repeat the process if stubborn paint persists, maintaining gentle pressure to preserve miniature details throughout the stripping procedure.
Targeted Paint Removal for Specific Areas
Sometimes you’ll need to strip paint from just one section of your miniature while preserving the rest of the paintwork. These targeted techniques require precision tools and controlled application methods to maintain paint integrity elsewhere.
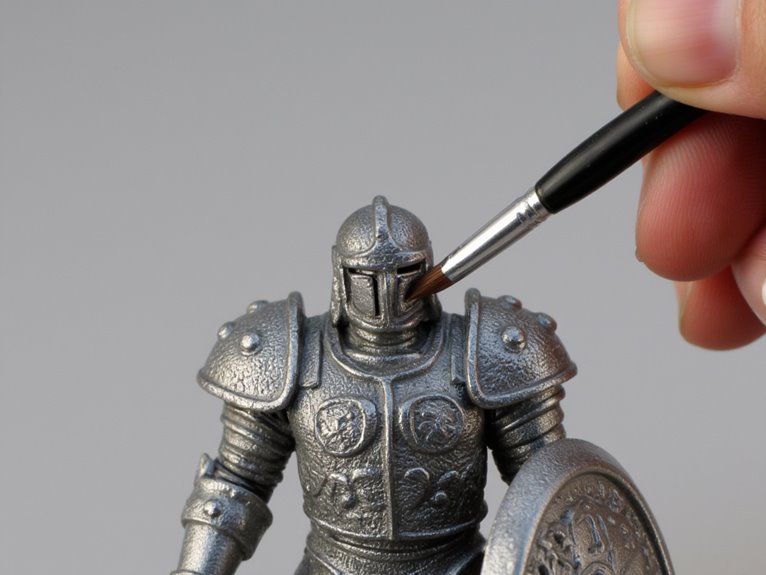
Use fine detail brushes or cotton swabs to apply stripper sparingly to specific areas. Isopropyl alcohol works well for acrylic paints, while Simple Green offers gentler action. Apply masking tape or putty around treatment zones to protect adjacent surfaces.
Work with minimal solvent quantities to prevent oversaturation. After paint softens, scrub gently with soft-bristle brushes to remove loosened material. Cotton swabs help dab away debris in tight spaces.
Rinse treated areas immediately with soapy water to neutralize residual chemicals. This prevents damage to underlying materials while maintaining the integrity of surrounding paintwork. Always test water-based formulas on discreet areas before applying widely to ensure no damage occurs to your miniature’s surface.
Working With Stubborn Paint and Fine Details
Some miniatures present greater challenges due to multiple paint layers, primer bonds, or intricate sculpted elements that trap paint in hard-to-reach spaces. These situations require specialized effective techniques beyond standard stripping methods.
For stubborn paint adhesion, soak miniatures in Biostrip 20 for 30–60 minutes before mechanical removal. Apply stripper directly with brushes for targeted areas, but monitor timing carefully to prevent detail damage. Use soft-bristled toothbrushes for gentle scrubbing in recesses.
| Method | Best For |
|---|---|
| Extended soaking (30-60 min) | Multiple paint layers |
| Brush application | Targeted removal |
| Fine tools (toothpicks) | Intricate details |
Remove paint in manageable sections like peeling a sock. This segmented approach preserves delicate sculpted elements while ensuring complete coverage of problem areas. After stripping is complete, test the miniature’s surface preparation with a small amount of precision craft glue to ensure proper adhesion for any reassembly or repair work needed.
Proper Cleaning and Rinsing Methods

Once you’ve successfully loosened the paint through soaking and gentle scrubbing, thorough cleaning becomes critical to prepare your miniature for new paint application.
Proper rinse techniques require running warm water over the model to dissolve soap residue and paint particles. You’ll need to remove all washing-up liquid completely, as any remaining film will prevent new paint from adhering correctly.
Complete soap removal is essential for proper paint adhesion on your freshly cleaned miniature.
Your washing protocols should include quick but extensive rinsing under running water.
Avoid prolonged water exposure that could warp plastic components.
Inspect each miniature carefully for stubborn paint deposits in recesses and detail areas. If paint remains, repeat the soaking process rather than using aggressive scrubbing.
Always dispose of contaminated rinse water responsibly, since it contains dissolved paint particles and chemical residues.
Drying and Final Inspection Process

After completing the rinse cycle, you’ll need to verify your miniatures dry completely before moving forward with surface evaluation. Proper drying techniques involve air-drying for 30 minutes to several hours, depending on ambient conditions. Avoid direct sunlight or heat sources that could warp plastic components.
| Inspection Stage | Focus Area | Tools Required |
|---|---|---|
| Visual Assessment | Paint residue spots | Magnifying glass |
| Structural Check | Warping/cracking | Visual inspection |
| Surface Texture | Smoothness | Tactile examination |
| Chemical Residue | Sticky/oily areas | Clean cloth test |
| Final Verification | Overall readiness | Complete review |
Your inspection methods should include magnification tools for detailed examination. Check structural integrity, paying attention to delicate parts like antennae and weapon details. If damage occurs, repair with modeling putty before proceeding to primer application. During this evaluation phase, specialized tweezers and precision files from a quality hobby toolkit can help remove stubborn paint fragments and smooth rough surfaces without damaging fine details.
Safe Disposal and Environmental Considerations
Three critical factors determine whether your paint stripping project harms or protects the environment: proper chemical disposal, waste solidification techniques, and adherence to local hazardous material regulations.
Never pour paint strippers, solvents, or rinse water down drains or onto soil. These chemicals contaminate groundwater and harm wildlife habitats.
Effective waste management requires solidifying all liquid residues before disposal. Mix cat litter with leftover paint or rinse water to create solid waste suitable for regular trash bins. Clay-based litters absorb paint chemicals effectively, preventing toxic leakage during transport to landfills.
Allow paint water to evaporate completely, leaving only dried residue for disposal. Your environmental impact diminishes considerably when you take unused chemical products to local hazardous waste recycling centers designed for proper handling.
On a final note
You’ve now mastered safe miniature paint stripping techniques. Always prioritize ventilation and protective equipment during chemical exposure. Store stripping agents in original containers away from heat sources. Dispose of waste materials according to local hazardous waste regulations. Document your process for future reference, noting which agents worked best on specific paint types. Practice these methods on test pieces before tackling valuable miniatures. Proper technique guarantees consistent results without damaging underlying details.