We are supported by our audience. When you purchase through links on our site, we may earn an affiliate commission, at no extra cost for you. Learn more. Last update on 13th June 2026 / Images from Amazon Product Advertising API.
You’ll need acrylic paints diluted 1:1 with water, quality synthetic brushes, and a 24″ by 18″ workspace with proper LED lighting. Start by cleaning your miniatures with warm soapy water, removing mold lines, then applying thin primer coats for paint adhesion. Master base coating, highlighting, and shading techniques through consistent practice while documenting your progress. Focus on multiple thin layers rather than thick applications to achieve professional results. These foundational steps reveal advanced techniques that elevate your miniatures.
Notable Insights
- Gather essential supplies including acrylic paints diluted 1:1 with water, quality synthetic brushes, and proper lighting for accuracy.
- Set up a dedicated workspace with minimum 24″ by 18″ desk space and organized storage for paints and tools.
- Prepare miniatures by removing mold lines, washing thoroughly, and applying thin primer coats for better paint adhesion.
- Master fundamental techniques like base coating, highlighting, and shading through consistent practice and proper paint layering methods.
- Document your progress with photos and journals to track improvement and guide your skill development journey.
Essential Tools and Materials for Beginners
Three fundamental categories of supplies form the foundation of any miniature painting setup: paints, brushes, and workspace accessories.
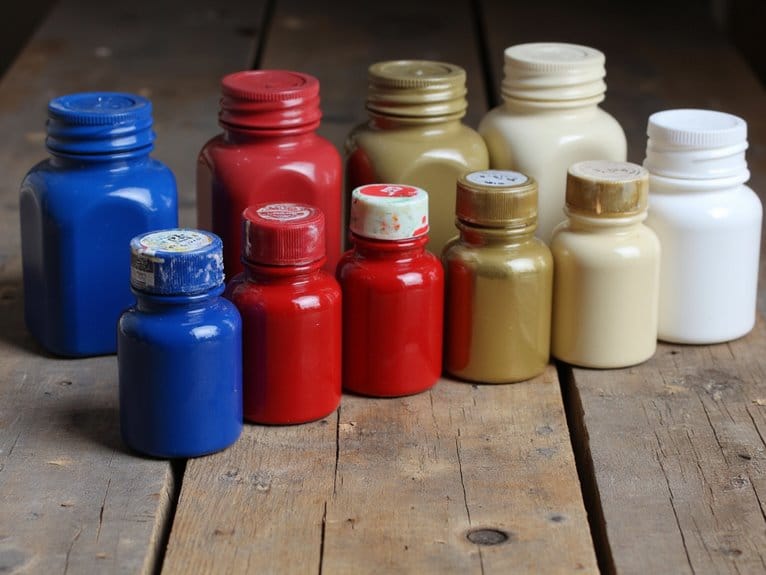
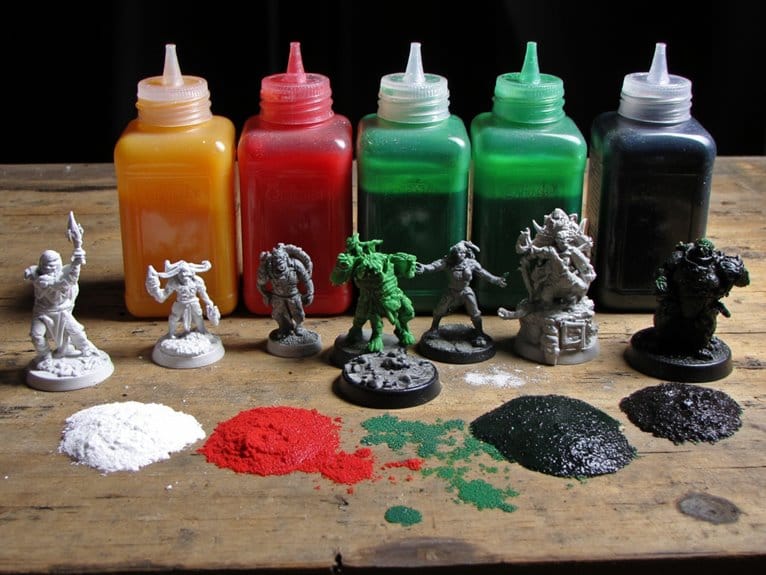
You’ll need acrylic paints as your primary medium-they’re beginner-friendly with quick drying times and vibrant colors. Dilute them 1:1 with water to prevent thick application that flakes off. Look for non-toxic formulations that provide excellent pigmentation and complete opacity for the safest and most professional results.
Essential brush types include regiment brushes for base coating and tiny detail brushes for fine work. Synthetic hair brushes outperform household bristles without damaging miniatures. Round fan and angular synthetic varieties serve different coverage needs. Triangular handle brushes provide enhanced grip and control for intricate details while reducing hand fatigue during extended painting sessions.
Invest in quality synthetic brushes-regiment brushes for broad coverage and detail brushes for precision work on delicate miniature features.
Paint palettes prevent rapid drying and maintain consistency during sessions. You can purchase proper palettes or improvise with dishes. A wet palette extends paint worktime by keeping it hydrated and allows continued use between sessions. Advanced hydration technology in professional wet palettes can maintain paint workability for days or even weeks.
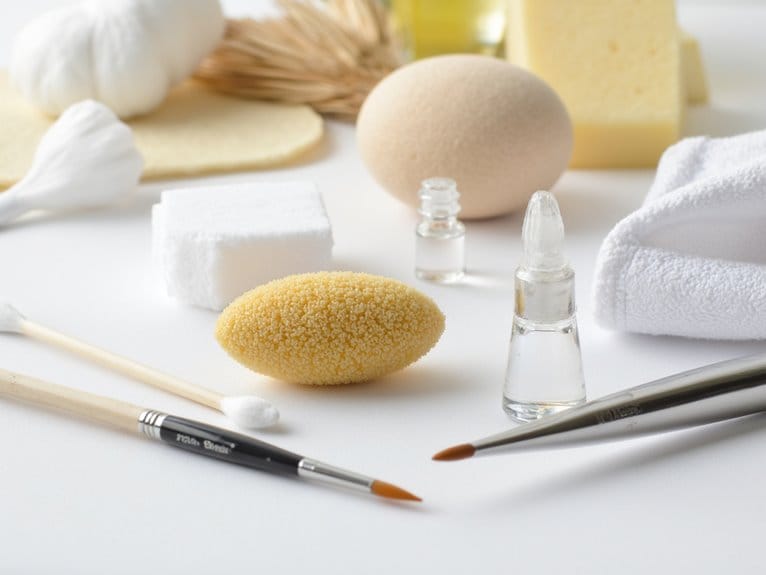
Add miniature holders for improved grip control, paper towels for cleanup, and proper lighting to reduce eye strain while ensuring color accuracy. Chemical compatibility between your paints and miniature materials is crucial for preventing peeling and achieving long-lasting results. Consider starting with basic tools and materials to ease into the hobby before investing in more advanced equipment.
Creating Your Perfect Painting Workspace
Where you paint determines how well you paint. Your workspace layout directly impacts painting quality and comfort. Organize your area into dedicated stations-preparation, painting, and storage zones. This mimics professional kitchen efficiency.
Keep your desk stable with minimum dimensions of 24″ by 18″ for proper arm positioning. Consider adjustable height desks that allow you to switch between sitting and standing positions during long painting sessions.
Lighting options greatly affect detail work precision. Natural daylight near windows provides ideal illumination. For artificial lighting, use LED bar lamps or specialized units like the Brightech LightView Pro, which combines magnification with bright illumination. Adjustable angles reduce shadows and glare. Look for lamps with CRI ratings above 90 to ensure accurate color perception when working on detailed miniatures.
Choose ergonomic furniture with adjustable height and lumbar support. Your elbows should rest at desk height with relaxed shoulders. Consider investing in rolling carts that provide mobility and additional storage while allowing you to reconfigure your workspace as your needs evolve.
Integrate storage solutions within arm’s reach for paints and brushes. Tiered designs enhance paint visibility and selection speed, making it easier to locate specific colors during painting sessions. Use nearby closets for unpainted miniatures, maintaining workspace tidiness and reducing setup time. Professional brush sets often include protective holders that help organize your tools while preventing damage to delicate bristles.
Preparing Your Miniatures for Paint
Proper miniature preparation determines whether your paint job looks amateur or professional.
Begin with thorough mold line removal using hobby knives or fine files to eliminate flash from the molding process. These raised lines create unnatural edges that distract from realistic details.
Next, perform detailed miniature washing in warm soapy water. Factory miniatures contain mold release agents that prevent paint adhesion. Use a soft toothbrush to scrub all surfaces, then rinse completely and air dry.
Assemble components with appropriate adhesives-super glue for metal, plastic cement for styrene. Fill gaps with modeling putty and sand smooth when cured.
Apply thin primer coats for uniform paint adhesion. For best results, choose acrylic-based primers that provide superior adhesion on both plastic and metal materials while offering durability under gaming conditions. The Army Painter primers are particularly effective for tabletop gaming models, combining primer and color formulations that streamline the painting process. Mount your miniature on a stable holder to prevent handling damage during painting sessions.
When creating scenic bases for your miniatures, consider using specialized adhesives that offer precision application and strong bonds for attaching various terrain materials and foliage elements. CA glues provide instant bonding within 2-5 seconds, making them ideal for quickly securing small basing materials without extended repositioning time.
Fundamental Painting Techniques to Master
You’ll master miniature painting by learning five core techniques that build upon each other systematically.
Base coating establishes your foundation layer, while highlighting and shading create the dimensional contrast that brings your miniatures to life.
These fundamental methods form the backbone of every professional paint job, regardless of complexity or subject matter.
For optimal results, focus on paints with good flow consistency and high opacity to achieve full coverage with thin layers.
Start with synthetic bristles that resist shedding and provide excellent control for detailed miniature work.
Choose paints with particle sizes below 35μm to prevent clogging and ensure smooth application during your painting sessions.
Consider using flow improvers to enhance paint fluidity and extend working time, which allows for better blending and smoother application during detailed work.
Base Coating Methods
Once you’ve primed your miniature, base coating becomes the foundation that determines your paint job’s ultimate success.
Color selection starts with understanding how primer affects final appearance-mid-gray primer delivers true pot colors.
Paint thinning requires achieving heavy cream consistency. Add one drop of paint to your palette, then dilute gradually using water or thinning medium. Use droppers for precise ratios to prevent over-thinning.
Apply 2-3 thin layers rather than one thick coat to preserve surface detail.
Start with hard-to-reach areas first. Don’t overload your brush-this causes pooling and obscures texture.
Synthetic brushes work best for durability and cost-effectiveness. Maintain sharp tips by rolling on damp towels.
Consider using a wet palette to keep your acrylic paints workable throughout extended painting sessions, reducing waste and maintaining consistent paint consistency. High permeability papers with 200+ GSM prevent acrylic drying for 8+ hours compared to standard options that only allow 2 hours of application time.
Choose non-toxic formulations that meet ASTM D-4236 safety standards, especially important for extended indoor painting sessions with proper ventilation.
Remember: models with only proper base coats look better than those with poor bases plus advanced techniques.
Wait 24 hours after applying your base coats before considering varnish application to ensure complete acrylic curing and optimal protection of your work.
Highlighting and Shading
While base coating establishes your miniature’s foundation, highlighting and shading transform flat surfaces into convincing three-dimensional forms. You’ll need to determine your light source direction early-typically from above or above-left-to maintain consistent lighting effects across the entire model.
| Technique Type | Method | Application | Paint Consistency | Result |
|---|---|---|---|---|
| Progressive Highlighting | Layer lighter colors gradually | Build from dark to light areas | Thin layers | Smooth brightness shifts |
| Line Highlighting | Paint fine edges with lighter tones | Focus on raised details and edges | Standard consistency | Sharp detail emphasis |
| Wash Shading | Apply thinned darker paint | Flow into recesses and crevices | Very thin, watery | Enhanced depth and volume |
| Layered Shading | Build multiple shadow layers | Gradually increase darkness | Thin to medium | Natural shadow gradation |
| Glazing | Transparent color layers | Subtle enhancement over base | Very thin, translucent | Smooth color shifts |
These highlight techniques and shading methods create realistic depth when applied consistently with your chosen light direction. When working with washes and glazes, proper paint thinning ensures optimal flow characteristics and prevents the paint from becoming too thick and obscuring fine details. For more complex miniature modifications or sculpting custom details, epoxy putty can be used to add raised elements that will catch highlights effectively. Advanced techniques like glazing and washing enhance shadow integration and help create more convincing dimensional effects on your miniatures. For wash shading, consider using miniature washes specifically formulated for model painting to achieve consistent flow and natural pooling in recessed areas.
Building Skills Through Practice and Learning
Building consistent painting skills requires dedication to regular practice, much like developing muscle memory in any craft. Practice consistency determines your improvement rate more than natural talent.
Paint multiple miniatures simultaneously to maintain motivation and prevent fatigue from single-model focus.
Introduce one new technique per project. This prevents overwhelming yourself while ensuring steady growth. Master foundational skills like proper paint dilution ratios (2:1 water to paint) before attempting advanced methods.
Complete entire models rather than abandoning them halfway through. This exposes you to all workflow stages.
Conduct regular skill assessment by comparing current work to previous miniatures. Document your progress with photos.
Take breaks when needed to prevent burnout. Access online tutorials and community forums for feedback and inspiration.
Set realistic session goals to maintain satisfaction and measurable advancement. Invest in quality brush cleaners to preserve your tools, as protecting brushes costing $20 or more is crucial for maintaining consistent results.
Consider investing in cordless airbrush kits for enhanced portability and flexibility when working on detailed miniature projects, as these tools eliminate dependence on bulky compressors while providing consistent results.
Growing and Sustaining Your Painting Journey
As your miniature painting skills develop, you’ll want to focus on three key areas that separate casual hobbyists from dedicated painters.
Smart tool upgrades should follow your growing expertise rather than your enthusiasm, while systematic progress tracking provides measurable data on your improvement over specific timeframes. Understanding different paint types and their specific applications will significantly enhance your painting capabilities as you progress from basic coverage to advanced techniques.
Exploring different painting styles and techniques keeps your creative momentum strong and prevents the skill plateaus that often discourage painters after their first few months. Building a collection with water-based acrylics that offer superior opacity and lightfastness will provide the foundation for consistent results across all your projects.
Investing in quality painting handles with ergonomic designs and anti-shake features becomes particularly valuable as you tackle more detailed work and longer painting sessions.
Organizing your expanding paint collection becomes essential as you acquire more colors, and choosing the right paint organizers with adequate capacity and brand compatibility will keep your workspace efficient and prevent creative interruptions.
Upgrading Tools Gradually
Once you’ve mastered basic techniques with starter supplies, strategic tool upgrades will enhance your painting capabilities without overwhelming your budget or workspace.
Begin with mid-range brushes that balance cost and performance. Focus on proper brush selection tips by choosing fine-tip watercolor brushes designed for detail work. Learn essential tool maintenance advice early-clean brushes immediately after use and reshape tips while damp.
Your upgrade sequence should follow this progression:
- Quality primer sprays for superior paint adhesion and surface preparation.
- Specialty brushes including fine detail rounds and dry brushes for advanced techniques.
- Auxiliary tools like tweezers for small parts and hobby drills for modifications.
- Workspace improvements with better lighting, magnification, and organized storage solutions.
Expand your paint palette progressively, adding metallics and washes only after mastering basics. This methodical approach prevents waste while building genuine expertise.
Tracking Your Progress
Successful miniature painters consistently document their work because tracking progress transforms random practice into deliberate skill development.
Time tracking reveals your actual painting speed and identifies bottlenecks in your workflow. Record hours spent on basecoating, washing, and detailing to optimize each stage. Digital apps like Brushrage or simple spreadsheets work equally well for logging data.
Maintain a painting journal documenting color recipes, techniques, and step-by-step processes. Include photos of completed models to visualize improvement over time. Write brief reflections on each project’s challenges and successes.
Set specific milestones like completing a squad or mastering non-metallic metal techniques. Regular progress reflection through milestone reviews keeps you accountable and motivated.
This systematic approach prevents stagnation and guides your skill development trajectory efficiently.
Exploring New Styles
Tracking your painting development naturally leads you toward experimenting with new approaches that challenge your established methods.
Advanced techniques expand your creative toolkit beyond basic brushwork fundamentals.
Four Essential Advanced Techniques:
- Airbrushing techniques – Create smooth color gradients and seamless basecoats with consistent coverage across large surface areas.
- Wet blending and glazing methods – Layer translucent paints for depth while blending colors before they dry for natural transitions.
- Stippling effects with texture mediums – Apply controlled dot patterns using specialized brushes to simulate fabric weaves and organic surfaces.
- Weathering effects for diorama creation – Incorporate rust, grime, and battle damage using complementary tones and unconventional palettes.
These advanced methods require precise brush control and timing.
Start with single techniques before combining approaches.
Practice builds muscle memory essential for consistent results.
Common Mistakes to Avoid as a New Painter
Beginner miniature painters frequently make preventable errors that compromise their finished models and slow skill development. You’ll encounter paint selection pitfalls when using cheap craft paints instead of miniature-specific brands like Citadel or Vallejo. These low-quality paints contain excessive fillers and poor pigment density.
Proper preparation avoids major issues. Clean your miniatures thoroughly before priming, removing all mold lines and grease residues. Apply primer designed specifically for plastic or resin materials to guarantee proper adhesion.
Thorough miniature preparation prevents paint adhesion failures and ensures professional-quality results from your first basecoat application.
Follow proper drying techniques tips between coats. Apply multiple thin layers rather than thick applications that obscure surface details. Thin your paints appropriately-early base coats need more body for coverage, while subsequent layers require more dilution.
Use daylight-spectrum lighting for accurate color perception during painting sessions.
On a final note
You’re now equipped with the foundational knowledge to begin miniature painting. Start with basic tools and practice fundamental techniques on inexpensive models. Don’t rush your progress-skill development requires consistent practice over months. Focus on thin paint layers and proper brush control. Join local gaming groups or online communities for guidance and motivation. Remember that patience and persistence matter more than expensive equipment when you’re starting out.