We are supported by our audience. When you purchase through links on our site, we may earn an affiliate commission, at no extra cost for you. Learn more. Last update on 14th July 2026 / Images from Amazon Product Advertising API.
Hey there! Are you ready to level up your tabletop gaming miniatures? Having trouble with those tiny little eyes? Don't worry, I've got your back! In this guide, I'll show you some super easy techniques to make those eyes pop and look super realistic. You don't need to be a painting pro to achieve amazing results!
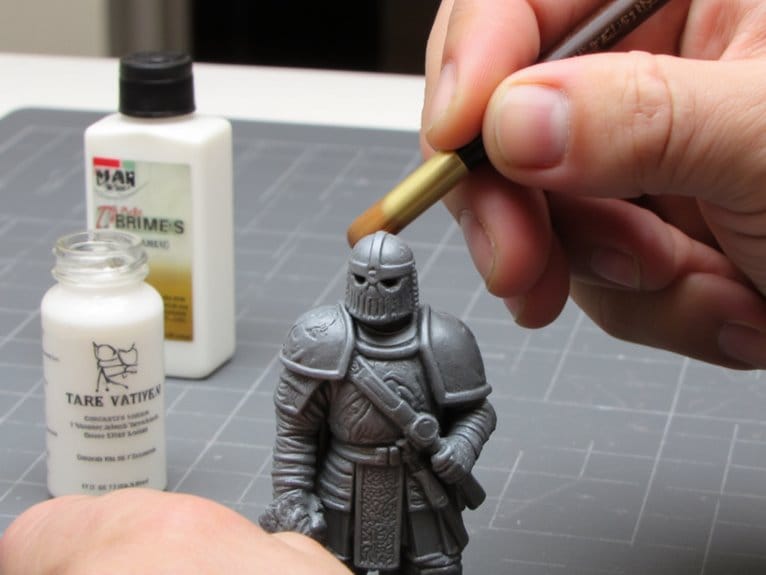
First things first, let's talk about adding depth. To make those eyes really stand out, start by using a dark brown shade. This will give them a three-dimensional look and make them appear more lifelike. Apply the shade carefully around the eye area, using a small brush for precision.
Now, onto the whites of the eyes. This may seem a bit tricky, but trust me, anyone can do it! Take a tiny brush and paint the whites using a light color, like off-white or a very pale yellow. Remember to keep your hand steady and take your time. You want to create a smooth and even layer, as if your miniature is gazing right into your soul!
If you're feeling adventurous, you can even add a little dot of bright white to mimic the reflection of light on the eye. This will give it that extra touch of realism and make it look like your miniature is really alive.
And there you have it! With just a few simple techniques, you can bring your miniatures to life by painting their eyes. So go ahead, grab your paintbrushes, and let's dive into the mesmerizing world of miniature eye painting! Trust me, it's gonna be a lot of fun and totally worth it. Your miniatures will thank you!
Key Takeaways
- Painting eyes on miniatures can be challenging and time-consuming, but using a dark brown color in the eye sockets can create a quick shade and give the illusion of painted eyes.
- Using a fine-tipped brush and an off-white color, painting two dots on the sides of each eye socket can create the whites of the eyes and add more detail to the miniature.
- Creating contrast with black and white paint can provide a more impactful look, especially for miniatures with dark or menacing characters.
- The Crosshair Method and the Bullseye Method are two forgiving techniques that can help those who struggle with painting detailed eyes.
Basic Method for Miniature Eyes
To start painting miniature eyes using the basic method, begin by using a dark brown color in the eye sockets. This technique is a beginner-friendly approach that's perfect for those who are new to painting miniatures.
By applying the dark brown shade in the eye sockets, you can quickly create a shadow and give the illusion of painted eyes. This method is particularly useful for tabletop gaming where the miniatures will be viewed from a distance. The contrast created by the dark brown shade adds depth and enhances the overall look of the miniature.
It's a simple yet effective painting technique that allows beginners to achieve impressive results with ease.
Painting the Whites of the Eyes
To achieve the best results when painting the whites of the eyes on your miniatures, precision and a steady hand are crucial. Using a fine-tipped brush and an off-white color, carefully paint two dots on the sides of each eye socket.
Precision and Steady Hand
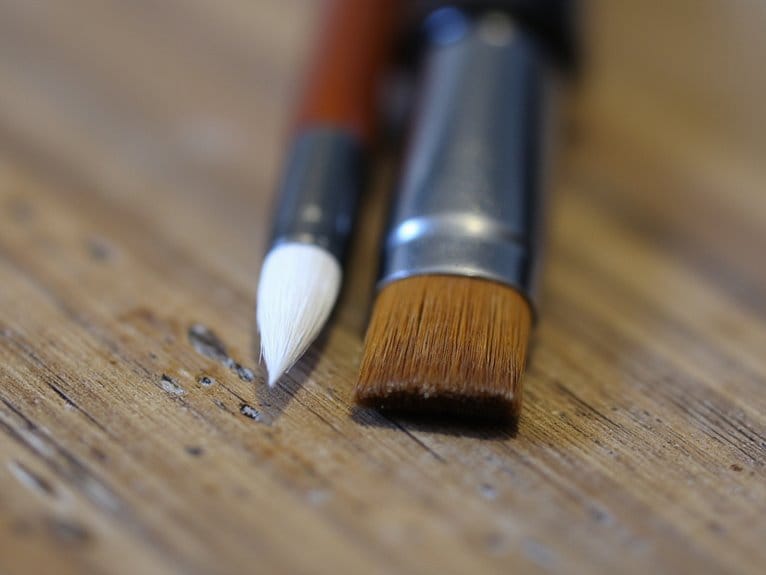
You frequently need a steady hand and precise brushwork when painting the whites of the eyes on miniatures. To achieve the best results, consider the following techniques and tools:
- Fine-tipped brush: Using a brush with a fine tip allows for better control and precision when applying the paint.
- Off-white color: Choosing an off-white color for the whites of the eyes creates a more natural and realistic look.
- Watering down the paint: Adding a small amount of water to the paint helps it flow smoothly and allows for easier application.
Soft and Natural Look
How can you achieve a soft and natural look when painting the whites of the eyes on miniatures?
To achieve this, you can utilize blending techniques and focus on creating realistic eye shapes.
Start by using a fine-tipped brush and an off-white color to paint two dots on the sides of each eye socket. This requires a steady hand and precision.
To create a softer look, consider watering down the brown paint slightly so it can go into the recesses of the eye socket. This technique adds more detail and depth to the eyes, giving them a more natural appearance.
Creating Contrast With Black and White
For a more impactful look, use black and white paint to create a striking contrast in the eyes of your miniature. This technique allows you to add depth and intensity to the eyes, making them stand out on your model.
Here are three key reasons why you should consider creating contrast with black and white:
- Enhances the character: By using black and white, you can convey a sense of mystery, darkness, or intensity to your miniature's eyes, perfect for those menacing or brooding characters.
- Adds visual interest: The contrast between black and white creates a visually striking effect that immediately draws the viewer's attention to the eyes, making them a focal point of your miniature.
- Sets the mood: The use of black and white can help set the mood of your miniature, whether it's a heroic figure with determined eyes or a sinister villain with piercing gazes.
The Crosshair Method
To execute the Crosshair Method for painting miniature eyes, continue building on the previous technique of creating contrast with black and white. This precision technique involves painting a white horizontal line across the eye, followed by a vertical brown line to create the pupil. To help you visualize the process, here is a table outlining the steps:
| Step | Instructions |
|---|---|
| 1 | Paint a brown eye socket |
| 2 | Add a white horizontal line across the eye |
| 3 | Paint a vertical brown line to create the pupil |
| 4 | Use the skin color to tidy up any excess paint |
| 5 | Take your time and use precision to paint straight lines |
Troubleshooting tip: If the paint is not adhering to the eyeball, try adding a small amount of water to thin it down. Additionally, consider using finger positioning to provide extra stability while painting small details like eyes. The Crosshair Method is forgiving for those who struggle with painting a perfect dot for the pupil.
The Bullseye Method and Bonus Tip
To execute the Bullseye Method for painting miniature eyes, you'll use a combination of brown and white paint to block in the eye color. Start by mixing the two colors together to create a light brown shade. Using a fine-tipped brush, carefully paint a small dot in the center of each eye socket. This dot represents the pupil.
Next, add a smaller dot of pure white paint on top of the brown dot to create a highlight. This technique adds depth and dimension to the eyes, making them more realistic.
Adding color variations: Experiment with different shades of brown and white to create unique eye colors for your miniatures.
Using metallic paints: For a touch of innovation, try using metallic paints to add a shimmering effect to the eyes. This can make your miniatures stand out on the gaming table.
Bonus tip: Don't be afraid to get creative with the color of the eyes. Adding a pop of color can add interest and personality to your miniatures, setting the mood for the character.
Adding Color to the Eyes
To add color to the eyes, start by mixing different shades of brown and white paint to create unique eye colors for your miniatures. Using different colors for different eye types can add depth and realism to your miniatures. For example, you can use lighter shades of brown for hazel or amber eyes, and darker shades for brown or black eyes. Experiment with different combinations to achieve the desired effect.
Adding texture to the eyes is another important step. You can do this by using a smaller brush and gently dabbing the paint onto the eye surface to create a textured appearance. This technique can simulate the natural variations found in real eyes and make your miniatures look more lifelike. Remember to work in thin layers and build up the texture gradually for a more realistic result.
With a little practice and experimentation, you can achieve stunning and vibrant eyes that will truly bring your miniatures to life.
Can You Use the Same Technique for Painting Miniature Eyes with Only 3 Colors?
Yes, painting miniature figures with 3 colors can be effective for painting miniature eyes. By utilizing a combination of carefully chosen colors and precise brush techniques, it is possible to achieve realistic and detailed eyes on your miniatures. With a steady hand and attention to detail, you can create impressive results.
Frequently Asked Questions
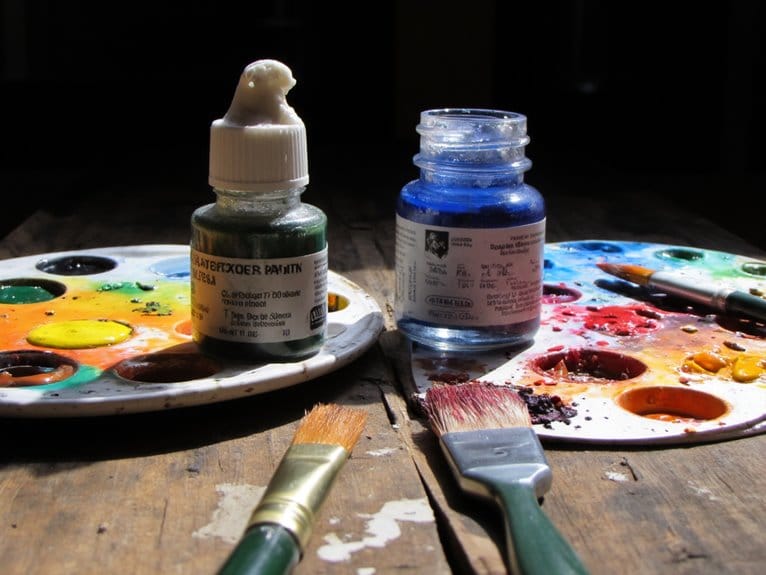
What Type of Paint Should I Use for Painting Miniature Eyes?
You should use acrylic paint for painting miniature eyes. It's versatile and easy to blend colors. Experiment with different techniques like the Crosshair or Bullseye methods to create unique and detailed eyes.
How Do I Fix Mistakes or Smudges When Painting Miniature Eyes?
To prevent smudges while painting miniature eyes, use thin layers of paint and wait for each layer to dry before adding more. Ensure your brush is clean and use a steady hand. For realistic eyes, add highlights and shadows to create depth.
Can I Use Different Colors for the Iris of the Eyes?
Yes, you can use different colors for the iris of the eyes. There are various techniques for creating realistic iris colors. Avoid common mistakes like using too much paint or not blending the colors properly.
Are There Any Specific Brushes or Tools That Are Recommended for Painting Miniature Eyes?
To achieve realistic miniature eyes, use fine-tipped brushes for precision. Create depth and shine by layering different colors, like black and white, and adding small dots for highlights. Experiment with techniques to find what works best for you.
How Long Should I Wait for the Paint to Dry Before Adding Additional Details to the Eyes?
To prevent paint from cracking on your miniature eyes, make sure to let each layer dry completely before adding additional details. For a realistic glossy effect, apply a thin layer of gloss varnish once the eyes are finished painting.
Conclusion
In conclusion, painting miniature eyes may seem daunting at first, but with the techniques and tips provided in this article, you can confidently bring your miniatures to life.
Whether you're a beginner or looking to enhance your painting skills, the step-by-step instructions will guide you through the process.
From creating depth with dark brown shades to achieving precision with the crosshair method, you'll be able to achieve realistic and detailed eyes on your miniatures.
So, grab your brushes and let your creativity shine as you master the art of miniature eye painting.