We are supported by our audience. When you purchase through links on our site, we may earn an affiliate commission, at no extra cost for you. Learn more. Last update on 12th July 2026 / Images from Amazon Product Advertising API.
Hey there! So, you've stumbled upon a corroded weapon and you're dying to give it a makeover? Well, you've come to the right place, my friend.
In this guide, I'll spill the beans on how to paint those rusty areas and turn your weapon into a stunning piece of art that can stand the test of time. With the right stuff, a bit of prep work, and a touch of determination, you'll have that weapon looking as good as new in a jiffy.
Are you ready to unleash your inner Picasso and revive your beloved weapon? Great! Let's get started, shall we?
Key Takeaways
- Choose paint colors such as brown, black, and gray for a realistic look.
- Use metallic paints to enhance metallic parts of the weapon.
- Inspect the weapon closely to assess corrosion and determine necessary steps.
- Apply a rust-resistant coating to protect the weapon from further corrosion.
Gather Necessary Materials
To begin the process of painting corroded weapons, I'll need to gather the necessary materials.
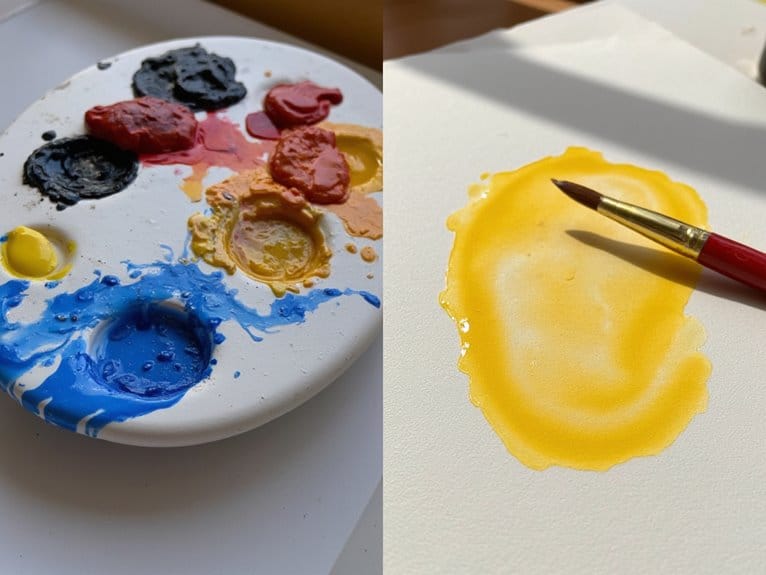
The first step is to choose the right paint color. For a realistic and weathered look, opt for shades of brown, black, and gray. These colors will mimic the appearance of rust and decay. Additionally, consider using metallic paints to enhance the metallic parts of the weapon.
Once the color is decided, it's time to gather the tools needed for painting intricate weapon designs. A set of fine brushes will be essential for achieving intricate details. Ensure they have a sharp point for precise painting. It's also helpful to have a magnifying glass or a good light source to aid in seeing the intricate details clearly.
Prepare the Weapon for Painting
Now, I need to inspect the weapon closely to assess the extent of the corrosion and determine the necessary steps to prepare it for painting. Removing rust safely and sanding the weapon surface are crucial steps in the preparation process.
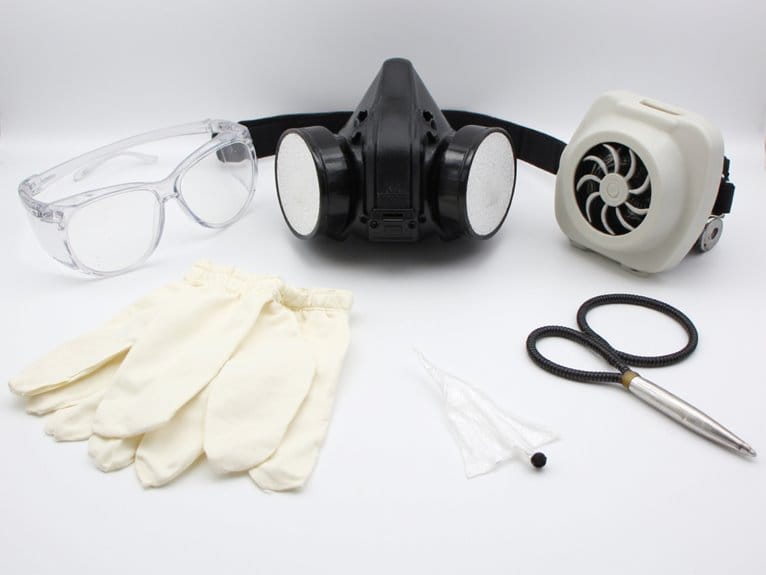
Before proceeding, it's important to ensure personal safety by wearing protective gloves and a mask to prevent inhalation of any harmful particles.
To remove rust safely, I recommend using a rust remover solution and a wire brush. Apply the solution onto the affected areas and let it sit for a few minutes. Then, scrub the rusted areas gently with a wire brush in a circular motion.
Once the rust is removed, it's time to sand the weapon surface. Use sandpaper with a medium grit to smooth out any rough patches and create a clean, even surface for painting.
Remember to wipe away any dust or debris before moving on to the next step.
Apply Primer to the Corroded Areas
After removing rust and sanding the weapon surface, I begin by applying primer to the corroded areas. Choosing the right type of primer for corroded weapons is crucial for achieving a smooth and long-lasting finish. When dealing with corroded surfaces, it's recommended to use a rust-inhibiting primer that will seal the metal and prevent further corrosion. Look for primers specifically designed for metal surfaces and ones that have anti-corrosion properties.
Before priming, make sure the surface is clean and dry to ensure proper adhesion. To achieve a smooth and even primer application, it's important to use thin, light coats. Holding the spray can or brush at a consistent distance from the surface and moving it in a steady, sweeping motion will help prevent drips and uneven coverage. Take your time and apply multiple thin coats, allowing each coat to dry before applying the next. This will result in a professional, flawless finish.
Paint the Weapon With a Rust-Resistant Coating
First, I apply a rust-resistant coating to the weapon. This step is crucial in protecting the weapon from further corrosion and ensuring its longevity.
There are various rust-resistant coatings available, each with its own benefits and application methods. Before applying the coating, it's essential to thoroughly clean the weapon using appropriate cleaning techniques to remove any dirt, oil, or rust residue. This ensures proper adhesion of the coating and enhances its effectiveness.
Additionally, it's worth considering alternative coatings such as cerakote or duracoat, which offer superior durability and resistance to corrosion. These coatings provide an extra layer of protection, making the weapon more resistant to wear and tear.
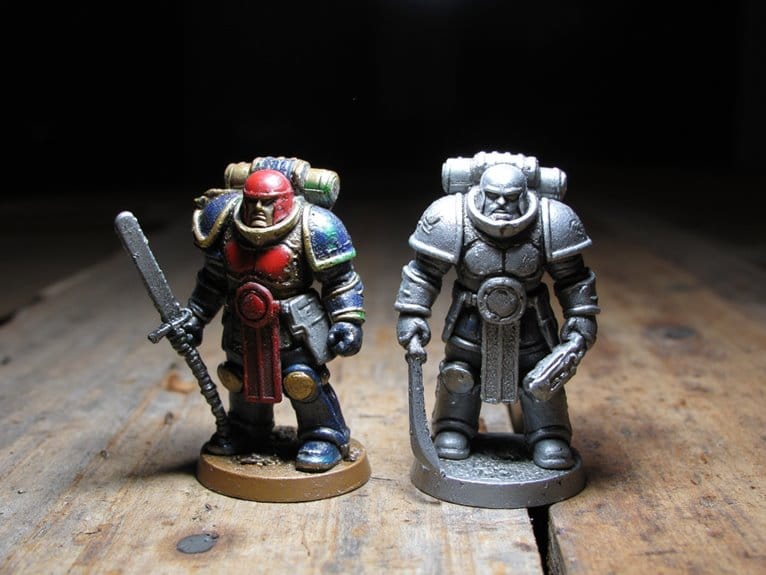
Can the Techniques for Painting Weapons be Applied to Painting an Army in a Weekend?
Yes, you can paint your army in a weekend using the same techniques for painting weapons. With proper planning and organization, you can efficiently paint a large number of miniatures in a short amount of time. Using techniques like base coating, washes, and dry brushing can help speed up the process.
Seal and Protect the Painted Surface
To ensure long-lasting protection for the painted surface, I seal it with a clear coat. This step is crucial in preventing future corrosion and maintaining the integrity of the paint job on your weapons.
Here are some maintenance tips for painted weapons:
- Apply a clear coat evenly over the painted surface to provide a protective barrier.
- Use a high-quality clear coat that's resistant to UV rays and chemicals.
- Allow sufficient drying time between coats to ensure proper adhesion and durability.
- Regularly inspect the painted surface for any signs of chipping or wear and touch up as needed.
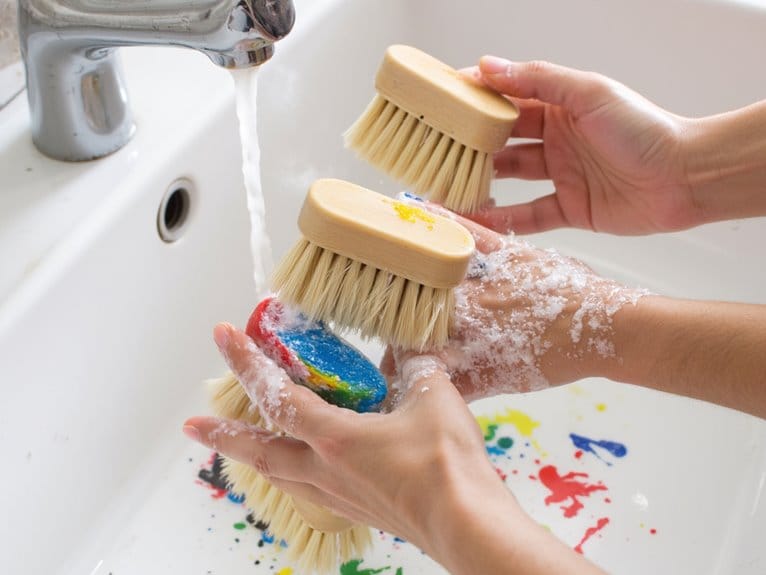
- Clean the painted surface with a mild soap and water solution, avoiding abrasive cleaners that can damage the paint.
Conclusion
After gathering the necessary materials and preparing the weapon, applying primer to the corroded areas is crucial.
Once done, painting the weapon with a rust-resistant coating will restore its former glory.
To ensure long-lasting results, sealing and protecting the painted surface is essential.
By following these steps, you can transform a corroded weapon into a shining masterpiece, ready to be admired and wielded with pride.