We are supported by our audience. When you purchase through links on our site, we may earn an affiliate commission, at no extra cost for you. Learn more. Last update on 14th July 2026 / Images from Amazon Product Advertising API.
To apply static grass effectively, start by planning your landscape layout with tufts and considering grass heights and colors. Choosing quality materials like WWS or Peco Scene is essential, along with using specialized adhesives and precision tools for varied effects. When applying static grass, work in layers, trim edges, and experiment with tape for boundaries. Enhance details with a flock box and consider static grass trees for lifelike foliage. Using kits guarantees consistency and saves time, while tips like layering for depth and blending edges for realism are key. Each step enhances the overall look, making the model landscape truly come to life with precision and creativity.
Planning Your Static Grass Landscape
When initiating the planning of my static grass landscape, I meticulously sketch out the layout to envision the perfect placement of tufts, weeds, and flowers, ensuring a realistic and detailed finish. This initial step is important in creating a visually appealing scene that captures the essence of a natural grassy area. As I map out where each element will go, I consider the varying heights and colors of the grass to mimic the diversity found in real landscapes.
Researching different types of landscapes and the corresponding seasons plays a significant role in selecting the appropriate grass lengths and colors. This attention to detail helps in achieving a lifelike portrayal that resonates with viewers. Additionally, understanding the behavior of grass in different environments aids in creating a more realistic representation.
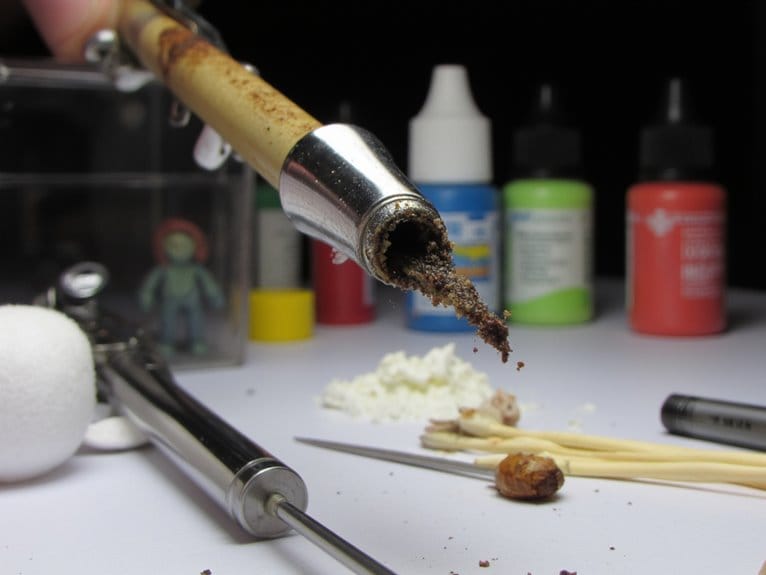
When it comes to applying the static grass, utilizing a high-quality static grass applicator is essential. This tool ensures that the grass is evenly dispersed, adhering to the surface uniformly. By using a static grass applicator with a strainer, the application process becomes more efficient, resulting in a professional-looking finish. The precision offered by this tool allows for a seamless integration of the grass into the landscape, enhancing the overall aesthetic appeal.
Choosing the Right Materials
When selecting the appropriate materials for your static grass application, it is crucial to choose reputable brands like WWS or Peco Scene to guarantee quality and a wide range of options. Here are some key considerations to keep in mind:
- Variety is Key: Make sure you have static grass of different lengths such as 2mm, 4mm, and 6mm. This variety will add texture and depth to your landscape, making it look more realistic.
- Specialized Adhesives: Invest in basing glue and layering spray specifically designed for static grass application. These products are formulated to ensure top-notch adhesion and a natural look for your grass.
- Precision Tools: Consider using a PSG-1 Peco Scene Pro Grass Micro Applicator for precise and efficient grass placement. This tool can help you control where the grass goes, creating a more professional finish.
- Exploring Alternatives: Don’t hesitate to experiment with alternative methods. Thinning white glue with dishwashing soap or using hairspray can offer different effects and textures to your static grass, allowing for unique customization.
Applying Static Grass With Precision
To achieve meticulous precision in applying static grass, consider utilizing a static grass applicator for even distribution and a lifelike finish. The static grass applicator guarantees that the grass stands upright, mimicking the look of real grass in nature. When applying static grass, working in layers is crucial to creating a realistic and textured appearance. Start with shorter grass lengths as a base layer, gradually building up to longer strands for added depth and dimension.
To maintain precision, trim the grass near edges and rails carefully to achieve a clean finish without any interference. Utilizing tape can be helpful in creating precise boundaries for where the grass should be placed on the base. This method allows for accurate placement of the grass in specific areas, ensuring a neat and tidy result.
For a more natural and dynamic look, incorporate varying heights and densities of grass across the terrain. By mixing different lengths and thicknesses of static grass, you can create a more authentic representation of natural landscapes. Paying attention to these details will elevate the overall appearance of your model or diorama, making it visually appealing and lifelike.
Enhancing Detailing With a Flock Box
Utilizing a flock box alongside a static grass applicator enhances the detailing process by allowing for the creation of intricate tufts, weeds, flowers, and tree branches in model landscapes with precision and versatility. The flock box powered by the static grass applicator is a game-changer for adding realistic elements to your model scenes. Here’s how it can elevate your detailing:
- Precision Detailing: The flock box enables you to target specific areas with precision, ensuring that tufts, weeds, and flowers are placed exactly where you want them.
- Versatile Application: With the flock box, you can easily switch between different types and colors of flock to create a varied and lifelike landscape.
- Realistic Texture: By using the flock box in conjunction with the static grass applicator, you can achieve a realistic texture that mimics the look of natural vegetation.
- Enhanced Realism: Adding tree branches with the flock box gives your model landscapes an added layer of authenticity, making them more visually appealing and engaging.
Incorporating a flock box into your detailing process opens up a world of possibilities for creating stunning and realistic landscapes that will captivate viewers. This tool, when combined with a static grass applicator, allows for intricate detailing that brings your model scenes to life with unparalleled realism.
Utilizing Static Grass Trees
When it comes to adding depth and realism to my miniature landscapes, static grass trees are my go-to choice. These versatile creations provide a lifelike appearance to tree foliage, enhancing the overall scenery. By strategically placing them and blending them with other elements, like rocks or bushes, I can create a stunning and immersive environment.
Static Grass Benefits
Exploring the benefits of static grass trees opens up a world of creative possibilities for adding lifelike vegetation to model landscapes.
- Versatility: Static grass trees offer versatility in creating realistic vegetation for model landscapes, allowing for a range of textures and lengths.
- Precision: Hand application enables precise detailing and control over grass placement, ensuring a realistic and natural appearance.
- Detailing: Fingers can be used to add grass in tight or hard-to-reach spots, perfect for intricate designs and enhancing the overall realism.
- Enhancements: Utilizing kits for making powerful static grass applicators can enhance the detailing process, making it more efficient and effective.
Tree Placement Tips
Venturing into the domain of tree placement with static grass involves mastering the art of precision and creativity to bring model landscapes to life with realistic and detailed vegetation. When it comes to applying static grass for tree placement, I’ve found that using my fingers can make a significant difference, especially in tight spots that require intricate detailing. Watching instructional videos has also been beneficial in learning updated techniques for a more realistic finish. Additionally, making kits for powerful static grass applicators can enhance the tree placement process by providing more control and precision. Compared to bottle brush trees, static grass trees offer versatility and allow for a more detailed and controlled application, resulting in lifelike miniature landscapes.
Blending With Scenery
Incorporating static grass trees into a model landscape allows for smooth blending with various scenery elements, enhancing the overall realism and detail of the miniature world. Here are some tips for utilizing static grass trees effectively:
- Grass Look: Experiment with different lengths and shades of static grass to create a natural and varied grass appearance.
- Add More Layers: Build up layers of static grass in different areas to add depth and texture to your scenery.
- Precision Detailing: Use hand application techniques to guarantee precise placement of grass around trees and other intricate features.
- Seamless Blending: Blend the edges of the static grass with existing scenery elements using your fingers for a smooth integration between materials.
Achieving Realistic Finishes With Kits
To achieve impressively lifelike finishes with static grass, utilizing kits can greatly enhance the overall quality of model landscapes. Static grass kits are convenient all-in-one solutions for applying natural grass textures to dioramas, model train layouts, or other model railroad scenes. These kits typically come equipped with a static grass applicator, various grass lengths, colors, and essential accessories, making them ideal for both beginners and experienced modelers.
One of the advantages of using static grass kits is the ease of achieving consistency in grass application. By having all the necessary components in one package, modelers can guarantee uniformity in the grass coverage across their landscapes. This not only saves time that would otherwise be spent gathering individual materials but also helps in creating professional-looking finishes with minimal effort.
For those new to the world of model railroading or diorama building, static grass kits provide a structured starting point. The kits offer a systematic approach to incorporating realistic ground foam textures, guiding beginners through the process of creating detailed and visually appealing landscapes. By following the instructions included in the kit, modelers can streamline their grass application techniques and elevate the overall quality of their model scenes.