We are supported by our audience. When you purchase through links on our site, we may earn an affiliate commission, at no extra cost for you. Learn more. Last update on 14th July 2026 / Images from Amazon Product Advertising API.
Hey there, fellow miniature enthusiasts! If you're anything like me, you can't get enough of painting those tiny figurines and watching them come to life. Let me tell you, applying washes to your miniatures is like adding a secret ingredient to your painting recipe. It's all about giving your minis depth, shadows, and that extra touch of realism that makes them pop. So, are you ready to dive into the fantastic world of washes? Let's get started!
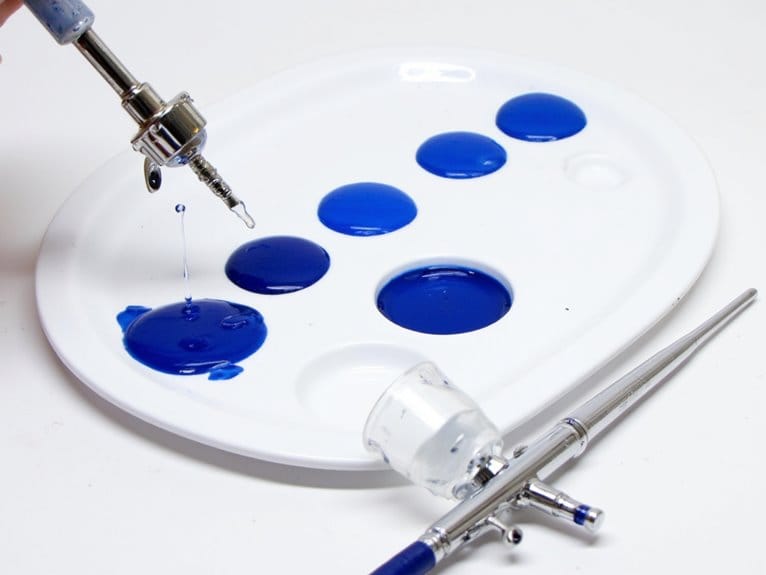
Now, when it comes to applying washes, it's not rocket science. It's more like adding a pinch of magic to your masterpiece. First things first, grab your trusty brushes and get them ready for action. You'll also need some high-quality washes that suit your desired effect. These washes are like the seasoning that enhances the flavors of your miniature.
When you're applying the wash, think of it as giving your miniature a gentle bath. Just like water cascading over your body, the wash will flow into the recesses and crevices, creating those beautiful shadows and highlights. It's like adding depth to your tiny world!
Now, let me share a little secret with you. The key to a successful wash is patience. Don't rush through it like a race car driver. Take your time and let the wash do its magic. You'll see the colors blend and settle, creating a stunning visual effect. Trust me, it's worth the wait!
As you apply the wash, make sure to use an active voice, like a storyteller weaving a tale. Don't be afraid to experiment and let your creativity shine. Remember, this is your masterpiece, your unique creation. So, have fun with it, and don't be afraid to make mistakes. Sometimes, those 'oops' moments lead to the most unexpected and beautiful results!
So, my fellow painter, are you ready to take your miniatures to the next level? Grab your brushes, unleash your imagination, and let those washes work their magic. Trust me, you'll be amazed at the stunning results you can achieve. Happy painting!
Key Takeaways
- Select wash colors based on desired effect and color scheme.
- Experiment with ratios and combinations to create custom shades.
- Use small brush or dropper bottle for precise application.
- Layer washes to gradually build up depth and shadows.
Choosing the Right Wash Colors
When applying washes to my miniatures, I frequently choose the right wash colors based on their desired effect and the overall color scheme of the model.
To achieve custom shades, I often mix different washes together. This allows me to create unique colors that perfectly match the specific look I want to achieve. By experimenting with different ratios and combinations, I can create washes that are lighter or darker, warmer or cooler, depending on the desired effect.
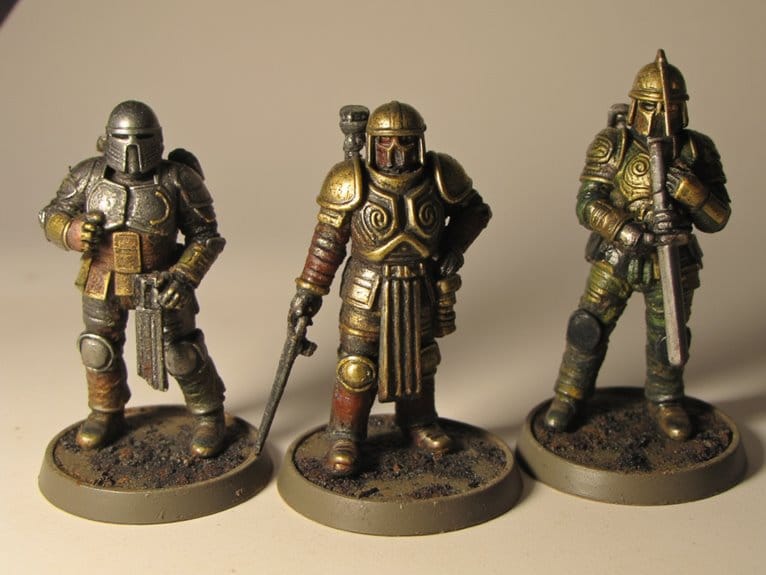
Additionally, washes can be used to create weathering effects on the miniatures. By applying a darker wash to recessed areas and allowing it to flow naturally, I can create shadow and depth, giving the model a more realistic and weathered appearance.
Preparing Your Miniatures for Washes
To prepare my miniatures for washes, I start by ensuring that they're clean and free from any dust or debris. This is crucial because any particles on the surface can interfere with the application of the wash and ruin the overall effect.
I carefully inspect each miniature and use a soft brush or a can of compressed air to remove any loose dirt or dust.
Next, I examine the miniature for any mold lines or imperfections that need to be addressed before applying the wash. Using a hobby knife or a fine-grit sandpaper, I gently remove any unwanted lines or rough spots. This step ensures that the wash will flow smoothly over the surface and enhance the details of the miniature.
Proper preparation is essential for achieving optimal results with painting techniques and brush control.
Applying Washes to Add Depth and Shadows
To add depth and shadows to my miniatures, I carefully apply washes using a small brush or a dropper bottle. This technique allows me to create realistic shadows and highlights, giving my miniatures a more lifelike appearance. Here are some different techniques for applying washes:
- Drybrushing: This technique involves lightly brushing the wash onto raised areas of the miniature, creating subtle shading and emphasizing texture.
- Layering: By applying multiple thin layers of washes, I can gradually build up the desired depth and shadows.
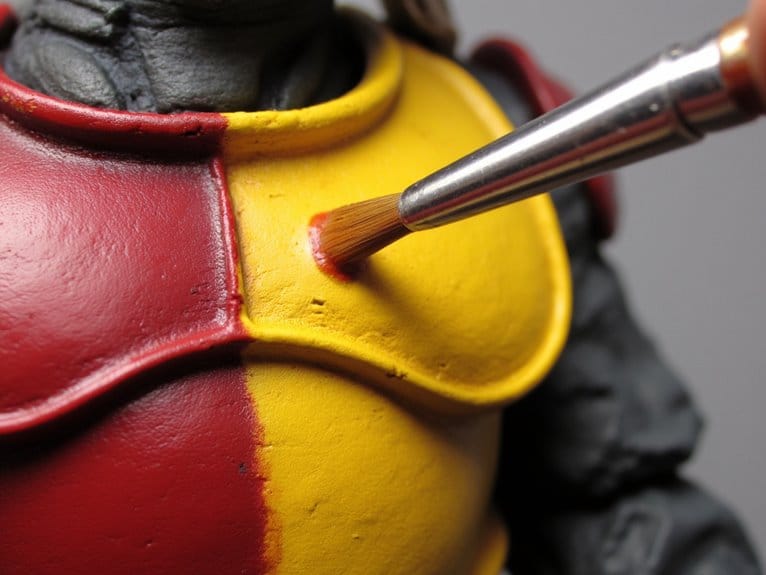
- Targeted application: I use a fine brush to apply washes to specific areas where I want to add depth, such as recesses or crevices.
- Blending: By mixing different wash colors together, I can achieve smooth transitions between shades and create more complex shadows.
When applying washes, it's important to avoid some common mistakes:
- Applying too much wash at once, which can result in a messy and unnatural appearance.
- Not allowing the wash to dry properly before applying additional layers, leading to smudging or muddying of colors.
- Using a wash that's too dark or too light for the desired effect, resulting in an unbalanced look.
- Neglecting to clean up excess wash from unintended areas, which can detract from the overall finish.
Blending Washes for Smooth Transitions
To achieve smooth transitions between shades and create more complex shadows, I blend different wash colors together. This technique allows me to add depth and dimension to my miniatures, enhancing their overall appearance. One of the key layering techniques I use is to start with a base wash color and then gradually add layers of lighter or darker washes to create texture. By carefully blending these washes, I can achieve a seamless transition from one shade to another, giving my miniatures a more realistic and visually appealing look.
In addition to creating smooth transitions, blending washes also allows me to enhance details and highlights on my miniatures. By using a lighter wash color on raised areas and a darker wash color on recessed areas, I can create the illusion of depth and make the details of the miniature stand out. This technique helps bring the miniature to life and adds an extra level of visual interest.
To better understand how blending washes can be used to create smooth transitions and enhance details, here is a table illustrating some examples:
| Wash Colors Used | Result |
|---|---|
| Dark Brown | Shadows and depth |
| Medium Brown | Transition between shades |
| Light Brown | Highlights and details |
Can Glazing Miniatures be Considered as Applying Washes to Your Miniatures?
When it comes to painting miniatures, applying washes and glazes can add depth and realism to your work. Many hobbyists use the glaze miniatures tutorial to achieve a smooth, translucent layer of color, similar to applying washes. Both techniques can enhance the details of your miniatures and bring them to life.
Finishing Touches and Sealing the Miniatures
I use a matte varnish to seal and protect my miniatures, giving them a professional finish. It not only enhances the colors and details but also protects the paint job from chipping and fading over time.
When it comes to sealing miniatures, there are a few common issues that may arise, but with some troubleshooting, they can be easily resolved. Here are some tips to help you achieve a flawless seal:
- Ensure that the miniature is clean and free of any dust or debris before applying the varnish.
- Apply thin, even coats of varnish to prevent it from pooling or creating a glossy finish.
- Allow each coat to dry completely before applying the next one to avoid smudging or smearing the paint.
- If you encounter any frosting or clouding on the miniature after varnishing, try using a gloss varnish as a fixative or applying a matte varnish over it to restore the finish.
Conclusion
In the world of miniature painting, applying washes is a crucial step to bring depth and realism to your creations. By carefully choosing the right wash colors, preparing your miniatures, and skillfully applying the washes, you can achieve stunning results.
Just like an artist adding the final strokes to their masterpiece, blending washes creates smooth transitions and adds that extra touch of magic.
So, grab your brushes and let your miniatures come to life with the power of washes!