We are supported by our audience. When you purchase through links on our site, we may earn an affiliate commission, at no extra cost for you. Learn more. Last update on 30th June 2025 / Images from Amazon Product Advertising API.
To create a good paint wash, it’s essential to combine high-quality ingredients, precision, and a clear understanding of color theory and thinning agents. Start by selecting a reputable paint brand, such as Vallejo or Citadel, and pair it with natural hair brushes for a smooth, even flow. Next, achieve the perfect consistency by balancing pigment and thinner, testing on a small area before applying it to the entire model or surface. By carefully considering color theory principles and thinning agents, you’ll be well on your way to crafting a custom wash that enhances your artwork – and there’s still more to discover in the art of wash creation.
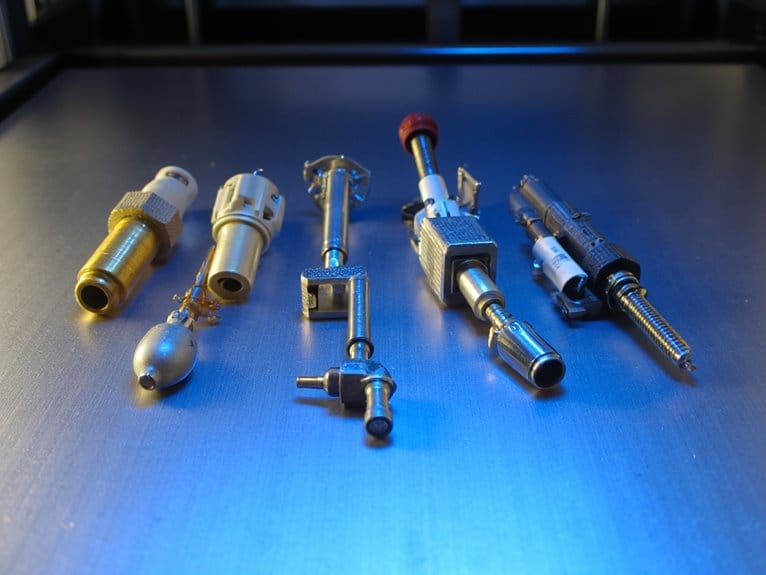
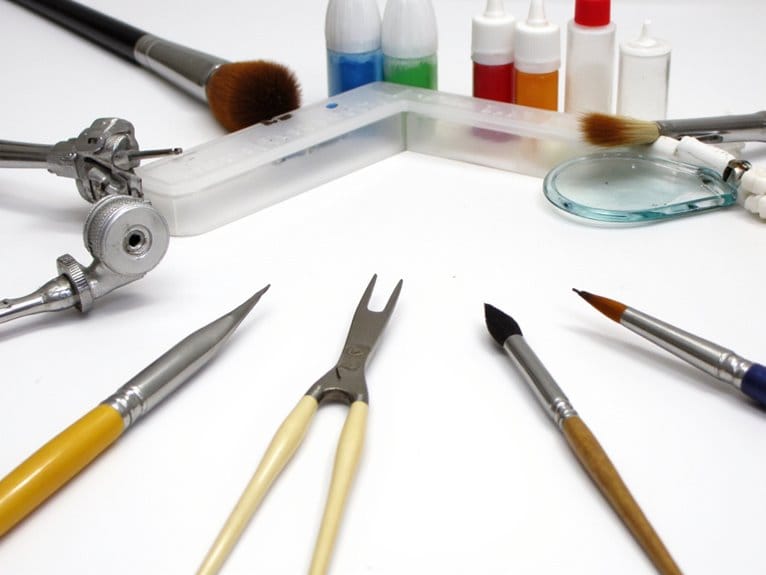
Gathering Essential Ingredients
Precision is key when gathering essential ingredients for a successful paint wash, as even the slightest miscalculation can affect the final outcome. To achieve the desired effect, it is vital to select the right paint brand and brush type. Paint brands such as Vallejo, Citadel, and Army Painter are popular choices among modelers and miniature painters due to their high-quality pigments and consistent results. Contrast paints for miniatures are also gaining popularity for their ability to create shading and highlighting effects with just a single coat. When it comes to brush selection, a fine detail brush is essential for precise application, while a wider brush can be used for larger areas. With the right ingredients and tools, achieving a professional-looking paint wash is well within reach for both hobbyists and professional painters alike.
When it comes to brush types, natural hair brushes are ideal for paint washes as they hold a lot of liquid and create a smooth, even flow. Synthetic brushes, on the other hand, are better suited for drybrushing and texture work. A range of brush sizes is also essential, as different sizes are required for various model details and recesses. Having the correct ingredients and tools at hand guarantees a strong foundation for creating a successful paint wash. By selecting the right paint brand and brush type, modelers can achieve a professional-looking finish that boosts their miniature’s details and overall appearance.
Mixing the Perfect Consistency
Typically, a paint wash requires a delicate balance of pigment and thinner to achieve the perfect consistency. This delicate balance is vital, as it directly affects the wash’s performance and overall appearance. Viscosity control is key, as a wash that is too thick will not flow smoothly, while one that is too thin will lack depth and richness.
Ratios matter in terms of mixing the perfect consistency. A general starting point is a 1:1 ratio of pigment to thinner, but this can vary depending on the specific products used and the desired effect. Thinner can be added gradually, stirring well between each addition, until the desired consistency is achieved. It is imperative to test the wash on a small, inconspicuous area before applying it to the entire model or surface, as this will help identify any issues with the consistency.
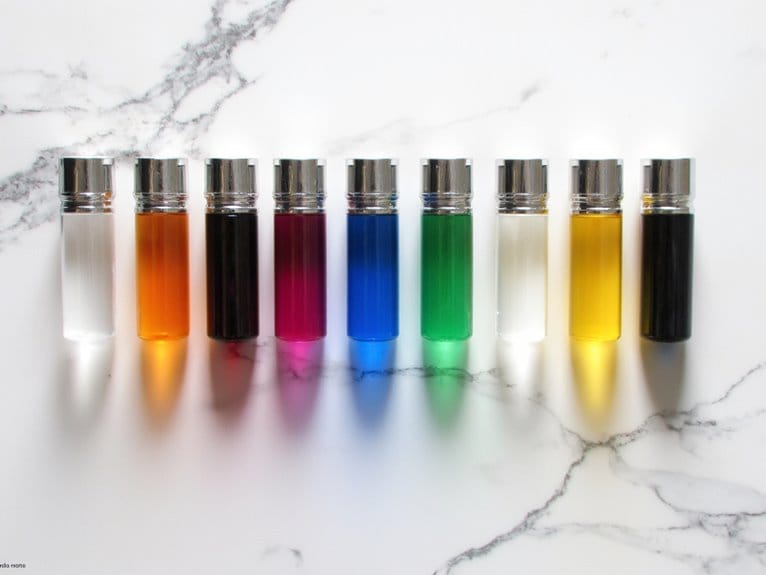
Choosing the Right Paint Color
Selecting the ideal paint color for a wash is a crucial decision, as it greatly impacts the overall aesthetic and realism of the finished model or surface. Understanding color theory principles, such as contrast, harmony, and saturation, can help guide this decision. For instance, a warm-toned wash can create a sense of age and wear, while a cool-toned wash can evoke a sense of cleanliness and modernity.
When choosing a paint color, it’s essential to weigh the specific brand and type of paint being used. Different brands have distinct color palettes and formulations, which can affect the final result. For example, Vallejo Game Color and Citadel Paint have distinct color profiles, with Vallejo tending towards more muted, earthy tones and Citadel featuring brighter, more vibrant colors. A thorough brand comparison can help guarantee the chosen color aligns with the desired outcome. By weighing color theory and brand differences, modelers can select a paint color that boosts their work and achieves the desired level of realism.
Adding Thinning Agents Correctly
With the ideal paint color chosen, the next step in creating a successful wash is to prepare the paint by adding thinning agents. This pivotal step determines the viscosity and flow of the paint, ultimately affecting the wash’s overall appearance and performance.
When adding thinning agents, it’s essential to use the correct ratio of acrylic mediums to solvent. A general rule of thumb is to start with a 1:1 or 2:1 ratio of medium to solvent and adjust as needed. The choice of solvent depends on the specific paint brand and type, with some requiring water, others needing specialized thinners.
Acrylic mediums, such as matte or gloss, can be added to achieve the desired finish. However, it’s essential to follow the manufacturer’s guidelines to avoid over-thinning, which can lead to an unstable wash. By carefully balancing the solvent ratios and acrylic mediums, you can create a smooth, consistent wash that adheres well to the surface and produces the desired effect.
Creating Custom Wash Effects
Several factors can influence the final appearance of a wash, and understanding these variables is key to creating custom effects that meet specific requirements. By manipulating wash recipes and texture, artists can achieve unique effects that intensify their models or artwork.
One method of creating custom wash effects is through texture manipulation. By adding materials such as silica or talc to the wash, artists can alter the texture and create a more realistic, rough, or smooth finish. This technique is particularly useful for creating realistic rock or stone textures.
Another approach is to experiment with different wash recipes. By combining different pigments, thinning agents, and additives, artists can create a wide range of custom effects. For example, adding a touch of blue to a brown wash can create a cool, shadowy effect, while adding a flow improver can boost the wash’s blending capabilities. By understanding how different ingredients interact, artists can develop their own unique wash recipes to achieve specific effects.
Tips for Application and Drying
As the wash is applied to the model or artwork, the artist’s technique and patience play a pivotal role in achieving the desired effect, making it essential to master the application and drying process. To guarantee a smooth, even coat, use gentle, sweeping brush strokes to distribute the wash evenly. This helps prevent pooling and promotes a uniform finish.
When applying the wash, work in small sections, completing one area before moving on to the next. This helps maintain control and prevents the wash from drying before it can be properly blended. Be mindful of drying times, as excessive drying can lead to an uneven finish or unwanted texture. Allow each section to certify completely before applying additional coats or moving on to the next stage of the process. By controlling the application and drying process, artists can achieve the desired level of subtlety and nuance in their work.