We are supported by our audience. When you purchase through links on our site, we may earn an affiliate commission, at no extra cost for you. Learn more. Last update on 30th June 2025 / Images from Amazon Product Advertising API.
You’ll achieve professional weathering effects by diluting oil paints with 10-20 drops of mineral spirits per part paint, creating thin washes that settle into recesses and crevices. Start with bright metallic base coats, then apply earth-tone oil washes using flat brushes for realistic streaking patterns. Allow 20-30 minutes settling time before removing excess with cotton swabs, preserving grime in detailed areas while cleaning raised surfaces. The extended 8+ hour working time lets you manipulate effects gradually, building authentic environmental damage through strategic layering that reveals advanced weathering techniques.
Notable Insights
- Oil paints provide 8+ hours of working time through oxidation curing, allowing extensive blending and weathering effects.
- Thin oil washes to 10-20 drops white spirit per paint part for optimal flow into recesses and details.
- Layer oil washes in recessed areas and use airbrushed cool-tone filters on undersurfaces for three-dimensional depth.
- Remove excess wash material after 20-30 minutes using cotton swabs or makeup sponges with light tapping motions.
- Allow 24-48 hours curing time between layers and seal completed weathering effects with matte varnish.
Understanding Oil Paint Properties for Extended Working Time
When working with oil paints on miniatures, you’ll encounter fundamentally different drying characteristics compared to acrylics or enamels. Oil paints cure through oxidation rather than evaporation, creating extended working times of 8+ hours. This process depends heavily on oxygen exposure and pigment composition.
Oil viscosity directly affects your blending capabilities and detail work precision. Thicker consistencies like Abteilung 502 provide excellent coverage but may hinder fine details. You can adjust viscosity using mineral spirits to improve flow without greatly extending drying times.
Pigment stability varies dramatically between colors. Earth tones cure faster due to their chemical composition, while blues and greens remain workable longer. Starting with earth tone paints like Shadow Brown can facilitate quicker drying times when speed is a priority.
High pigment density enables better coverage with fewer layers, reducing overall project time while maintaining color integrity throughout the extended working period. Winsor & Newton offers particularly high-quality formulations that provide excellent consistency and reliable performance for miniature weathering applications.
Building Realistic Foundation Layers With Metallics and Wax
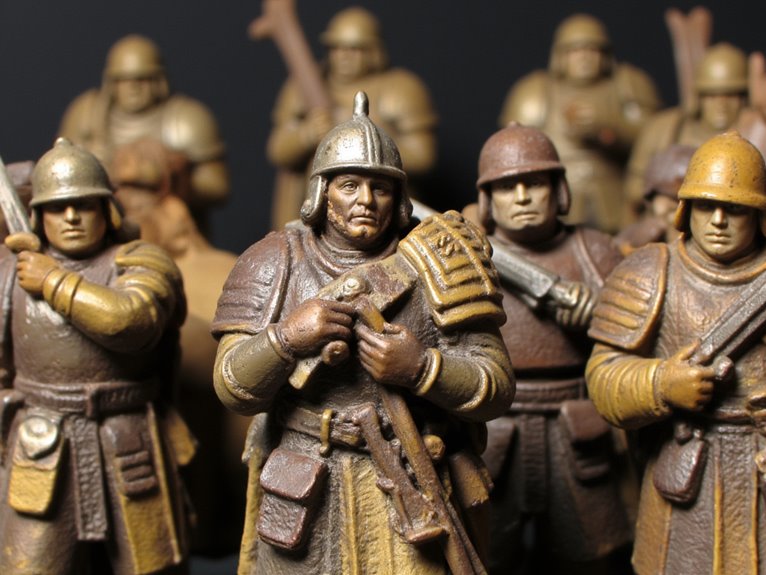
Mastering oil paint characteristics provides the foundation for advanced weathering techniques, but achieving convincing worn metal effects requires a systematic approach to your base layers.
Start with bright metallic paints like molten bronze or pig iron for consistent coverage. Apply one to two coats while avoiding thick layers that obscure fine details.
Your metallic foundation requires three essential steps:
- Base coating with smooth, even metallic coverage using proper opacity control
- Glazing with diluted inks mixed with matte medium to reduce excessive reflectivity
- Protective waxing with microcrystalline wax for handling protection and texture enhancement
Effective layering techniques build realistic depth through controlled color variation.
Strategic layering with deliberate color shifts creates convincing three-dimensional weathering that transforms flat metallic surfaces into believable worn materials.
Apply glazes selectively to create shadow definition while preserving highlight areas. Wax application creates the ideal surface for oil weathering without paint disturbance. Understanding the directional light source helps determine where highlights and shadows should naturally fall across your metallic surfaces. Remember that the color transition from your metallic base will directly influence how your subsequent oil weathering layers appear over the foundation.
Creating Multi-Layer Paint Systems for Weathering Effects
You’ll build weathering effects through systematic layer application, starting with proper base preparation that establishes your foundation for realistic aging.
Strategic paint application requires careful timing between coats and precise thinning ratios to achieve seamless shifts without obscuring surface details. These techniques work effectively on large terrain vehicles as well as smaller miniature figures.
Weathering layer integration combines multiple media types—oils, acrylics, and pigments—in specific sequences that replicate authentic environmental damage patterns. Enamel paints provide modification flexibility without damaging underlying acrylic layers during the weathering process.
Base Layer Preparation
Three fundamental components define successful base layer preparation for weathering effects: proper paint consistency, strategic color placement, and systematic application methods.
Effective base coat techniques require thinning paint to a 1:1 ratio with water or medium, achieving heavy cream consistency. This preserves miniature details while ensuring smooth, semi-opaque coverage.
Apply 1-2 coats over primer, focusing on complete coverage without obscuring surface sculpting.
Color matching involves selecting the darkest foundational shade for each weathered section. Place this base color beside lighter shades on your palette to facilitate gradual blending during subsequent layers. When preparing your paint mixes, create gradient transitions by progressively adding lighter colors to each successive layer application.
Follow this systematic approach:
- Start with difficult-to-reach areas for better control
- Allow complete drying between layers to prevent lifting
- Use matte varnish after base layers to stabilize surfaces
This foundation enables superior oil weathering adhesion and realistic environmental effects.
Strategic Paint Application
While your base layer provides the foundation, strategic paint application transforms that groundwork into convincing weathering through deliberate multi-layer systems.
You’ll begin with darker earth tones as your initial weathering coat, establishing shadow depth in recesses. Apply these using thinned oils at 10:1 ratios with mineral spirits.
Your layering techniques should progress from dark to light values systematically. Use burnt umber and raw sienna for initial shadow work, then build upward with ochres and highlights. Each layer must cure 24-48 hours before applying subsequent coats.
Color harmonization becomes critical during this phase. Select pigments within the same temperature family—warm browns with reddish undertones or cool grays with blue bases.
This guarantees visual cohesion across your weathering effects while maintaining realistic color relationships throughout the miniature’s surface.
Weathering Layer Integration
Building convincing weathering effects requires understanding how different paint types interact across multiple layers without jeopardizing your miniature’s structural integrity.
Layer compatibility becomes critical when combining oils, acrylics, and enamels. Each paint type has distinct drying times and chemical properties that affect adhesion and solvent management.
Your weathering system should follow this hierarchy:
- Base layers – Apply acrylics first for structural foundation and decal placement
- Mid-layers – Add enamel washes for grime effects once acrylics cure completely
- Top layers – Finish with oil glazes thinned with white spirit for atmospheric weathering
Proper solvent management prevents lifting underlying layers.
Oil paints excel at visual cohesion, unifying disparate weathering techniques through translucent glazes. This systematic approach guarantees texture enhancement without jeopardizing previous work while building realistic environmental effects.
Mastering Oil Wash Application in Recesses and Crevices
You’ll achieve the most natural weathering effects when you understand how capillary action draws your oil wash into recesses automatically.
The thinned oil paint flows into crevices through surface tension, requiring a consistency of 10-20 drops of white spirit per part of oil paint for ideal flow characteristics.
Once the wash settles for 20-30 minutes, you’ll need precise removal techniques using makeup sponges or cotton swabs to clean raised surfaces while preserving the accumulated grime effect in detailed areas.
Capillary Action Fundamentals
Three fundamental forces govern how oil washes flow into miniature recesses: adhesive forces that pull liquid molecules toward painted surfaces, cohesive forces that bind liquid molecules together, and surface tension that controls overall flow behavior.
When adhesive forces exceed cohesive forces, capillary movement draws your oil wash into narrow crevices automatically. The formula h = 2γcosθ/ρgr demonstrates that liquid rises higher in smaller radius tubes—precisely why fine detail lines capture more wash than broad surfaces.
Master these three capillary principles:
- Viscosity reduction through proper thinning increases penetration depth
- Contact angle optimization improves surface interaction between wash and miniature material
- Meniscus control determines flow distribution patterns
Your wash’s meniscus shape indicates adhesion strength. Concave meniscuses signal strong surface interaction and continued upward flow, while convex shapes indicate poor adhesion and limited penetration into recesses.
Excess Removal Techniques
Once your oil wash has penetrated the recesses and begun to set, removing excess material from raised surfaces becomes critical to achieving clean, professional results.
Wait 20-30 minutes until the wash becomes matte to touch before starting removal. This timing prevents smearing while allowing controlled manipulation.
Use cotton swabs or makeup sponges for gentle excess removal from raised areas.
Apply multiple light tapping motions rather than aggressive single passes. Oil wash techniques require patience—work gradually and check results after each pass.
Odorless mineral spirits can mobilize stubborn residues, but use sparingly to avoid damaging underlying paint.
Removal challenges include accidentally lifting wash from desired recessed areas.
Keep brushes dedicated to oil paints only to prevent contamination.
Allow 48 hours curing time before sealing.
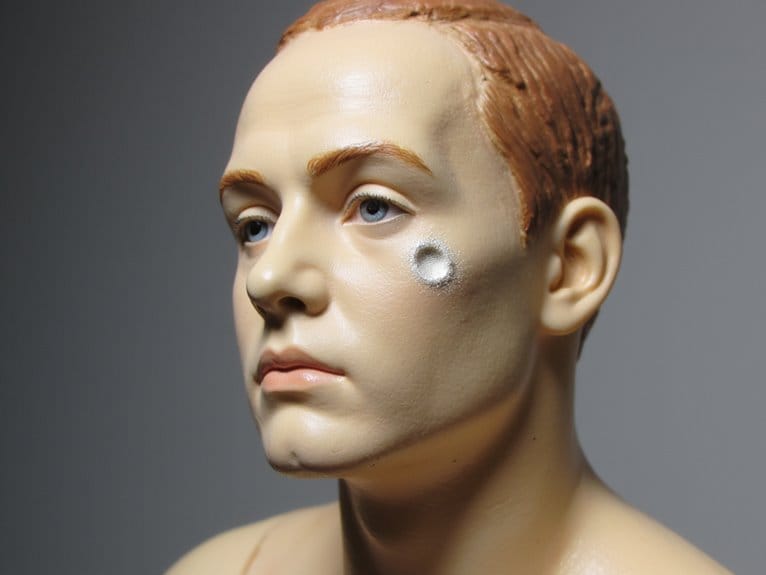
Developing Natural Grime and Shadow Depth
While achieving realistic grime and shadow depth requires patience, the combination of weathering techniques transforms flat miniature surfaces into convincing three-dimensional objects that tell compelling visual stories.
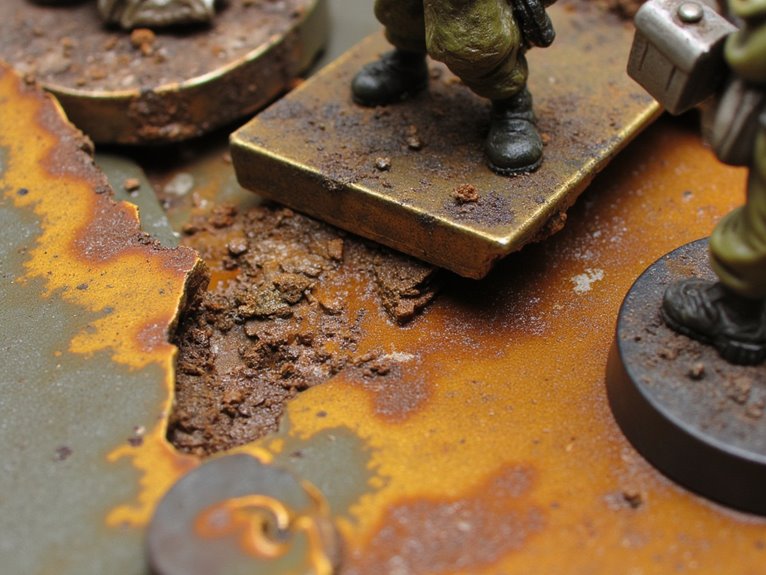
Natural grime accumulates where environmental debris naturally collects—lower surfaces, recessed areas, and worn edges.
Environmental wear patterns follow predictable paths where dirt, moisture, and handling naturally occur on surfaces over time.
Apply these techniques for maximum realism:
- Layer oil washes in recessed areas to deepen existing shadows and create volume perception
- Use airbrushed cool-tone filters on under-surfaces to enhance three-dimensionality
- Combine pigment powders with oily mediums to simulate authentic mud and grease accumulation
Shadow depth develops through careful layering of washes and filters.
Oil paints provide greasy consistency that mimics real grime better than acrylics.
When printing custom bases or accessories for your weathered miniatures, ensure minimal shrinkage during the curing process to maintain precise details that complement your weathering effects.
Seal effects with matte varnish to preserve texture while adding subtle gloss to simulate wet conditions.
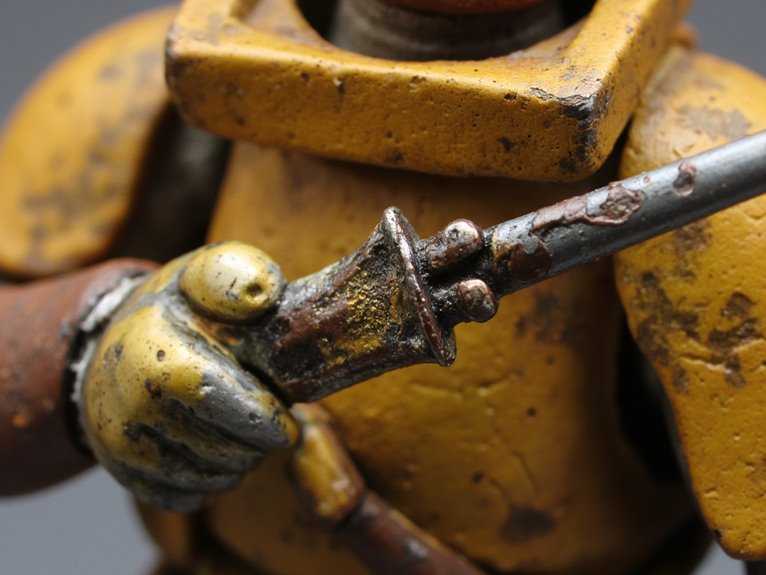
Executing Professional Streaking Techniques
How do you transform flat miniature surfaces into convincing weathered objects that appear naturally aged by environmental exposure? Master professional streaking techniques through systematic paint layering and controlled application methods.
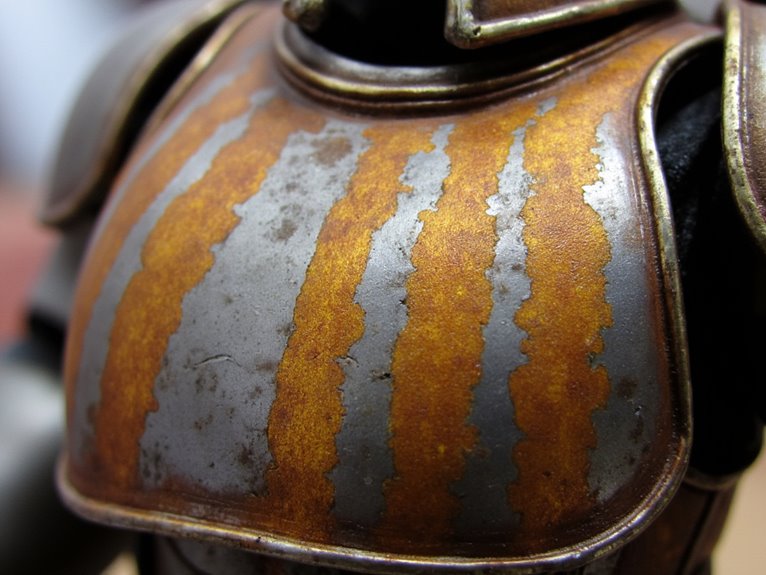
Begin by applying small, neat dots of oil paint randomly across your weathering area. Use shades slightly lighter and darker than your base color. Pull paint downward with a large, flat brush lightly loaded with thinner, following gravity’s natural path.
Create pencil-thin streaks rather than thick lines for authenticity. Combine burnt umber with lighter tones to simulate dirt and grime streaks. Orange-brown oils effectively emulate rust and battle damage.
Layer multiple thin applications for convincing variation. React dynamically to paint flow, adjusting brush pressure accordingly. Use cotton swabs with thinner to soften effects and blend changes seamlessly.
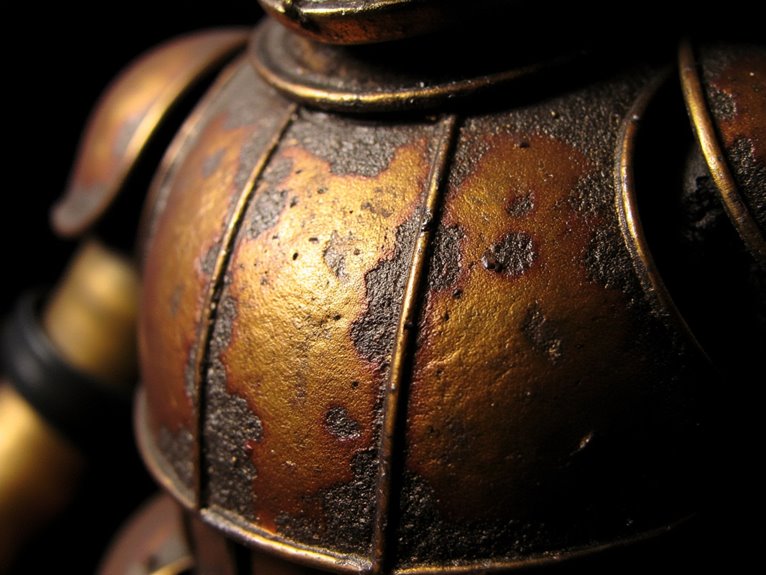
Simulating Weather-Exposed Surface Damage
Surface damage from prolonged environmental exposure requires deliberate simulation techniques that distinguish between various weathering patterns found on real-world objects.
Authentic weathering demands careful observation of real-world damage patterns to achieve convincing surface deterioration effects.
You’ll achieve realistic results by applying oil paint strategically to replicate specific damage types.
Focus your weathering effects using these essential techniques:
- Panel line application – Place small amounts of oil paint in corners and recessed areas where dirt naturally accumulates.
- Streak creation – Drag thinned oil paint vertically or diagonally to simulate rain marks and fluid runs.
- Layered corrosion – Build depth using varied shades of browns, ochres, and rust tones in multiple thin applications.
Target edges, joints, and moisture-prone sections for maximum realism.
Remove excess paint with soft brushes and appropriate solvents to create natural variation patterns that mirror authentic exposure damage.
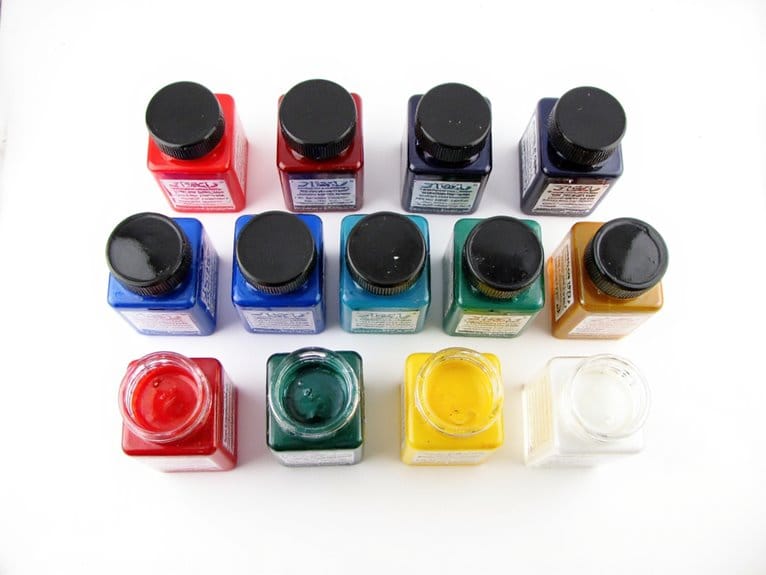
Selecting Essential Materials and Specialized Tools
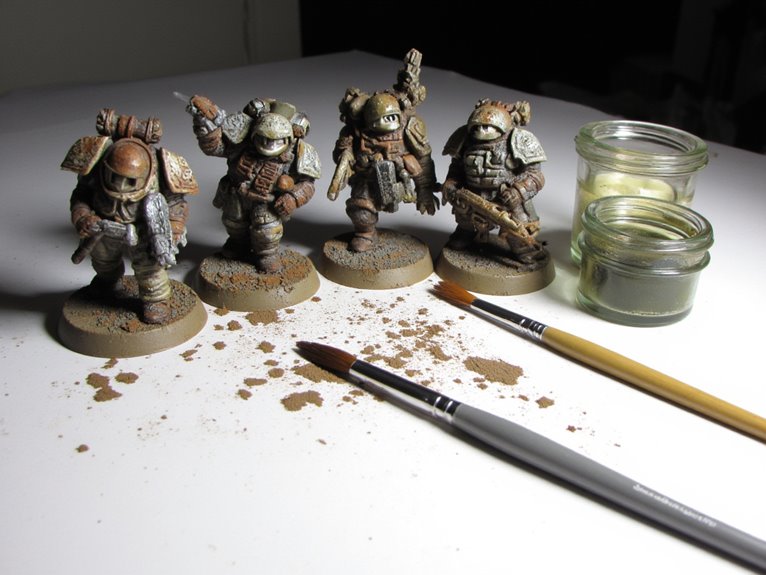
Achieving convincing weathering effects depends heavily on your material choices and tool selection.
Start with water-mixable oil paints like Windsor & Newton Burnt Umber for easy cleanup without harsh solvents. Combine these with wax-based metallic paints such as Rub n’ Buff Spanish Copper for realistic rust effects.
Use synthetic brushes exclusively—oil paint dangers include destroying natural hair brushes rapidly. Cheap makeup brushes work excellently for texture applications. Small sponges create varied weathering patterns effectively.
For brush preservation, keep wet rags nearby for immediate cleaning. Select dedicated oil paint thinners like Windsor Newton Sansodor for proper dilution.
Apply gloss varnish spray coats before oil washes to promote natural flow into crevices. Wear rubber gloves and maintain adequate ventilation when handling oil paints and thinners for safety.
Professional oil painting brush sets typically include essential shapes like flat, filbert brushes, round, and liner varieties that provide the precision control needed for detailed miniature weathering work.
Optimizing Varnish Preparation for Oil Paint Workability
Once your miniature has received its base oil weathering, proper varnish preparation becomes critical for protecting and enhancing the paint layers beneath. Varnish composition directly affects workability and final results. Adding 3% boiled walnut oil to damar varnish improves fluidity without compromising adhesion.
Varnish mixing requires precise measurement to prevent separation or inconsistent coverage.
Follow these preparation steps:
- Shake varnish thoroughly for 30 seconds to guarantee homogeneous mixture
- Prepare small batches to maintain freshness and prevent premature thickening
- Control temperature during mixing as heat exposure affects chemical stability
Proper varnish acts as a protective barrier while enhancing color saturation.
However, premature application before oil paint partially cures traps solvents, causing prolonged tackiness.
Monitor environmental conditions carefully during preparation to optimize film formation.
Overcoming Timing and Application Challenges
While varnish preparation sets the foundation for oil weathering, mastering the timing between application stages determines whether your effects achieve realistic depth or become muddy disasters.
Effective timing strategies center on oil paint’s extended workability window. You’ll have several hours to manipulate washes before they set, but full drying requires 24 hours minimum. This prevents reactivation during subsequent layers. Plan multiple passes over extended sessions to build progressive grime effects without smearing previous work.
Your application techniques must account for oil paint’s unique properties. Apply washes over gloss surfaces to encourage natural flow via capillary action. Use thinner-dampened flat brushes to pull paint into realistic streaks.
Dot varying oil tones on panels before blending creates authentic weathering patterns. Maintain thin consistency similar to airbrush paint for ideal control and smooth application results.
On a final note
You’ve learned the core techniques for oil weathering painted miniatures. Master the extended working time oils provide. Build your foundation with metallics and wax systems. Apply washes precisely in recesses for natural grime effects. Select quality materials and prepare surfaces with proper varnish. Practice timing your applications carefully. These methods will transform your miniatures from simple painted figures into realistic, battle-worn characters that showcase advanced weathering techniques.