We are supported by our audience. When you purchase through links on our site, we may earn an affiliate commission, at no extra cost for you. Learn more. Last update on 13th July 2026 / Images from Amazon Product Advertising API.
Hey there! So you've got some annoying gaps and seams on your model, huh? No worries, I've got just the solution for you. In this article, I'll walk you through the process step by step, so you can achieve that flawless finish you've been dreaming of. Let's dive in!
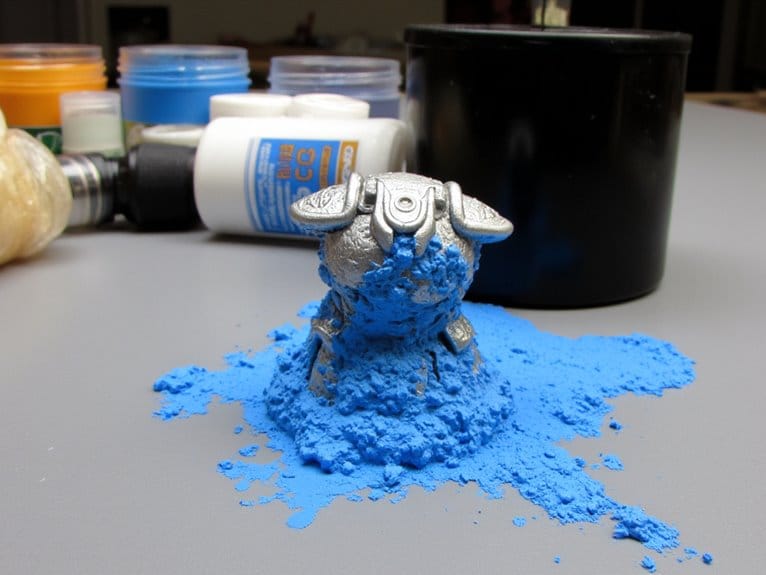
First things first, let's talk about choosing the right filler. It's like finding the perfect puzzle piece to complete your masterpiece. You want something that will seamlessly blend in and fill those gaps without a hitch. Once you've got your filler in hand, we can move on to the next step.
Now, let's prepare the surface. Think of it as prepping a canvas before you start painting. Smooth it out, clean it up, and make sure it's ready to receive that filler. You want a solid foundation for your work of art, after all.
Next comes the fun part – applying the filler with precision. Think of yourself as a sculptor, carefully shaping and molding the filler to fit perfectly into those gaps. Take your time, be patient, and remember that every little detail counts.
Once the filler is in place, it's time to sand and smooth. Imagine you're polishing a rough diamond, bringing out its true brilliance. Smooth out any rough edges, blend the filler seamlessly with the surrounding area, and create a surface that's as smooth as silk.
And finally, those finishing touches. Just like adding the final strokes to a painting, this step will make your model truly stand out. Whether it's a touch of paint, a subtle texture, or a shiny coat of varnish, these little details will bring your model to life.
So there you have it, my friend. A seamless modeling experience awaits you! Follow these steps, put your creative touch into it, and watch your model transform into a work of art. Happy modeling!
Key Takeaways
- Choose the right filler based on factors such as ease of use, durability, and desired finish
- Properly prepare the surface by cleaning and priming it for better filler adhesion
- Apply the filler gradually and evenly, removing excess and blending it into the surrounding surface
- Use sanding techniques to remove excess filler, smooth rough surfaces, and create a polished look
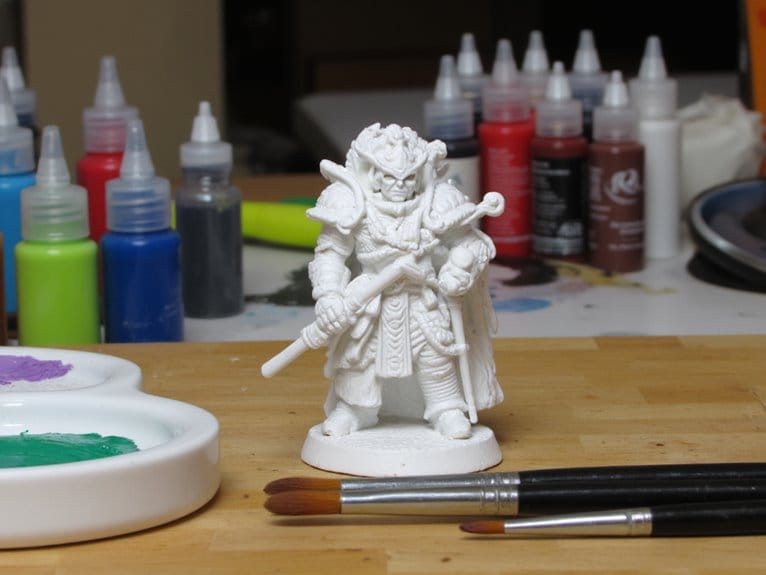
Choosing the Right Filler
I'll discuss how to choose the right filler for filling gaps or seams on the model.
When it comes to filling gaps or seams on a model, there are different types of fillers to choose from, each with their own pros and cons.
One commonly used filler is putty, which is easy to work with and can be sanded down to a smooth finish. However, putty can shrink over time and may require multiple applications.
Another option is epoxy putty, which is durable and can be sculpted to match the surrounding area. However, it can be more challenging to work with and may require additional tools.
Lastly, there are liquid fillers, such as cyanoacrylate or super glue, which are quick-drying and provide a strong bond. However, they can be difficult to control and may not work well for larger gaps.
When choosing a filler, consider the size and type of gap or seam you need to fill, as well as your level of experience and desired finish.
Now that we've discussed the different types of fillers, let's move on to the next step: preparing the surface.
Preparing the Surface
To prepare the surface, I'll begin by applying a quantifier determiner to remove any dust or debris. Surface cleaning techniques are crucial in ensuring a smooth and flawless finish on your model. Dust and debris can interfere with the adhesion of the filler and affect the overall quality of the final result. Therefore, it's important to thoroughly clean the surface before proceeding.
Additionally, priming the surface before applying filler is essential. Priming creates a smooth and uniform base that helps the filler adhere better, resulting in a stronger bond and minimizing the chances of cracks or shrinkage. By properly preparing the surface, you're setting the stage for a successful gap or seam filling process.
Now that the surface is clean and primed, let's move on to the next step of applying the filler.
Applying the Filler
I use a small spatula to carefully apply the filler to the gaps or seams on the model. Here are some tips for achieving a seamless finish:
- Start with a small amount of filler and gradually build it up. This will help prevent overfilling and make it easier to achieve a smooth surface.
- Use the spatula to spread the filler evenly over the gap or seam. Apply gentle pressure to ensure the filler fills the entire area.
- Once the filler is applied, use a damp cloth or sponge to remove any excess and blend it into the surrounding surface. This will help create a seamless transition between the filler and the model.
To avoid common mistakes when using filler, keep the following in mind:
- Avoid applying too much filler at once, as it can be difficult to work with and may result in a lumpy finish.
- Take your time and work in small sections, allowing each layer of filler to dry before applying the next. This will help prevent cracking and ensure a strong bond.
- Sand the filled area gently with fine-grit sandpaper to achieve a smooth finish. Be careful not to sand too aggressively, as this can damage the model surface.
Sanding and Smoothing
After applying the filler to the gaps or seams on the model, the next step is sanding and smoothing the filled areas to achieve a seamless finish. Sanding is an essential step in model making as it helps to remove excess filler, smooth out rough surfaces, and create a polished look. There are several techniques you can use to achieve a smooth finish on your models. One technique is wet sanding, which involves using water and fine-grit sandpaper to gently sand the filled areas. Another technique is using sanding sticks or blocks, which have different grits on each side to allow for varying levels of sanding. Additionally, using a sanding sponge can help to achieve a smooth and even surface. By employing these techniques, you can ensure that your model has a flawless finish. With the sanding and smoothing complete, it's time to move on to the final step of adding finishing touches to bring your model to life.
| Technique | Description |
|---|---|
| Wet Sanding | Using water and fine-grit sandpaper to gently sand the filled areas, creating a smooth surface. |
| Sanding Sticks | Using sticks or blocks with different grits to sand and smooth the filled areas. |
| Sanding Sponge | Using a sponge with abrasive material to achieve a smooth and even surface. |
Now that the filled areas have been sanded and smoothed, it's time to add the finishing touches to complete your model.
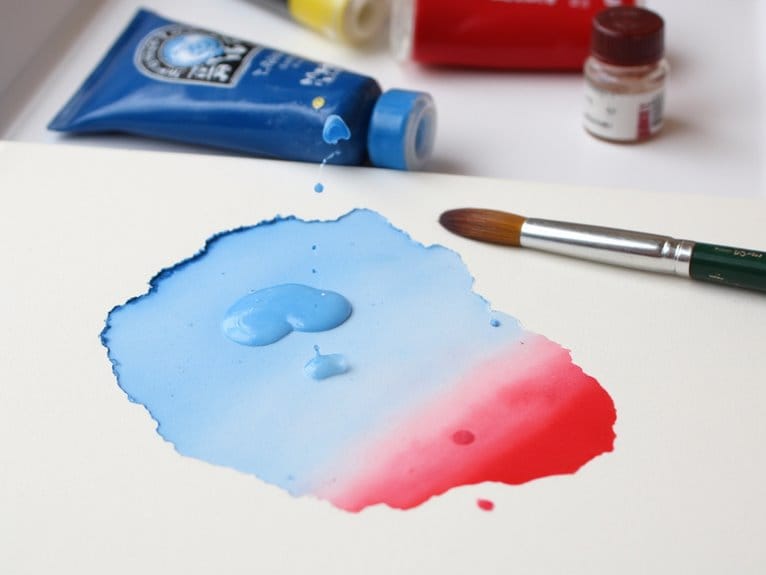
How Can I Use Blending Techniques to Fill Gaps or Seams on my Model?
Mastering layers and blending techniques is essential for filling gaps or seams on your model. By using various shades and subtly blending them together, you can seamlessly cover any imperfections. Start with a base coat, then gradually build up layers, blending each one carefully to achieve a flawless finish.
Finishing Touches
Now that the filled areas have been sanded and smoothed, I can focus on adding the final touches to bring my model to life. Finalizing the details and enhancing the overall appearance are crucial steps in creating a realistic and visually appealing model.
Here are three key ways to achieve this:
- Paint: Applying a coat of paint not only adds color but also helps to hide imperfections and unify the different parts of the model. Choose colors that accurately represent the subject and use techniques like dry brushing or washes to add depth and texture.
- Decals: Adding decals can greatly enhance the realism of your model. These pre-printed designs can represent logos, numbers, or other intricate details that would be difficult to paint by hand. Apply them carefully and seal them with a clear coat for a professional finish.
- Weathering: To make your model look more lifelike, consider adding weathering effects. Techniques like dry brushing, washes, and chipping can simulate wear and tear, rust, or dirt, adding depth and character to your model.
Conclusion
In conclusion, filling gaps or seams on a model requires the right filler, careful preparation of the surface, precise application of the filler, and thorough sanding and smoothing. These steps are crucial to achieving a flawless finish and creating a model that truly stands out.
Just like an artist filling in the gaps of a painting, attention to detail and precision are key in this technical process.
So, grab your tools and get ready to bring your model to life with seamless perfection.