We are supported by our audience. When you purchase through links on our site, we may earn an affiliate commission, at no extra cost for you. Learn more. Last update on 30th June 2025 / Images from Amazon Product Advertising API.
You’ll master wet blending by applying adjacent colors while they’re still wet, then merging them with controlled horizontal brush strokes. Start with properly thinned acrylics at milk-like consistency, use fine-tip brushes like Winsor Newton Series 7, and add retarding medium to extend working time by 200-300%. Apply your darkest basecoat first, then add lighter colors side-by-side, blending at boundaries with light pressure. This technique creates seamless gradients perfect for armor, fabric, and skin tones when you understand the complete process.
Notable Insights
- Apply two colors side by side while wet, then use horizontal brush strokes to merge at boundaries for smooth gradients.
- Thin acrylic paints to milk-like consistency and use retarders to extend working time by 200-300% for better blending.
- Use fine-tip brushes like Winsor Newton Series 7, keeping them slightly damp for optimal paint flow and control.
- Prime miniatures and allow 24-hour cure time; clean surfaces thoroughly to ensure proper paint adhesion and smooth results.
- Work quickly while paint remains wet; if paint starts setting, let dry completely before adding transitional layers.
Understanding the Fundamentals of Wet Blending
Wet blending stands as one of the most effective techniques for creating smooth color shifts on miniatures, offering painters the ability to achieve professional-quality gradients without complex layering methods.
This technique involves applying two separate colors adjacent to each other while wet, then merging them directly on the miniature surface through controlled brush manipulation.
Understanding color theory enhances your wet blending success. Complementary colors require careful handling to prevent muddy shifts, while analogous colors blend more naturally.
The key difference between wet blending and other blending methods lies in the timing—you’re working with active, wet paint rather than dried layers.
You’ll achieve ideal results by “pulling” paint horizontally from one color area into another. This approach prevents in-place mixing that creates unwanted muddiness while maintaining clean color separation at the blend’s edges. Remember that acrylic paints dry rapidly, so immediate application after color placement is essential for successful blending.
Working in small areas prevents the paint from drying too quickly and maintains the workability needed for smooth transitions. Using a wet palette can significantly extend your working time by keeping paints hydrated for 8+ hours, giving you more control over the blending process.
Essential Tools and Materials for Success
Your success with wet blending depends entirely on selecting the right brushes and paints for the technique.
You’ll need fine-tip brushes like Winsor and Newton Series 7 in sizes 1 and 2, along with properly thinned acrylic paints that reach a translucent consistency.
Moisture control additives such as Lahmian Medium or drying retarders will extend your working time and prevent the paint from drying before you complete your blends. Start with a smooth basecoat using your darkest color to establish the foundation for successful blending. Remember to apply lean paint over thicker applications to maintain quality and avoid creating a goopy mess during the blending process. Clean your brushes with warm soapy water immediately after use to maintain their performance and extend their lifespan.
Paint and Brush Selection
Success in wet blending depends entirely on selecting the right paints and brushes for the technique. Your paint choice determines blending success. Acrylic advantages include ideal drying time and superior blending properties when thinned to glaze consistency. Avoid heavy-bodied paints—they dry too quickly and create unwanted textures. Consider using oil paints as an alternative since they allow for extended blending time compared to acrylics.
Your brush selection requires two specific tools:
- Primary application brush – Small, well-pointed with firm bristles
- Secondary blending brush – Slightly damp for smoothing shifts
- Brush shapes – Fine-tipped brushes designed for miniature precision work
- Larger brushes – Reserved for bigger model surfaces only
Thin your acrylics with water or slow-drying medium to extend working time. Keep your secondary brush moistened but not saturated—it should manipulate paint without absorbing pigment. Maintain clean brushes between color applications to prevent unwanted mixing and contamination.
Proper brush loading prevents excessive application while ensuring adequate coverage.
Moisture Control Additives
While proper paint and brush selection form the foundation of wet blending, moisture control additives serve as the significant bridge between basic materials and professional results. Your retarder selection directly impacts blending window duration and paint behavior on miniature surfaces.
Glycerin-based retarders extend working time by 200-300% compared to unmodified acrylics. Flow improvers reduce surface tension while maintaining paint adhesion when mixed at 5-10% ratios. Glazing mediums provide dual benefits: moisture retention and increased transparency for layered effects.
Balance remains essential with additives. Excessive retarder application compromises paint adhesion and can cause pooling in surface details. Combine retarders with minimal water additions to control viscosity without over-dilution.
Start with manufacturer-recommended ratios and adjust based on ambient humidity levels and desired working time.
Choosing Compatible Colors for Smooth Transitions
Your color choices determine whether you’ll achieve smooth, professional shifts or end up with muddy, lifeless blends that ruin your miniature’s appearance.
Understanding basic color wheel relationships lets you predict which paint combinations will flow together naturally and which will create dull, gray intermediate tones.
The key lies in selecting colors that share common undertones or sit near each other on the color wheel, while avoiding complementary pairs that neutralize each other when mixed.
Color Wheel Fundamentals
Understanding the color wheel transforms wet blending from guesswork into a systematic approach for achieving smooth paint shifts on miniatures.
The 12-hue color wheel provides the foundation for color theory applications in miniature painting. Primary colors—red, yellow, and blue—cannot be mixed from other pigments. Secondary colors result from combining equal parts of two primaries. Tertiary colors emerge when mixing primary and neighboring secondary hues.
For effective wet blending, follow these color wheel principles:
- Use analogous colors for natural changes and maintained color intensity
- Position complementary pairs opposite each other for maximum contrast effects
- Apply warm-to-cool temperature shifts gradually through intermediate hues
- Select triadic schemes with three evenly-spaced colors for balanced compositions
Analogous color relationships sitting adjacent on the wheel create harmonious blends. Their shared characteristics guarantee smooth gradations without jarring changes. This systematic approach has historical roots tracing back to Aristotle’s early studies of color theory.
Avoiding Muddy Mixtures
When selecting colors for wet blending, compatibility determines whether you’ll achieve smooth shifts or muddy disasters.
Color theory guides your pigment selection—choose hues that share harmonious undertones or sit adjacent on the color spectrum. Sharp contrasts create harsh separations that resist blending.
Value differences matter more than hue relationships. Select colors with sufficient lightness variation for clear gradients.
Avoid combining similar muddy shades or low-saturation colors, which produce dull results. Incorporate midtone intermediates to bridge highlight and shadow areas effectively.
Limited palettes simplify changes. Three to four compatible colors prevent overwhelming complexity while maintaining vibrancy.
High saturation differences require gradual layering to avoid patchy results. Define your change zones before application—this controls mixing boundaries and prevents unintentional color contamination that destroys blend coherence.
Preparing Your Miniature Surface
Before applying any paint to a miniature, the surface must be methodically prepared through a series of critical steps that directly impact the final quality of your wet blending work.
Proper preparation guarantees peak paint adhesion and prevents technique failures during blending operations.
Meticulous surface preparation forms the foundation for flawless wet blending results and prevents costly painting mistakes.
You’ll need to execute these preparation steps in sequence:
- Miniature cleaning – Use isopropyl alcohol or dish soap with a toothbrush to remove mold release agents and accumulated grime
- Mold line removal – Inspect and carefully shave off casting defects using a sharp hobby knife or fine files
- Priming application – Apply primer via brush, spray, or airbrush to create essential adhesion layers
- Surface securing – Attach miniatures to handles to prevent contamination during subsequent painting phases
Primer requires 24 hours to fully cure before painting begins.
If your miniature has existing paint layers that need removal, paint removers designed for plastic and resin miniatures can effectively strip multiple coats without damaging the underlying material.
Step-by-Step Wet Blending Process
You’ll need to prepare your paints and tools before executing the actual blending technique on your miniature’s surface.
Start by thinning your acrylic paints to a consistency that flows smoothly while maintaining sufficient pigmentation for color coverage.
Keep a clean brush, wet palette, and paper towels within reach since timing becomes critical once you begin applying paint to the miniature.
Consider using a paint organizer to keep your color selection systematically arranged and easily accessible during the blending process.
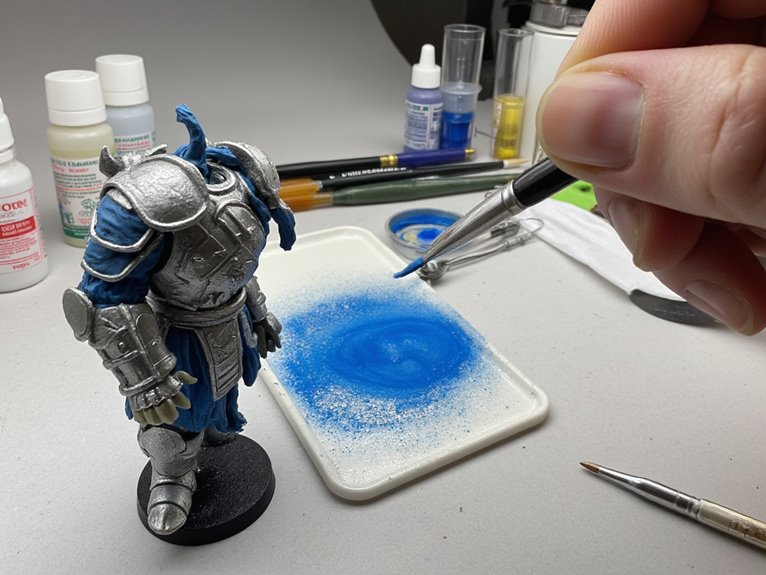
Prepare Paint and Tools
Successful wet blending demands meticulous preparation of both your paints and tools before you touch brush to miniature. Your paint mixing techniques determine blend quality. Thin acrylics to milk consistency—not watery—maintaining pigmentation while ensuring smooth flow. Select 2-4 colors in planned gradients from dark to light.
Essential preparation steps include:
- Prime with compatible primer like Vallejo Black Surface Primer for proper adhesion.
- Apply even base coat using large flat brushes to eliminate streaks.
- Prepare fine-tip brushes such as Winsor Newton Series 7 sizes 1-2.
- Organize workspace with clean water, paper towels, and retarders within reach.
Brush maintenance tips require dampening brushes without saturation.
Add drying retarder to extend working time. Clean brushes frequently to prevent color contamination.
Execute Blending Technique
Once your paints and tools reach proper consistency, executing wet blending requires systematic application of adjacent colors while maintaining workable paint viscosity.
Divide your miniature’s surface into sections. Apply two base colors side by side while wet, avoiding direct mixing in one spot. Use horizontal brush strokes to push paint from one color into the neighboring area. Cross hatching techniques help merge boundaries without creating muddy central zones. Clean your brush between applications to maintain color purity.
Work quickly before acrylics begin drying. When paint starts setting, pause and allow complete drying before continuing.
Color integration methods involve applying thin transitional layers over initial blends. Each successive layer covers smaller areas, approaching your target shade. Maintain 8:1 to 10:1 water-to-paint ratios for smooth shifts without hard edges.
Managing Paint Consistency and Moisture
Three critical factors determine wet blending success: paint consistency, moisture control, and timing coordination.
Paint viscosity must reach a milk-like consistency that balances coverage with workability. Khorne Red requires more thinning than Mournfang Brown due to pigment density differences.
Achieving proper paint viscosity through strategic thinning is essential, as different pigment densities require varying dilution ratios for optimal wet blending performance.
Moisture retention depends on maintaining a thin film on your miniature’s surface—too dry prevents blending, too wet causes unwanted mixing.
Follow these essential moisture management steps:
- Thin paints to proper consistency while maintaining opacity
- Use damp brush techniques to control surface moisture
- Apply drying retarders to extend working time
- Clean brush between color changes
Environmental factors greatly impact success. Cooler temperatures and higher humidity extend paint wetness.
Vallejo Model Color and Reaper Master Series excel at wet blending due to balanced formulations. Citadel Base Paints need considerable thinning.
A stay-wet palette keeps your paint workable for extended periods, maintaining optimal consistency throughout your wet blending session.
Brush Techniques for Optimal Results
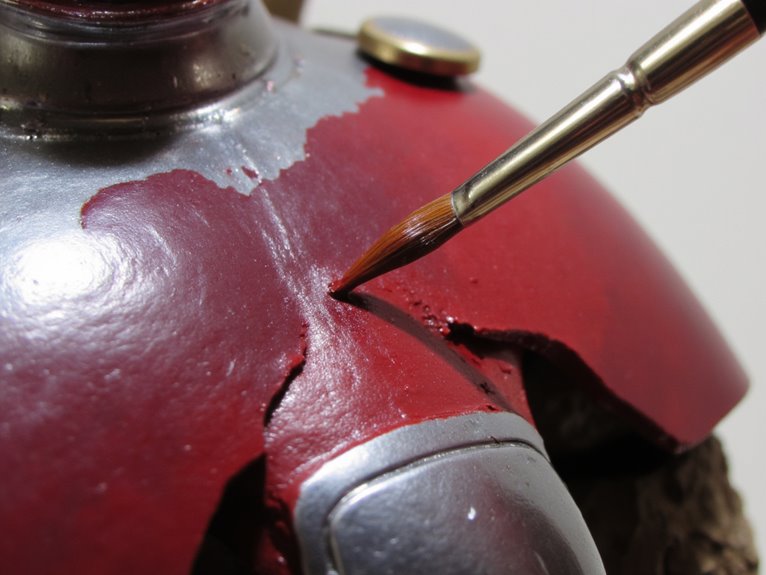
Proper brush technique separates amateur wet blending from professional-quality results on miniatures. Load your brush with undiluted paint and damp it slightly for best flow.
Apply the first color solidly across the changeover area, then add the second while wet. Maintain brush stability through controlled horizontal strokes that move paint between color zones without overspreading. Use light zig-zag motions at changeover points to merge edges gently. Stroke consistency prevents uneven mixing and patchy blends.
Avoid vertical movements that pull colors backward into muddy centers. Begin with broader strokes for base blending, then refine with smaller, controlled movements. Stop immediately when paint skin forms to prevent texture disruption. Clean brushes thoroughly between colors.
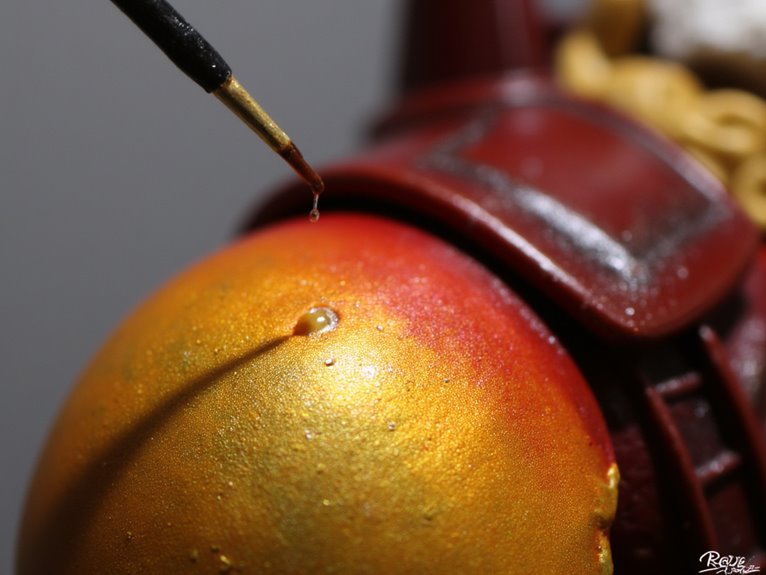
Working With Drying Retarders and Additives
While brush technique forms the foundation of wet blending, drying retarders transform your working time from minutes into extended sessions that allow for seamless color shifts.
Proper retarder application requires precise ratios. Mix approximately 7 parts paint to 1 part retarder for ideal results without compromising paint consistency. This 15% ratio extends drying times while maintaining proper opacity and coverage.
Essential retarder techniques:
- Pre-wet surfaces with diluted retarder-water mixture before painting
- Apply minimal amounts directly to your palette or brush tip
- Combine with glaze mediums for enhanced flow and extended working time
- Monitor paint thickness to prevent over-thinning and splotchy application
Retarders containing propylene glycol regulate moisture effectively, delaying the “touch dry” phase where paint skins over.
Control your brush loading carefully, as retarder-thinned paints concentrate pigment at the brush tip, requiring feathering motions to prevent pooling.
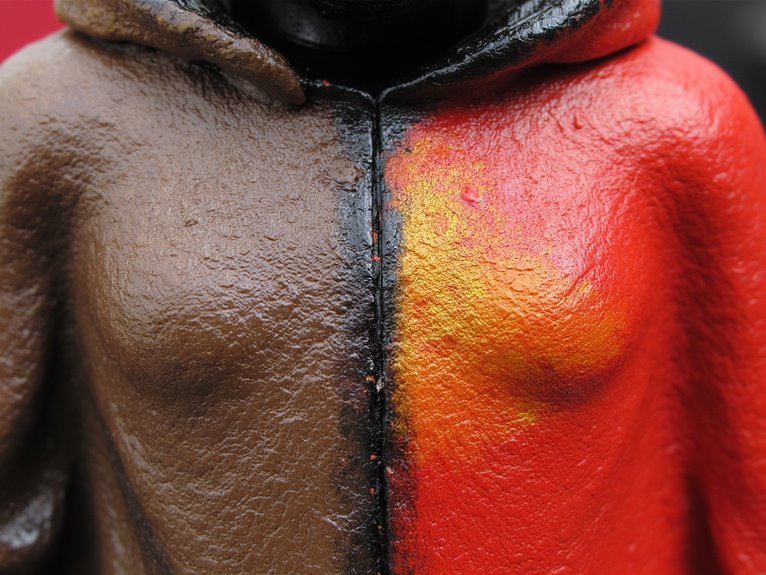
Best Applications for Wet Blending
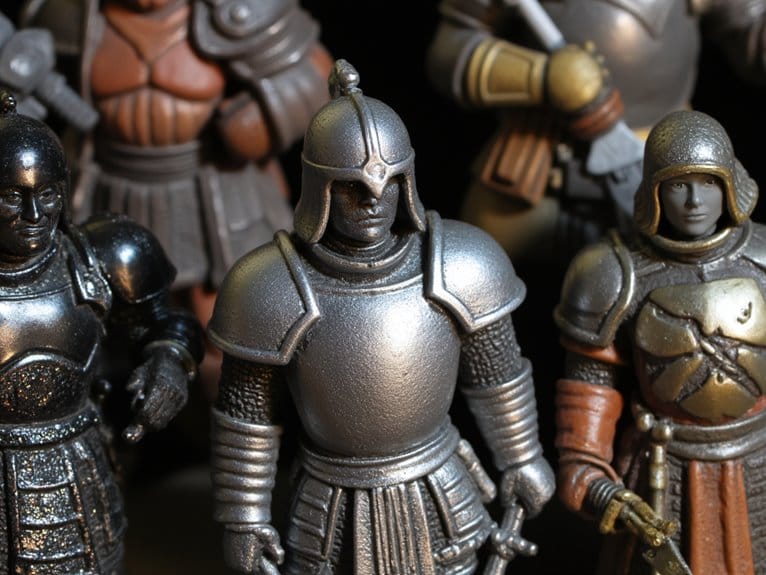
Successful wet blending depends heavily on selecting the right surfaces and subjects on your miniatures. Natural materials like cloaks, capes, and skin provide excellent candidates for these blending techniques. Their larger smooth areas allow sufficient working time before paint dries.
| Surface Type | Difficulty Level | Best Applications |
|---|---|---|
| Cloaks/Capes | Beginner | Large smooth shifts |
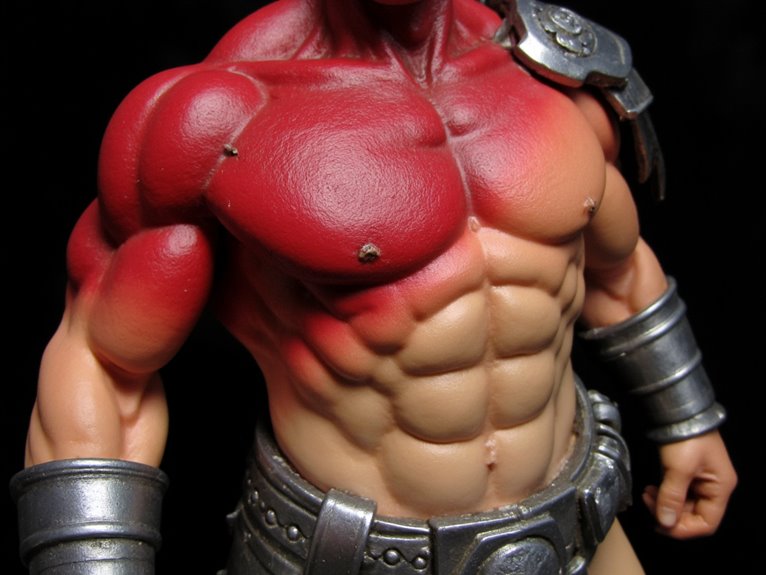
| Skintones | Intermediate | Realistic flesh shading |
| Cloth Folds | Intermediate | Subtle gradient effects |
| Armor Highlights | Advanced | Small precise reflections |
You’ll achieve exceptional results on surfaces with subtle gradients or color shifts. Leather and fabric textures respond exceptionally well to wet blending. Armor requires precise brush control but delivers stunning highlight effects. Focus on areas where smooth shifts enhance realism rather than attempting wet blends on heavily detailed surfaces.
Common Mistakes and How to Avoid Them
Paint consistency errors rank among the most frequent problems that derail wet blending attempts. Using paint that’s too thick creates uneven coverage and obscures miniature details.
You’ll encounter these common mistake examples that create blending challenges:
- Inconsistent paint thinning – Your base coat and subsequent layers must follow the “lean vs. fat” principle, where each new layer is thinner than the previous one.
- Wrong brush selection – Brushes that are too small can’t pick up sufficient paint for smooth shifts.
- Poor timing – Continuing to blend as paint starts drying results in patchy, splotchy finishes.
- Surface preparation neglect – Skipping thorough cleaning leads to paint adhesion issues that disrupt blending flow.
Maintain slight brush moisture and avoid overworking drying areas to prevent lifting paint.
Troubleshooting Blending Problems
Even experienced miniature painters encounter blending setbacks that require systematic diagnosis and correction.
When blends appear patchy or streaky, assess your blend timing first. Paint that’s partially dried creates harsh lines instead of smooth transitions. Work quickly while paint remains fluid and wet.
Examine your brush pressure next. Excessive pressure lifts existing pigment and disrupts the blend. Use light, confident strokes with a slightly damp brush to pull paint effectively. Dry brushes create resistance and uneven coverage.
Light, confident brush strokes with proper dampness create smooth blends while excessive pressure disrupts pigment and causes uneven coverage.
Check paint consistency if colors appear muddy or washed out. Overly diluted paint reduces pigment density and blending quality. Maintain proper paint volume on your palette and brush to prevent splotchy coverage.
Add drying retarder to extend working time on larger surfaces where blending requires more manipulation.
Advanced Techniques and Professional Tips
While mastering basic wet blending establishes your foundation, advanced practitioners leverage specific paint preparation methods and environmental controls to achieve museum-quality results.
Professional painters employ sophisticated approaches to overcome common blending challenges:
- Two-brush alternation system – Load one brush with paint while keeping a second damp for precise edge control.
- Fat-over-lean layering – Apply thinner base coats beneath thicker highlight layers for superior paint interaction.
- Dynamic surface palette technique – Blend colors directly on the miniature to create atmospheric effects.
- Controlled environment setup – Maintain 50-60% humidity using humidifiers to extend working time.
These advanced techniques require faster execution than traditional layering methods.
Incorporate drying retarders into your paint mixture to extend blending windows.
Plan your color sequence before application to maximize efficiency within the wet window timeframe.
On a final note
You’ve now mastered wet blending’s core principles and practical applications. Your success depends on consistent paint viscosity, proper brush maintenance, and timing your shifts within the 15-20 minute working window. Practice these techniques on test surfaces before applying them to finished miniatures. Remember that ambient temperature affects drying rates—work in 65-75°F environments for ideal results. With dedicated practice, you’ll achieve professional-grade color shifts that enhance your miniature’s visual impact and artistic quality.