We are supported by our audience. When you purchase through links on our site, we may earn an affiliate commission, at no extra cost for you. Learn more. Last update on 1st July 2025 / Images from Amazon Product Advertising API.
The number of layers of paint required for a miniature depends on various factors, including the material it’s made of, surface texture, desired level of detail and finish, and type of paint used. Thinner paints, rough surfaces, and intricate details tend to require more layers, while metallic paints and primers can impact the overall layer count. Evaluating the miniature’s surface, material, and desired finish helps determine the necessary number of layers. By understanding these factors, you can guarantee a strong foundation for your paint job and achieve the desired aesthetic, and exploring the nuances of each factor can further refine your miniature painting skills.
Factors Affecting Layer Count
Beyond the intricacies of color theory and artistic vision, the number of layers required to achieve a desired effect on a miniature is influenced by several key factors. One critical consideration is paint coverage, which refers to the opacity and hiding power of a particular paint. Thinner, more transparent paints may require multiple layers to achieve the desired color, while thicker, more opaque paints may cover in a single coat. Surface texture also plays a significant role, as rough or porous surfaces can absorb more paint, necessitating additional layers. In addition, the type of miniature material, such as metal, resin, or plastic, can affect paint adhesion and coverage. The desired level of detail and blending also influence layer count, as smooth gradations and subtle color shifts may require more layers than bold, contrasting colors. Moreover, artists can better plan their painting approach and achieve the desired outcome on their miniature by understanding these factors.
Assessing Your Miniature’s Needs
Before applying the first brushstroke, it’s essential to carefully examine your miniature and determine its unique needs. This assessment will help you identify areas that require special attention, ensuring a strong foundation for your paint job.
- Paint surface: Inspect the miniature’s surface for any imperfections, such as rough spots, mold lines, or scratches. These imperfections can affect paint adhesion and final appearance.
- Material type: Consider the material your miniature is made of, as different materials may require specific paint prep or techniques. For example, resin or metal miniatures may need additional primer or special handling.
- Detail complexity: Evaluate the level of detail on your miniature, including intricate textures, patterns, or small features. These details may require additional layers or specialized painting techniques to bring them to life.
- Desired finish: Determine the desired level of finish for your miniature, whether it’s a quick tabletop-ready paint job or a highly detailed, competition-worthy piece. This will help you decide on the number of layers and level of detail needed.
Choosing the Right Paint Type
With the assessment of your miniature’s needs complete, the next crucial step is selecting the right paint type to bring your vision to life. The paint type you choose can substantially impact the final appearance of your miniature. There are numerous paint brands available, each with its unique characteristics, advantages, and disadvantages.
When selecting a paint brand, consider factors such as color range, coverage, and blending capabilities. Some brands specialize in specific finishes, such as metallic or non-metallic, which can greatly impact the overall aesthetic of your miniature. When looking for the best paints for Warhammer figures, it’s important to choose a brand that offers a wide range of colors and excellent coverage for intricate details. Additionally, blending capabilities are crucial for creating smooth transitions between different shades and achieving realistic effects on your miniatures. Some hobbyists also recommend exploring brands that specifically cater to the needs of miniature painting, as they often have the best paints for Warhammer figures.
| Paint Brand | Specialty Finishes | Key Features |
|---|---|---|
| Vallejo | Metallic, Non-Metallic | High pigment load, excellent blending |
| Citadel | Primer, Washes | High-quality, consistent results |
| Army Painter | Quickshade, Warpaint | Fast, easy-to-use, durable |
| Reaper | Master Series, Bones | High-quality, affordable, vast color range |
Building Up Base Coats
From a blank slate to a fully realized miniature, the process begins with building up base coats. This vital step sets the foundation for the entire painting process, and it’s essential to get it right.
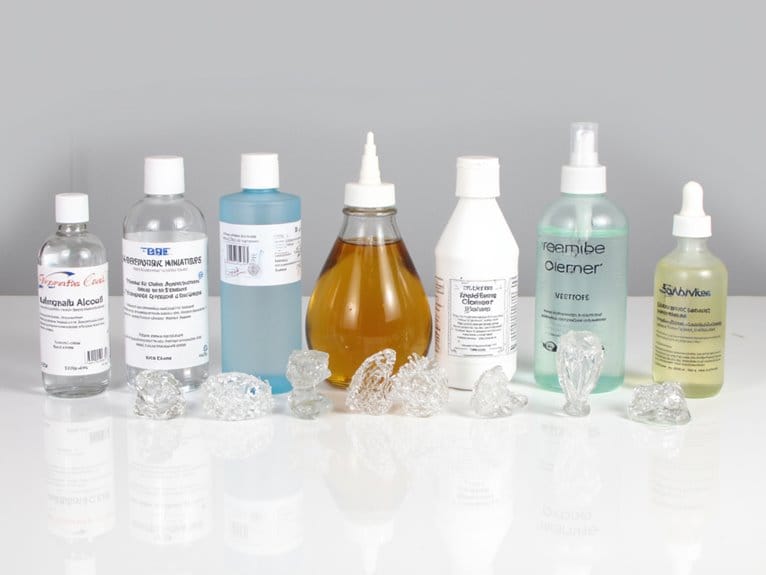
When selecting base coat options, consider the miniature’s material, the desired color, and the level of coverage needed. Some popular base coat options include:
- Acrylic primer: A must-have for metal and resin miniatures, providing a strong bond between the model and subsequent paint layers.
- Gesso: Ideal for plastics and ceramics, offering excellent coverage and a smooth surface for painting.
- Spray paint: Quick and easy to apply, suitable for large areas or uniform base coats.
- Enamel paint: Durable and chip-resistant, often used for metal miniatures or areas prone to wear.
The importance of primer cannot be overstated, as it creates a uniform surface, hides imperfections, and guarantees better paint adhesion. By carefully selecting and applying the right base coat, you’ll be well on your way to a beautifully painted miniature.
Adding Details and Highlights
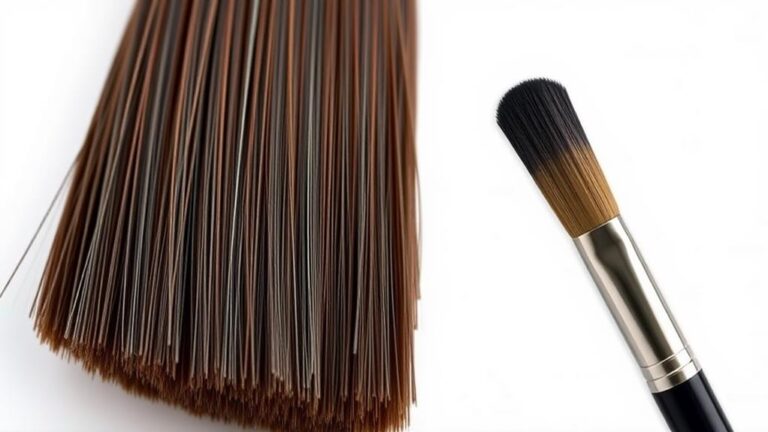
Several thin layers of paint are required to achieve a visually striking miniature, and the next pivotal step involves adding details and highlights. This stage is vital in bringing the miniature to life, as it intensifies the overall visual appeal and creates a sense of depth. To achieve the best results, it is crucial to invest in top miniature painting supplies, including fine-tipped brushes and high-quality acrylic paints. These tools are essential for creating intricate details and achieving smooth, even coverage. With the right supplies and attention to detail, a visually striking miniature can truly become a work of art.
When adding details, it’s essential to focus on small, intricate features such as eyes, teeth, or buckles. A fine brush and a steady hand are necessary for precise application. Highlight placement is critical, as it can make or break the overall appearance of the miniature. Highlights should be applied sparingly, with a focus on raised areas or points of interest.
Color blending is also an important aspect of adding details and highlights. By blending colors subtly, you can create a natural shift between shades, adding depth and dimension to the miniature. This can be achieved by layering thin glazes or using a wet-blending technique. By mastering the art of adding details and highlights, you can refine your miniature painting skills and create truly stunning pieces.