We are supported by our audience. When you purchase through links on our site, we may earn an affiliate commission, at no extra cost for you. Learn more. Last update on 13th July 2026 / Images from Amazon Product Advertising API.
Priming resin miniatures is a critical step in achieving a professional-looking finish, as it secures a strong bond between the resin surface and paint, but the necessity of priming depends on the quality of the resin and its surface properties. Polyurethane resins, for instance, tend to have a higher moisture absorption rate, which can affect the primer’s bonding ability. Understanding the material properties of the resin is essential in selecting a primer that can effectively fuse with the surface. By examining the intricacies of resin types, surface prep, and paint function, you can reveal the secrets to a flawless finish.
Understanding Resin Types and Primer
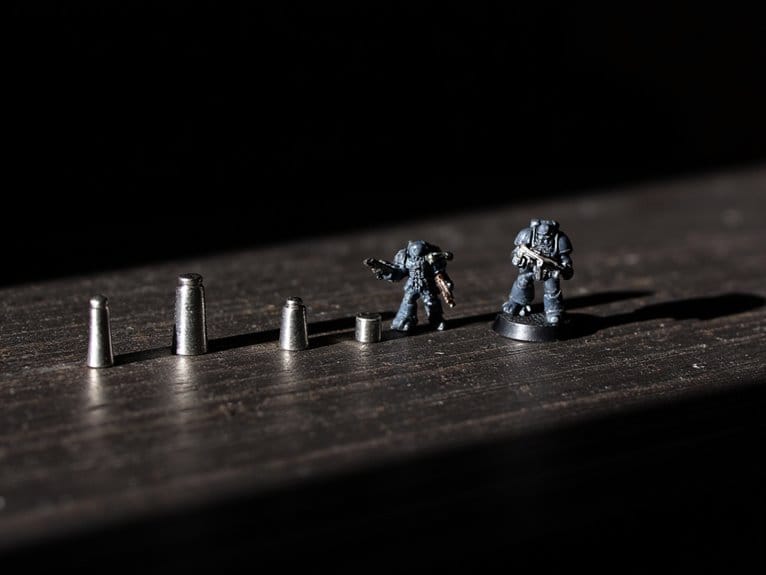
The miniature resin casting process yields a delicate, intricately detailed replica, but its surface is often fraught with imperfections, making primer selection pivotal. To choose the right primer, it’s essential to understand the resin classification and material properties of the miniature.
Resin classification falls into two main categories: polyurethane and polyester. Polyurethane resins are more flexible and resistant to impact, while polyester resins are more rigid and prone to brittleness. Each type of resin has unique material properties that affect the primer’s adhesion and performance. For instance, polyurethane resins tend to have a higher moisture absorption rate, which can affect the primer’s bonding ability.
Understanding the material properties of the resin is essential in selecting a primer that can effectively bond with the surface. The resin’s surface energy, porosity, and reactivity all play a role in determining the primer’s performance. By considering these factors, modelers can choose a primer that is specifically designed to work with their resin type, ensuring a strong bond and a durable paint finish.
Surface Prep for Optimal Adhesion
Brush away any loose debris or casting residue from the miniature, as even the slightest imperfections can compromise the primer’s adhesion. A clean surface is essential for a strong bond between the resin and the primer. Next, gently scrub the miniature with a soft-bristled brush and mild soap to remove any remaining impurities. Rinse thoroughly and dry with a soft cloth.
Surface roughening is a vital step in preparing the resin surface for priming. This process creates microscopic ridges and valleys, allowing the primer to mechanically bond with the resin. Use a gentle abrasive, such as a soft-bristled toothbrush or a fine-grit sanding stick, to roughen the surface. Avoid over-sanding, as this can create scratches that can compromise the primer’s adhesion.
A microscopic examination of the resin surface will reveal the importance of surface prep. Under magnification, even the slightest imperfections can be seen, highlighting the need for thorough cleaning and surface roughening. By taking the time to properly prepare the resin surface, you can guarantee a strong, lasting bond between the resin and the primer, resulting in a durable and long-lasting finish.
The Role of Paint in Priming
Harmony between paint and primer is essential for a successful miniature finish. The paint function plays a pivotal role in priming, as it relies on the primer to create a perfect bond between the resin surface and the paint. When the primer and paint are compatible, the resulting finish is smooth, even, and durable.
In terms of color theory, the primer’s color can markedly impact the final appearance of the miniature. A primer that is too dark or too light can alter the intended hue of the paint, leading to an undesirable outcome. By selecting a primer that is neutral or closely matches the base color of the paint, the risk of color shift is minimized. This is particularly important when working with translucent or transparent paints, as they can be heavily influenced by the underlying primer color. By considering the paint function and color theory, modelers can guarantee a strong bond between the primer and paint, resulting in a visually appealing and long-lasting finish.
When to Prime Resin Miniatures
Most resin miniatures require priming to achieve a professional-looking finish. The quality of the resin used in the miniature can affect the need for priming. High-quality resin miniatures with a smooth, non-porous surface may not require priming, as paint can adhere well to the surface. However, lower-quality resin miniatures with a rough or porous surface will likely need priming to create a smooth, even base for painting.
It’s essential to inspect the miniature before painting to determine if priming is necessary. If the resin surface is rough or has visible pores, priming is recommended. Additionally, if the miniature has intricate details or small crevices, priming can help guarantee that paint reaches these areas evenly.
In cases where priming is not necessary, primer alternatives like varnish or sealant can be used to boost the paint’s adhesion and durability. These alternatives can also help to protect the resin surface from damage. By understanding when to prime resin miniatures, artists can achieve a professional-looking finish and safeguard their artwork lasts for years to come.
Exceptions to the Priming Rule
While priming is often a necessary step in preparing resin miniatures for painting, there are instances where it may not be required or can even be counterproductive. For instance, some resin miniatures are specifically designed to be paint receptive, eliminating the need for priming. These miniatures usually have a textured or rough surface that allows paint to adhere directly. In such cases, applying a primer can actually hinder the paint’s ability to bond with the surface.
Another exception is when using primer alternatives, such as specialized coatings or surface treatments that can augment paint adhesion without the need for traditional priming. These alternatives can be especially useful when working with sensitive or delicate resin materials that may be damaged by traditional priming methods. Additionally, some modern resin formulas are designed to be self-priming, meaning they contain additives that facilitate paint adhesion without the need for an additional primer. In these cases, applying a separate primer can be unnecessary and may even compromise the material’s integrity.
Achieving a Smooth Finish
A well-prepared surface is essential for achieving a smooth finish on resin miniatures. This involves more than just applying a coat of primer, as the surface of the resin can be porous and rough. To guarantee a smooth finish, it’s vital to address these imperfections before painting. One way to prepare the surface is by sanding it down with fine grit sandpaper to remove any rough spots or imperfections. After sanding, a layer of filler primer can be applied to fill in any remaining gaps and create a smooth base for painting. Once the surface is properly prepped, the best paints for miniatures are those specifically designed for small, detailed projects, such as acrylic or enamel paints. These types of paints provide the coverage and precision needed to achieve professional-looking results on resin miniatures.
- Filling pores: Resin miniatures can have tiny pores that absorb paint, making the finish rough. Filling these pores with a primer or a specialized pore-filling product helps create a smooth surface.
- Sealing micro cracks: Micro cracks on the surface of the resin can also affect the finish. Sealing these cracks with a primer or a sealant prevents paint from seeping into them and creating unevenness.
- Sanding: Lightly sanding the surface of the miniature removes any rough spots or bumps, certifying a smooth finish.
- Applying a primer: Finally, applying a high-quality primer helps to further smooth out the surface and create an even base for painting.