We are supported by our audience. When you purchase through links on our site, we may earn an affiliate commission, at no extra cost for you. Learn more. Last update on 30th June 2025 / Images from Amazon Product Advertising API.
You’ll transform flat miniatures into striking three-dimensional models by applying lighter colors to raised edges where natural light naturally strikes surfaces. Use fine detail brushes (size 00-1) with synthetic bristles and maintain glaze-like paint consistency for ideal flow. Focus on upper-facing edges first, then work systematically around prominent details using controlled strokes at 45-degree angles. Test highlight colors on spare material before application, ensuring they complement your base tones while mimicking realistic light behavior. Master these fundamentals to release advanced professional techniques.
Notable Insights
- Use fine detail brushes (size 00-1) with synthetic bristles and thin paint to glaze-like consistency for precise control.
- Apply lighter colors to upper-facing edges where natural light reflects strongest to create three-dimensional depth.
- Select highlight colors that complement base tones, testing combinations beforehand to ensure proper contrast and realism.
- Establish consistent light direction and use controlled strokes, building highlights gradually from mid-tones to brightest accents.
- Assess highlights from tabletop distance and multiple angles to ensure visibility and adjust techniques accordingly.
Understanding the Fundamentals of Edge Highlighting
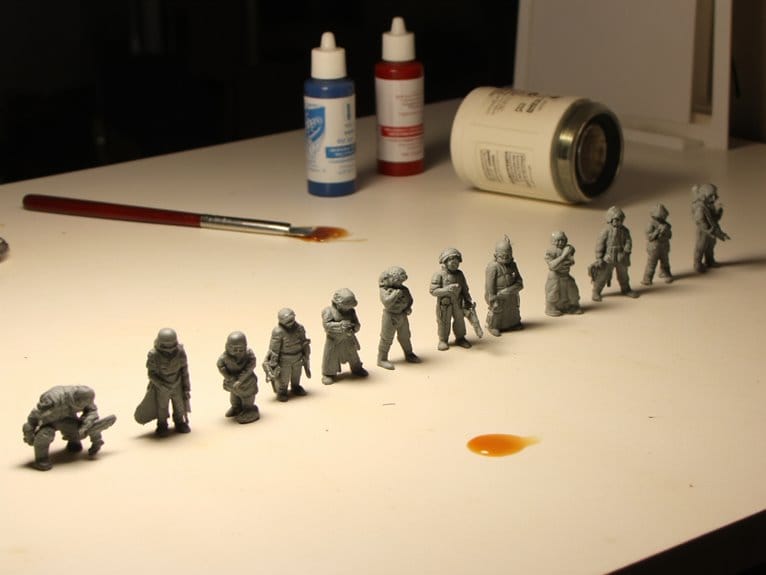
Edge highlighting transforms flat-looking miniatures into visually striking models by applying lighter colors exclusively to raised edges and prominent details. This technique mimics how natural light reflects off three-dimensional surfaces, creating visual separation between different parts of your model.
The importance of clarity becomes evident when viewing painted miniatures from tabletop distance—without edge highlights, models appear as indistinct color masses.
You’ll enhance edge visibility by selecting colors one to two shades lighter than your base coat. Apply thin, controlled brush strokes along sharp edges and raised surfaces that would naturally catch light.
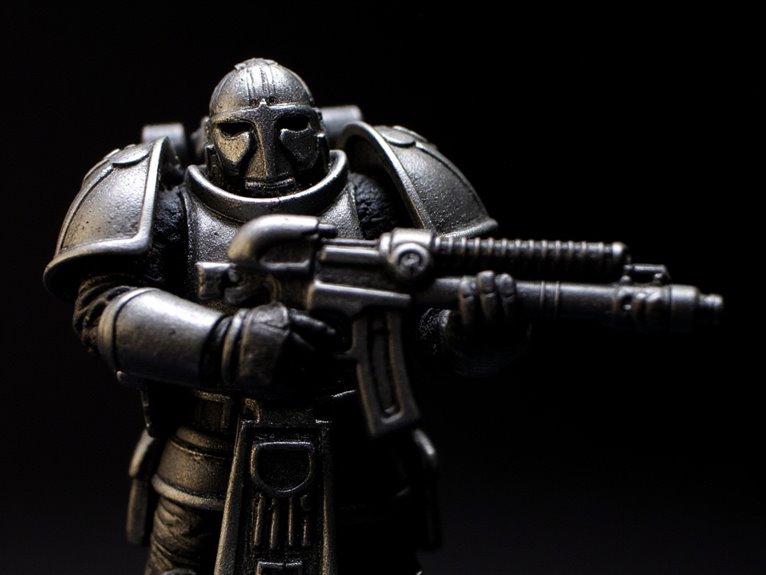
Focus on upper-facing edges first, as these receive the most illumination. This fundamental approach prevents your miniatures from looking flat while dramatically improving their readability during gameplay. Quality brushes significantly improve your edge highlighting results and overall painting experience. Edge highlighting proves particularly effective for armored miniatures where the metallic surfaces and angular geometry provide numerous opportunities to catch and reflect light. Using ergonomic handles during extended edge highlighting sessions reduces hand fatigue and maintains precision throughout detailed work.
Essential Tools and Materials for Precision Work
Your success in edge highlighting depends entirely on selecting the right brushes and preparing paint to the proper consistency.
Fine detail brushes ranging from size 00 to 1 give you the control needed for precise lines, while synthetic or sable hair options provide the ideal balance of stiffness and flexibility. Synthetic bristles are particularly noted for their anti-shedding properties, which prevents unwanted fibers from disrupting your precise miniature work.
You’ll achieve the best results when your paint reaches a glaze-like consistency that flows smoothly without pooling or creating thick, blotchy highlights. A palette allows you to control paint consistency and mix lighter shades as needed for optimal highlighting results.
Brush Selection and Care
Three critical factors determine your brush’s effectiveness for precision edge highlighting: shape, size, and bristle quality. Round brushes with sizes 0-3 provide ideal control for fine details. Kolinsky red sable maintains sharp points longer than synthetic alternatives, though quality synthetics can perform satisfactorily if they retain their tips.
| Brush Types | Size Range | Best Use |
|---|---|---|
| Round Detail | 0-3 | Edge highlighting |
| Ultra Fine | -1/0 to -10/0 | Extreme precision |
| Filbert | 0-2 | Blended edges |
Proper brush maintenance extends tool life considerably. Clean brushes immediately after use with specialized miniature brush cleaners. Store horizontally or bristles-up to preserve shape. Reshape wet tips by rolling between fingers. Replace brushes when bristles fray or lose points. Short handles provide better control than long ones for close detail work. Load paint about one-third up the bristles to ensure optimal paint flow and control during edge highlighting. Conditioning bristles with hair conditioner helps maintain their flexibility and prevents damage from dried paint residue.
Paint Consistency and Preparation
While the finest brush won’t deliver professional results without properly prepared paint.
Paint viscosity determines your highlighting success. Thin acrylics to light milk consistency using water or specialized thinners. Test consistency on your palette—paint should flow smoothly without running into recesses.
Surface preparation begins with cleaning miniatures of oils and dust.
Prime with matte primer for best paint adhesion.
Dark primers underneath lighter highlights create superior contrast definition.
Essential materials include quality acrylic paints with dense pigmentation, wet palettes for moisture control, and craft knives for edge preparation.
Protect your workspace with drop cloths.
Support boards stabilize miniatures during detailed work. Synthetic hair brushes are recommended over bristled brushes for achieving precise detail work.
Environmental factors matter greatly.
Maintain moderate temperature and humidity levels. Excess moisture slows drying and causes unwanted paint spread.
Provide proper ventilation and consistent lighting for precision work. Always drag the brush over a paper towel to remove excess paint before applying highlights.
Mastering Brush Techniques and Control Methods
Several fundamental brush control techniques form the foundation of successful edge highlighting on miniatures. Your grip techniques directly impact precision and stroke consistency. Hold the brush with firm yet gentle pressure, positioning your fingers strategically for maximum stability.
| Technique | Method | Benefit |
|---|---|---|
| Wrist Bracing | Rest wrist against painting surface | Eliminates hand tremor |
| Elbow Tucking | Keep elbows close to body | Reduces arm fatigue |
| Finger Anchoring | Touch pinky to model base | Provides micro-control |
Maintain consistent brush angles throughout each stroke. Load your brush with controlled paint amounts to prevent bleeding beyond intended edges. Use the brush’s side edge for clean highlights rather than the tip. Practice stippling and lining motions to develop muscle memory. Rotate your miniature frequently to accommodate ideal brush positioning and movement patterns. Professional miniature painters recommend using synthetic bristles for edge highlighting as they excel with fast-drying acrylics and provide the precise control needed for clean detail work.
Selecting the Perfect Highlight Colors
Selecting effective highlight colors requires understanding how they’ll interact with your base tones and the lighting environment where you’ll display your miniature.
You must test color combinations before committing to full application, as certain hues that appear promising in theory can produce muddy or overly harsh results in practice.
Your choice depends on three critical factors: how the highlight relates to your base color’s value and temperature, whether the combination reads clearly under your intended lighting conditions, and how well the pairing mimics realistic light behavior on the material you’re representing.
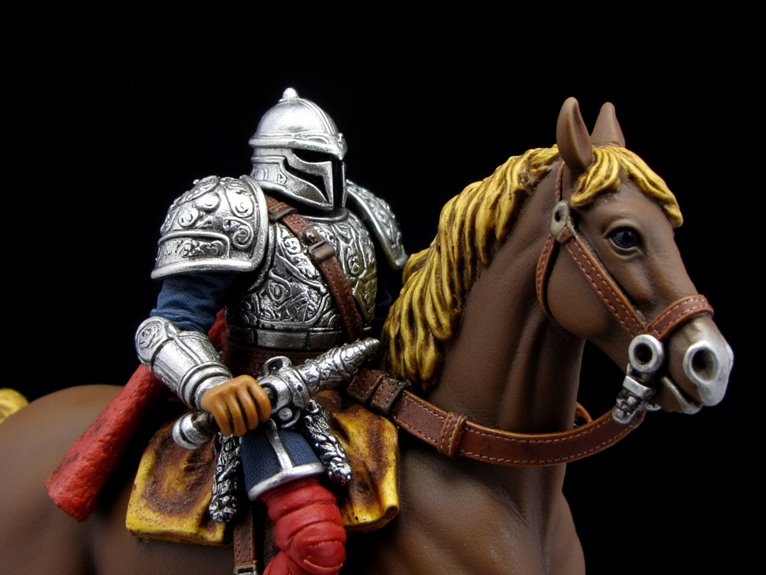
When working with metallic finishes, ensure your highlight colors complement the reflective properties of these specialized paints to achieve professional-grade results.
Base Color Relationships
Understanding color relationships forms the foundation of successful edge highlighting, as the interaction between your base color and highlight choice determines whether your miniature achieves realistic depth or appears artificially overworked.
Color harmonies create natural progressions when you select analogous colors from adjacent wheel positions. Temperature balance affects material simulation—warm highlights on cool bases suggest ambient lighting, while cool highlights on warm bases create dramatic contrast enhancement.
Your layering techniques should progress from subtle base-color shifts to brighter final highlights. This approach maintains depth perception while enabling effective visual storytelling through controlled contrast.
- Select highlight tones that shift gradually in both lightness and temperature for natural material simulation
- Use analogous color relationships for smooth progressions between base and highlight layers
- Apply temperature contrast strategically to enhance depth perception without destroying color harmony
- Reserve pure white highlights only for the strongest reflection points to maintain realism
- Build multiple highlight layers with incremental lightness increases for professional gradient effects
Testing Color Combinations
Once you’ve established solid color relationships between your base tones and potential highlights, the real work begins with systematic color testing to identify combinations that deliver both visual impact and realistic lighting effects. Create test swatches on spare plastic or paper before committing to your miniature. This prevents costly mistakes and guarantees peak color impact.
| Base Color | Primary Highlight | Secondary Highlight | Edge Type | Design Aesthetics |
|---|---|---|---|---|
| Deep Blue | Light Blue | White | Sharp Edges | Clean, Military |
| Red Brown | Orange Red | Pale Yellow | Rounded | Weathered Metal |
| Dark Green | Bright Green | Lime Green | Mixed | Natural Organic |
| Bone White | Cream | Pure White | Fine Detail | Classic Stone |
| Black Grey | Medium Grey | Light Grey | Large Panels | Industrial Tech |
Test each combination under your primary painting light source to verify contrast levels and visual balance.
Light Source Considerations
When you’re selecting highlight colors, the direction and quality of your chosen light source determines every color decision you’ll make throughout the highlighting process. The light angle dictates which edges receive the brightest highlights and which remain in shadow.
Cool light sources like moonlight require blues or purples, while warm sources like fire demand yellows and oranges. Your highlight intensity must decrease gradually from the primary lit edge to opposing surfaces to maintain realistic depth.
Environmental factors and reflected colors further influence your selection. Multiple highlight layers using progressively lighter tones create convincing three-dimensional effects that follow natural light behavior.
- Establish one consistent light direction before applying any highlights
- Match highlight hue temperature to your chosen light source type
- Vary highlight intensity based on each edge’s angle relative to light
- Use cooler highlights for moonlight, warmer for fire or sunlight
- Apply thicker highlight lines on light-facing edges, thinner on others
Step-by-Step Application Process
Although edge highlighting demands patience and steady hands, mastering this fundamental technique transforms flat miniature surfaces into dimensional, light-catching details that bring your models to life.
Start with your base highlight using a fine detail brush‘s side tip. Run thin lines along the most visible edges to establish edge visibility. Apply paint in layers, beginning with mid-tone highlights before progressing to lighter tones. This layered approach creates proper highlight depth and prevents harsh changes.
Use downward brush strokes toward your position when working curved edges. Allow each layer to dry completely before applying the next.
Focus on upper-facing edges first, where natural light falls strongest. For complex shapes, employ short, controlled strokes rather than continuous lines to maintain accuracy and prevent mistakes.
For smoother application and consistent flow, consider using pre-thinned acrylics specifically formulated for miniature detail work, which eliminate the guesswork of mixing ratios and provide reliable coverage.
Common Pitfalls and How to Avoid Them
Edge highlighting mistakes can derail even experienced painters, turning crisp miniature details into muddy disasters that require tedious correction. Common mistakes stem from improper paint consistency and poor brush technique.
Poor paint consistency and sloppy brush control transform crisp miniature details into muddy messes that demand frustrating rework.
You’ll achieve cleaner results by maintaining creamy paint flow and using fine-tipped brushes at 45-degree angles. Avoiding pitfalls requires selective highlighting—focus only on prominent, upward-facing edges where natural light hits. Over-highlighting creates visual chaos that destroys realism.
- Test paint consistency on your palette before applying to prevent thickness issues
- Hold brushes at 45-degree angles while resting hands on stable surfaces for control
- Highlight only prominent edges that face upward toward natural light sources
- Apply multiple thin layers instead of single thick coats for cleaner definition
- Practice steady downward strokes on test surfaces before working on miniatures
Advanced Techniques for Professional Results
Professional edge highlighting demands precision tools and systematic paint application that separates amateur work from competition-quality miniatures.
Master painters employ advanced color blending by mixing intermediate tones between base colors and final highlights. This creates smoother shifts that eliminate harsh contrast lines. Use size 0 brushes with synthetic bristles for maximum control.
Advanced highlight layering techniques require three to five progressive applications. Start with your base color mixed 60/40 with highlight color. Apply a second layer at 40/60 ratio. Finish with pure highlight color on the sharpest edges only. Thin each layer with 10% water for ideal flow properties.
Combine edge highlighting with blacklining and selective drybrushing for dimensional depth. Apply highlights after washes dry completely to maximize contrast ratios and achieve professional-grade results.
Troubleshooting and Refinement Strategies
When edge highlighting doesn’t achieve the desired results, systematic troubleshooting identifies specific problems and their solutions. Uneven lines typically result from inconsistent brush pressure or paint overload.
Successful edge highlighting requires identifying specific technique problems through systematic troubleshooting rather than repeated failed attempts.
Maintain steady hand positioning against a fixed support while rotating the miniature for consistent highlight placement. Blobby highlights indicate excessive paint thickness—thin your medium to creamy consistency and remove excess on a palette.
Poor edge definition occurs when highlights drift from actual ridges. Use proper lighting angled to reveal edges clearly, ensuring accurate targeting.
- Test paint consistency and brush load on spare surfaces before applying to miniature
- Apply multiple thin layers rather than single thick applications for smoother results
- Correct wet mistakes immediately with clean brush; retry dry errors after base coat touch-ups
- Use magnification tools for precision work on intricate details and small surfaces
- Assess highlight effectiveness from multiple viewing distances during application process
On a final note
You’ve mastered edge highlighting‘s fundamental techniques and advanced methods. Your brush control determines paint consistency and line accuracy. Practice these application steps consistently to develop muscle memory. Monitor your highlight color ratios carefully—they’re critical for realistic results. Don’t rush the process; proper paint viscosity prevents common mistakes. These precision skills transfer to all miniature painting disciplines. Your attention to technical detail will produce professional-quality edge highlights every time.